Brick Retaining Wall: Top Guide to Perfect Build 2025
Why Brick Retaining Walls are Essential for Your Landscape
Brick retaining wall offers a perfect combination of aesthetic appeal and functional utility for your outdoor spaces. For homeowners in the Greater Boston area, these structures are more than just a visual upgrade; they provide crucial support, preventing soil erosion and creating usable flat areas on sloped terrains.
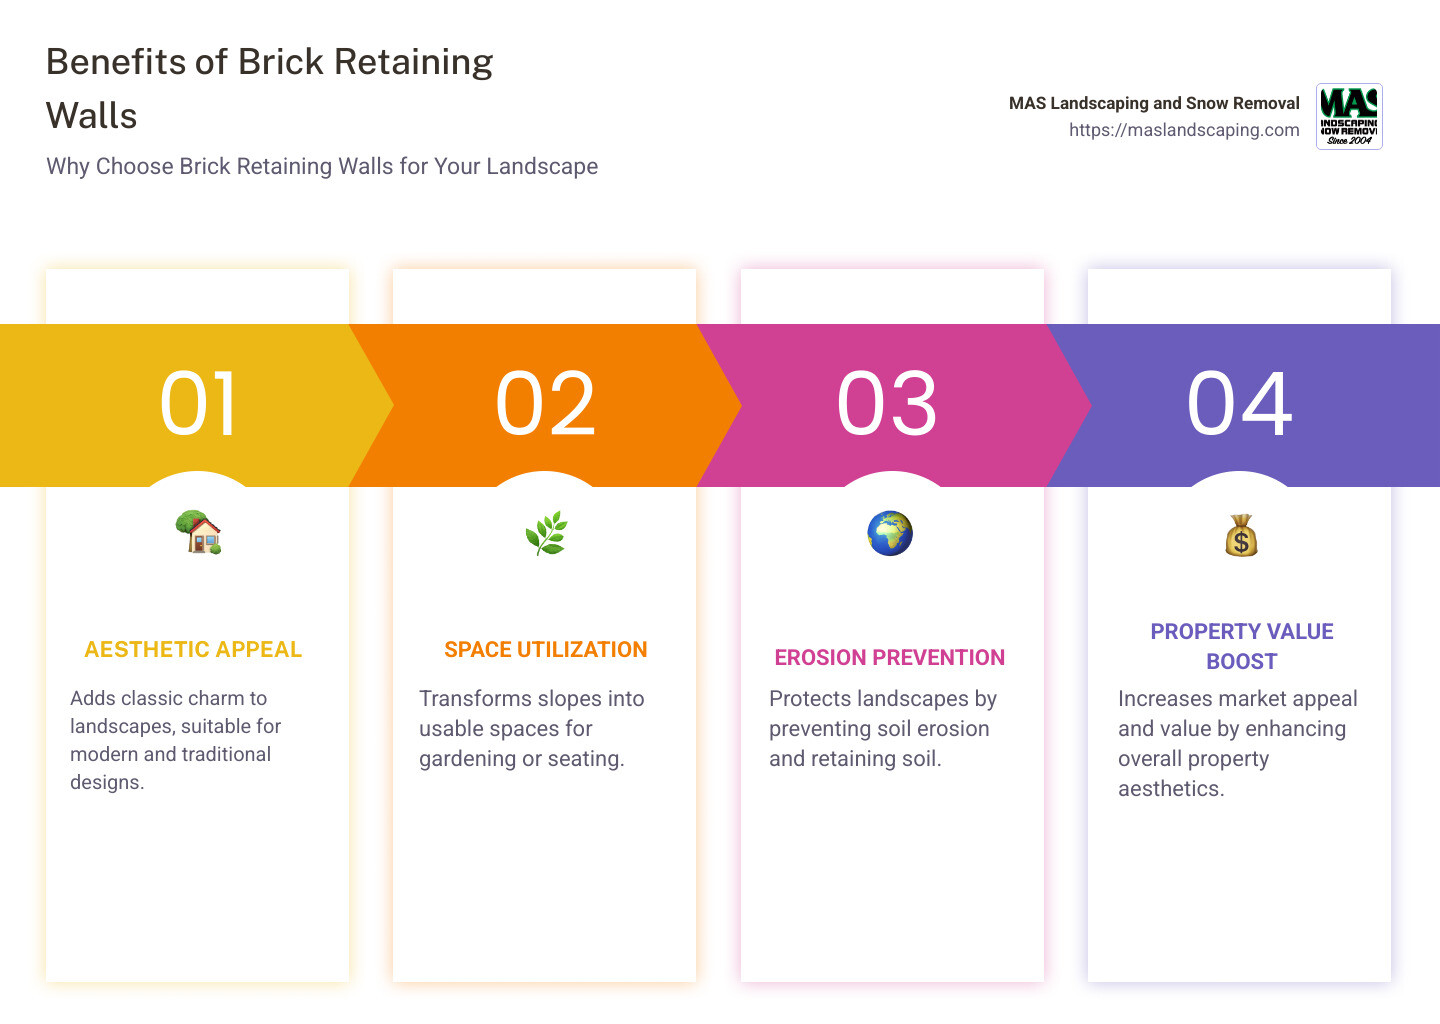
- Improves Aesthetics: A brick retaining wall adds a classic charm to your landscape, blending seamlessly into both modern and traditional settings.
- Increases Usable Space: Transform sloped areas into practical spaces for gardening, seating, or walking paths.
- Prevents Erosion: By holding back soil, these walls protect your landscape from erosion, keeping your garden features intact.
- Boosts Property Value: Well-designed retaining walls contribute to the overall appeal and market value of your property.
Understanding the benefits and features of a brick retaining wall can guide you in making informed decisions for your landscape project. This knowledge sets the foundation for creating a beautiful, durable, and functional outdoor space custom to your needs.
Brick retaining wall terms to remember:
– Hardscape retaining walls
– Outdoor retaining wall ideas
– Retaining wall services
Planning Your Brick Retaining Wall
Creating a brick retaining wall requires careful planning to ensure it meets your landscape goals and local regulations. Let’s explore the essentials of designing and planning your wall.
Choosing the Right Materials
When selecting materials, consider the look and durability you desire. Here are some common options:
- Bricks: Classic and versatile, bricks offer a timeless appearance suitable for various styles.
- Concrete Blocks: These are sturdy and often more affordable. They come in different sizes and can be easier to work with.
- Natural Stones: Ideal for a rustic look, but can be more expensive and require skilled installation.
- Interlocking Blocks: These feature a lip or flange that makes stacking simpler, enhancing stability without mortar.
Each material has its pros and cons, so choose based on your aesthetic preference, budget, and the wall’s required strength.
Calculating Materials Needed
Accurate calculations are key to avoiding project delays and unexpected costs. Here’s how to get started:
- Measurements: Measure the length and height of your planned wall. The first row should be half-buried for stability.
- Block Calculator: Use a block calculator to determine how many blocks or bricks you’ll need per row. Divide the total wall length by the length of a block to find out how many blocks per row.
- Extra Materials: Purchase about 10% more than your estimate to account for breakage, cutting, and future repairs. This ensures you have enough materials without frequent trips to the store.
Local Codes, Permits, and HOA Restrictions
Before breaking ground, check your local building codes and homeowners association (HOA) rules. Some areas may have restrictions on wall height or require permits for construction.
- Building Codes: These might dictate the maximum allowable height for a retaining wall without additional engineering.
- Permits: A permit ensures your project complies with safety and zoning laws. It’s better to sort this out upfront to avoid fines or having to redo work.
- HOA Restrictions: If you live in a community with an HOA, review their guidelines to ensure your design is compliant.
By understanding these requirements, you can prevent legal issues and ensure a smooth construction process.
Planning your brick retaining wall with these considerations in mind will set you up for a successful project. Next, let’s move on to preparing the site for construction.
Preparing the Site
Before you start building your brick retaining wall, it’s crucial to prepare the site properly. This involves marking the area, ensuring safety, digging the trench, and laying a solid foundation. Let’s walk through each step.
Digging the Trench
Site Preparation and Marking the Area
First, mark the outline of your wall using ground-marking spray paint. Make sure the line is straight and matches your design plan. Use measuring tape to double-check the length and ensure it aligns with your landscape layout.
Safety Tips
Wear proper personal protective equipment (PPE) like boots, gloves, and safety glasses. Safety is paramount, as you’ll be working with heavy materials and tools.
Trench Depth and Width
- Depth: Dig the trench deep enough to bury half the height of the first row of bricks plus 3 inches of base material. Typically, this will be about 4 to 8 inches deep, depending on your brick size.
- Width: The trench should be twice as wide as a single brick. This extra width provides stability and room for adjustments.

Compacting the Base
Once the trench is dug, compact the soil using a hand tamper or a vibrating plate compactor. This step is vital to prevent settling and ensure the wall’s longevity.
Laying the Foundation
Gravel Base
Pour a 3-inch layer of paver base or gravel into the trench. This helps with drainage and provides a stable foundation. Use a rake to spread the gravel evenly.
Leveling and Compacting
- Leveling: Use a 4 or 6-foot level to ensure the gravel is even lengthwise. A torpedo level can help check the front-to-back level.
- Compacting: Compact the gravel with a hand tamper until it’s firm and stable. This step is crucial for preventing future shifts in your wall.
By following these steps, you set the stage for a sturdy and long-lasting brick retaining wall. With a well-prepared site, you’re ready to start laying the first course of bricks, ensuring your wall will stand the test of time.
Building the Brick Retaining Wall
Once your site is ready, it’s time to start building your brick retaining wall. This involves laying the first course of bricks, adding additional courses, and installing drainage to ensure durability and functionality.
Laying the First Course
Brick Placement and Leveling
Begin by placing the first row of bricks on the compacted gravel base. Make sure each brick is level. Use a spirit level to check each brick from side to side and front to back. Adjust as needed by adding or removing gravel beneath the brick.
First Course Tips
- Start at the Lowest Point: Begin laying bricks at the lowest point of your trench. This ensures that the wall will be level as you build upward.
- Use a Rubber Mallet: Gently tap each brick into place with a rubber mallet to avoid cracking.
Gravel Backfill
Once the first course is laid, fill the space behind the bricks with gravel. This backfill provides stability and aids in drainage. Pour gravel up to the height of the first course, and compact it lightly.
Adding Additional Courses
Staggered Blocks and Landscape Adhesive
For a strong wall, stagger the joints of the bricks in each new course. This means the end of one brick should sit in the middle of the brick below it. This pattern helps distribute weight evenly and adds strength.
- Landscape Adhesive: Use landscape adhesive between rows if extra stability is needed, especially in taller walls or if using capstones.
Checking Level
As you add each course, frequently check the level. This ensures your wall remains straight and even. Adjust by adding or removing gravel backfill as needed.
Installing Drainage
Drain Pipe and Gravel Backfill
Proper drainage is crucial for preventing water buildup behind your wall. If your area experiences heavy rain, consider installing a perforated drain pipe behind the wall.
- Place the Pipe: Lay a perforated corrugated pipe behind the first or second course of bricks. Ensure it runs the entire length of the wall and drains away from the area.
Cover with Landscape Fabric and Gravel
- Landscape Fabric: Cover the pipe with landscape fabric to prevent sediment from clogging the pipe.
- Gravel: Pour gravel over the fabric-covered pipe. This allows water to flow easily into the pipe, reducing pressure on the wall.
By following these steps, you’ll create a brick retaining wall that’s both robust and visually appealing. Proper placement, leveling, and drainage will ensure your wall stands strong for years to come.
Finishing Touches
Enhancing Aesthetics
Capstones and Construction Adhesive
Capstones are the final touch that gives your brick retaining wall a polished and complete look. These stones sit on top of your wall and should overhang the retaining bricks by about 1 to 1.5 inches. This overhang adds a decorative edge and helps protect the wall from weather damage.
- Secure with Construction Adhesive: Use construction adhesive to fix the capstones in place. Make sure both the capstones and the top layer of bricks are free from dirt and debris before applying adhesive. This ensures a strong bond.
Landscaping and Planting
Improve the beauty of your retaining wall with thoughtful landscaping. Planting around your wall can make it blend seamlessly into the surrounding environment and add a splash of color and texture.
- Choose Low-Maintenance Plants: Consider using succulents or native plants that require minimal watering and care. They not only look attractive but also support sustainable landscaping practices.
- Add Climbing Plants: Install a lattice near your wall to support climbing plants like ivy or roses. These plants can add vertical interest and soften the appearance of the wall.
Decorative Elements and Lighting
Decorative elements can transform your wall into a focal point in your yard. Consider adding features like small statues, garden art, or even a water feature to complement your wall.
- Lighting: Proper lighting improves safety and highlights the beauty of your wall after dark. Install LED lights along the base or top of your wall to illuminate pathways and accentuate architectural features. LED lights are energy-efficient and have a long lifespan.
By integrating these finishing touches, your brick retaining wall will not only be functional but also a stunning addition to your landscape. Thoughtful details like capstones, plants, and lighting can lift the overall aesthetic, making your outdoor space more inviting and enjoyable.
Frequently Asked Questions about Brick Retaining Walls
What is the cheapest type of retaining wall?
When it comes to affordability, concrete blocks and timber sleepers are often the go-to choices. Concrete blocks are cost-effective and offer a clean, modern look. They’re easy to stack and can be reinforced with steel rods if needed. Timber sleepers, on the other hand, provide a rustic appearance and are relatively inexpensive. However, they may require more maintenance over time due to potential rot or insect damage.
How durable are brick retaining walls?
Brick retaining walls are known for their durability and long lifespan. When built properly, they can last for decades. The key to their longevity is regular maintenance. Check for any signs of cracking or bulging, which could indicate underlying issues. It’s also important to ensure that the wall remains level and that the drainage system is functioning properly to prevent water buildup, which can compromise the wall’s integrity.
What should you watch out for when building a retaining wall?
Building a retaining wall involves careful planning to avoid future problems. Here are some critical factors to consider:
- Drainage: Proper drainage is essential to prevent water from accumulating behind the wall. Without it, water pressure can build up, leading to potential wall failure. Install a drain pipe and use gravel backfill to facilitate water flow.
- Soil Pressure: Consider the type of soil in your yard. Clay soils hold water and exert more pressure on the wall, while sandy soils drain better but may require additional stabilization. Understanding soil pressure helps in designing a wall that can withstand these forces.
- Proper Foundation: A strong foundation is crucial for the stability of your retaining wall. Dig a trench deep enough to accommodate a gravel base and the first course of bricks, ensuring the foundation is level and compacted. This provides a solid base to support the wall and prevent shifting or settling over time.
By keeping these factors in mind, you can build a brick retaining wall that is both durable and aesthetically pleasing. Proper planning and execution are vital to ensuring the wall stands strong against the elements and improves your landscape for years to come.
Conclusion
When it comes to creating a brick retaining wall that stands the test of time, partnering with a professional service like MAS Landscaping and Snow Removal makes all the difference. Our team, based in Saugus, MA, brings a wealth of local expertise and a commitment to excellence, ensuring your outdoor project not only meets but exceeds expectations.
Why Choose MAS Landscaping?
- Professional Service: Our skilled team is fully licensed and insured, providing peace of mind throughout your project. We adhere to the highest standards of quality and craftsmanship, respecting your property and time.
- Local Expertise: With a deep understanding of the local climate and soil conditions, we select materials and designs that thrive in our region. This ensures your retaining wall is both beautiful and sustainable.
- Personalized Approach: Every landscape is unique, and so are your needs. We offer custom solutions to bring your vision to life, whether it’s a simple garden wall or an intricate landscape change.
Building a retaining wall is more than just a construction project; it’s about enhancing your outdoor space to create a functional and beautiful environment. At MAS Landscaping and Snow Removal, we take pride in our ability to deliver exceptional results that improve your property’s value and appeal.
Ready to start your landscaping journey? Contact us today to discuss how we can help you create the perfect outdoor space with a stunning brick retaining wall. Let’s bring your vision to life together!
