How to Build a Landscaping Wall with Blocks: 5 Best Tips
The Vital Role of Retaining Walls in Landscaping
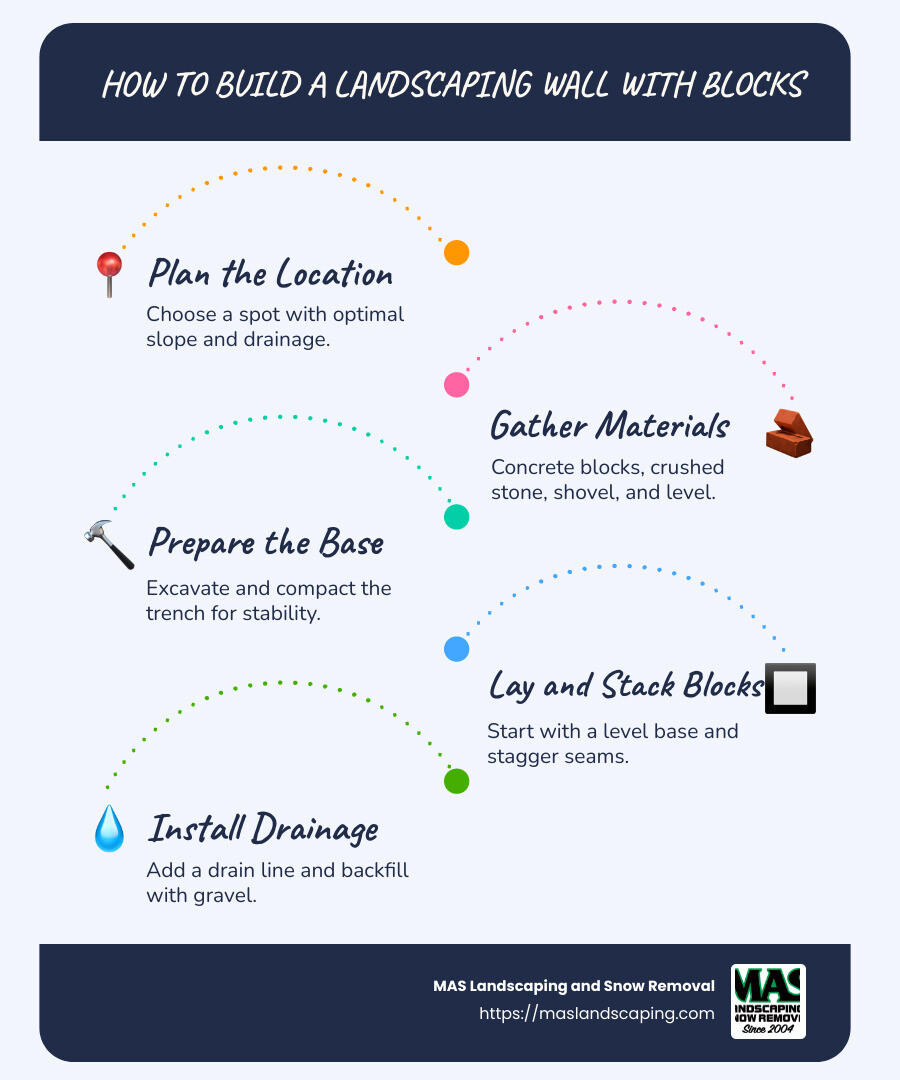
How to build a landscaping wall with blocks: It’s a question many homeowners consider when looking to improve their outdoor spaces. For a quick overview, here’s the basic process:
- Plan the Location: Choose where to position your wall based on slope and drainage considerations.
- Gather Materials: You’ll need concrete blocks, crushed stone, and tools like a shovel and level.
- Dig and Prepare the Base: Excavate a trench and compact the base.
- Lay the First Course: Start with a firm, level foundation of blocks.
- Stack and Align: Continue adding layers with staggered seams for stability.
- Install Drainage: Backfill with gravel and add a drain line.
- Finish with Geogrid: Reinforce for extra stability if needed.
Retaining walls are crucial components in landscaping projects. They serve practical purposes such as preventing soil erosion and managing water drainage. Beyond functionality, they add a visual highlight to your garden, enhancing both beauty and utility.
Moreover, the construction of a retaining wall demands attention to structural integrity. Improper building can lead to leaning walls or collapse, which is why careful planning and execution are key. With the right approach, a well-crafted retaining wall can last a lifetime, offering not only protection and stability but also an attractive feature for any yard.
How to build a landscaping wall with blocks word guide:
– block walls for landscaping
– Outdoor wall construction
– Wall construction services
Planning Your Retaining Wall
Before diving into how to build a landscaping wall with blocks, it’s crucial to plan effectively. Good planning ensures your wall stands strong and looks great. Here’s what you need to know:
Location Selection
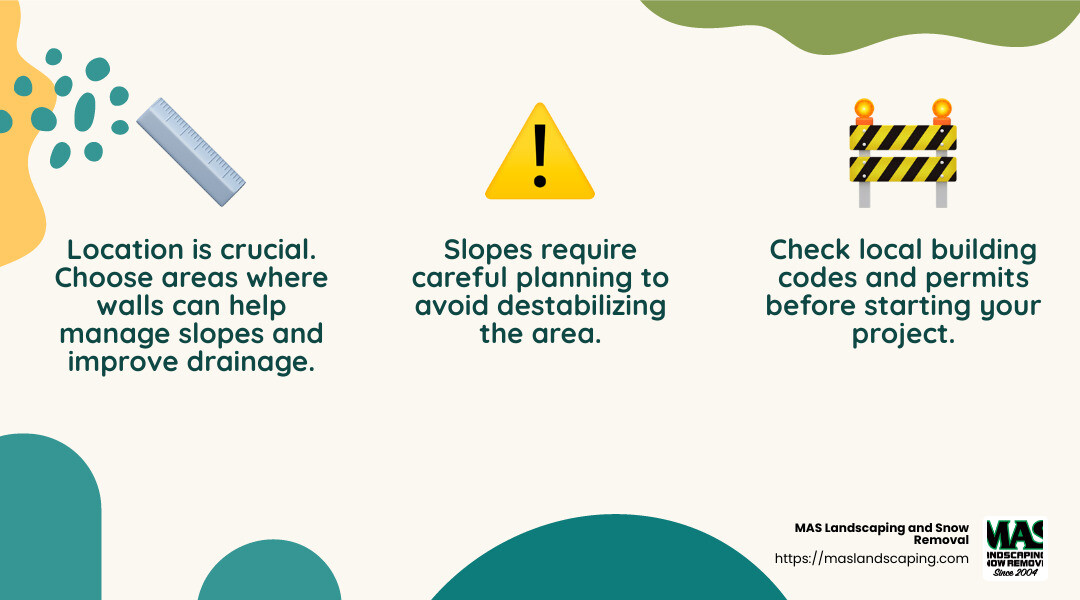
Choosing the right spot for your retaining wall is the first step. Look for areas where the wall can help manage slopes, create flat spaces, or improve drainage. This is especially important in places with steep slopes, as walls can hold back soil and prevent erosion.
Pro Tip: If your yard has gentle slopes, you can build the wall and fill in behind it to create a flat area for gardens or patios.
Slope Considerations
Slopes can be tricky. When building on a slope, consider whether you need to cut into the slope or build up from the lower side. Cutting into a slope can create more usable space but requires careful planning to avoid destabilizing the area.
The wall must hold back the earth, which can exert thousands of pounds of pressure. Proper slope management is key to avoiding future problems.
Local Codes and Permits
Before starting, check local building codes and permit requirements. In many areas, retaining walls over a certain height require permits. These codes ensure safety and prevent issues with neighboring properties.
Safety Tip: Call 811 before you dig to locate underground utility lines and avoid accidents.
Layout and Excavation
Once you’ve selected the location, mark the layout with garden stakes and a mason’s line. This helps visualize the wall’s shape and size. Use a tape measure to ensure accuracy.
- Mark the Area: Tie a string to stakes to outline the wall’s path. If it’s curved, use paint to mark the shape.
- Excavate the Trench: Dig a trench wide and deep enough for the base. A good rule is to bury at least half the height of the first course below ground level for stability.
Pro Tip: Make sure the trench is level. Use a level tool to check your work, as a level base is crucial for a strong wall.
By carefully planning each aspect, from location to excavation, you set the stage for a successful retaining wall project. With these steps complete, you’re ready to move on to gathering the essential materials and tools needed for construction.
Essential Materials and Tools
To start building a landscaping wall with blocks, you’ll need the right materials and tools. This ensures your wall is strong, durable, and long-lasting. Let’s break down what’s necessary.
Concrete Blocks
Concrete blocks are the backbone of your retaining wall. They come in various styles, like interlocking blocks, which are easy to stack and provide stability. These blocks can be stacked to build walls up to 24 to 36 inches high, depending on their size. Always follow the manufacturer’s guidelines for height limits.
Pro Tip: Purchase about 10% more blocks than your estimate to account for breakage and cutting.
Crushed Stone
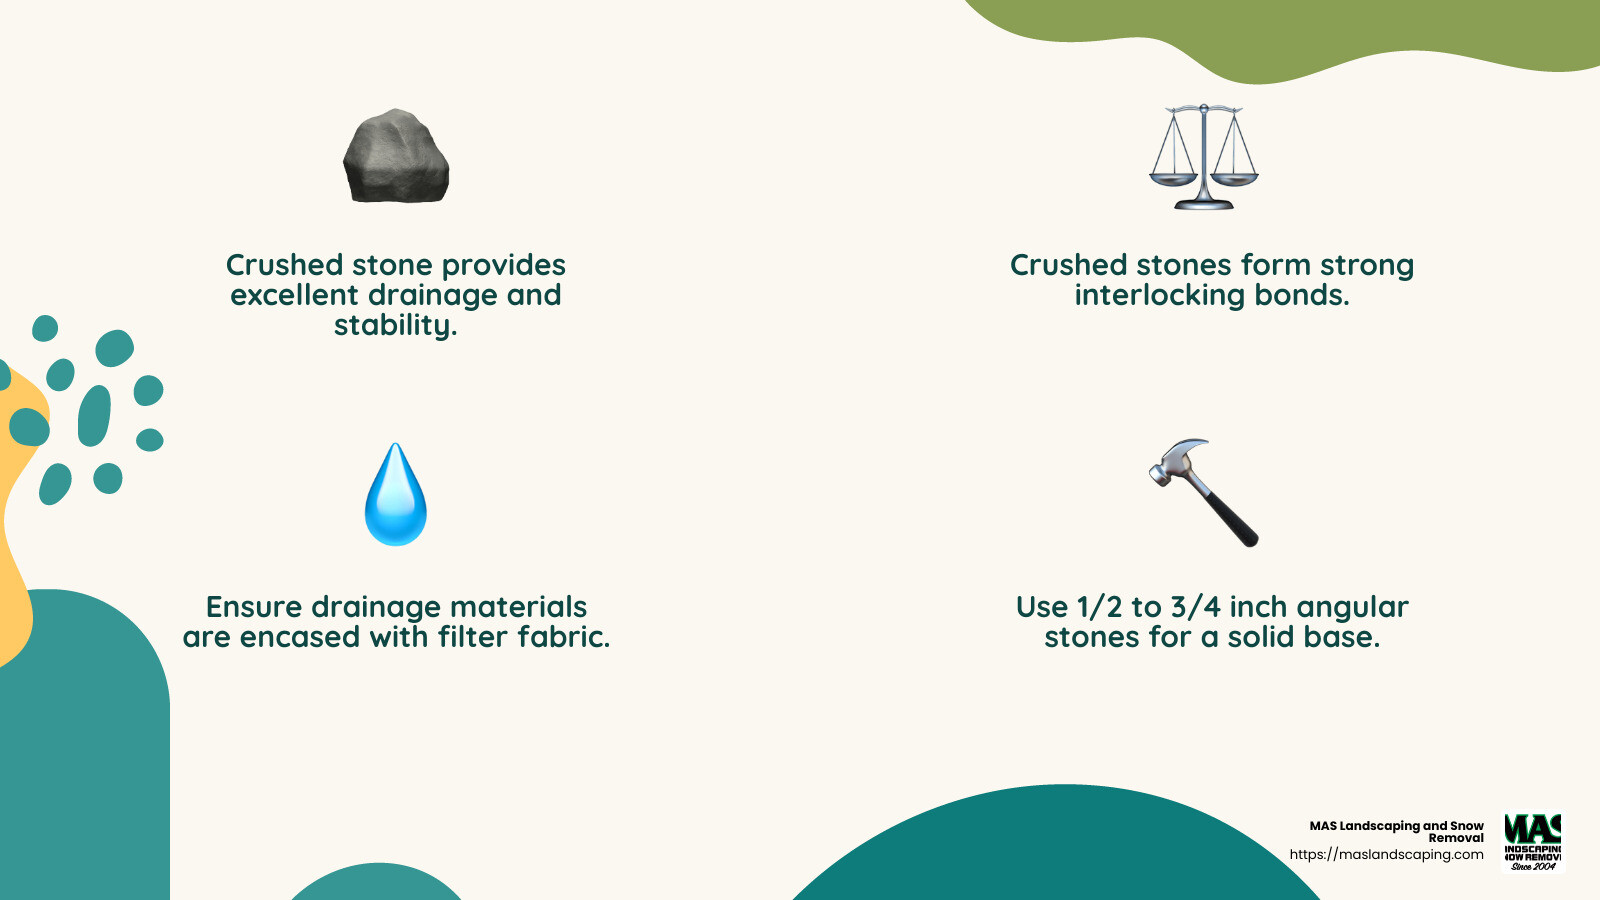
A solid base is crucial for any retaining wall. Crushed stone, particularly angular stones sized between 1/2 inch and 3/4 inch, provides excellent drainage and stability. Unlike rounded stones, crushed stone forms strong interlocking bonds and requires less compacting.
Drainage Materials
Proper drainage prevents water buildup behind the wall, which can cause it to fail. Use 3/4″ washed gravel for backfilling and ensure it’s encased with filter fabric to prevent soil from clogging the drainage field. This setup allows water to pass through while keeping soil out.
Tools List
Having the right tools makes building your retaining wall easier and more efficient. Here’s a list of essential tools you’ll need:
- Shovel and Trenching Shovel: For digging and shaping the trench.
- Level Tools: A 4 or 6-foot level, torpedo level, and line level are crucial for ensuring everything is even.
- Measuring Tape: To measure distances accurately.
- Rubber Mallet: For gently tapping blocks into place.
- Hand Tamper: To compact the base material.
- Rake: For leveling gravel and soil.
- Hammer and Masonry Chisel: For cutting blocks when necessary.
Safety Gear: Always wear boots, gloves, and safety glasses to protect yourself during construction.
By gathering these materials and tools, you’re setting yourself up for success in your retaining wall project. With everything ready, you’re well-prepared to dive into the next steps: preparing the base and laying the first course of blocks.
How to Build a Landscaping Wall with Blocks
Building a landscaping wall with blocks involves several key steps to ensure it stands strong and lasts for years. Let’s explore each step to make your wall a success.
Preparing the Base
The base is the foundation of your wall, and getting it right is crucial.
- Trench Depth: Start by digging a trench that is deep enough to bury at least half the height of your first course of blocks plus 3 inches of crushed stone base. This usually means a trench depth of 4 to 8 inches, depending on block size.
- Compacting the Trench: After digging, compact the trench using a hand tamper. A solid, compacted base prevents shifting and ensures stability.
- Crushed Stone Base: Fill the trench with crushed stone, ideally angular stones sized between 1/2 inch and 3/4 inch. This material provides excellent drainage and interlocking stability. Compact the stone until it’s firm and level.
Laying the First Course
The first row of blocks sets the tone for the entire wall.
- Leveling Blocks: Place the first block at the lowest end of the trench. Use a level to ensure accuracy. Adjust as needed with a rubber mallet.
- Adjusting for Level: Continue placing blocks, checking each one for level. The first row is the most important; if it’s not level, the entire wall will be off.
Stacking Additional Courses
As you build up, keep these tips in mind.
- Running Bond Pattern: Stagger the seams of each course by starting with a half block on every other row. This pattern adds strength.
- Staggered Seams: Ensure seams are staggered for better stability and appearance. Check for level regularly and adjust blocks as needed.
Installing Drainage
Proper drainage is key to a long-lasting wall.
- Drain Line: Install a perforated corrugated pipe behind the wall. This helps divert water away and prevents buildup.
- Filter Fabric: Cover the pipe and backfill with filter fabric to keep soil from clogging the drainage area.
- Backfilling with Gravel: Fill the space behind the wall with gravel up to 6-12 inches from the top. This promotes drainage and prevents erosion.
Cutting and Fitting Blocks
Sometimes, you’ll need to cut blocks to fit.
- Masonry Chisel and Hammer: Score the block where you need to cut, then use a hammer and chisel to split it.
- Diamond Cutting Blade: For cleaner cuts, use a circular saw with a diamond blade. Always wear safety gear to protect against dust and debris.
Adding Geogrid for Stability
For taller walls, geogrid adds extra support.
- Geogrid Installation: Lay geogrid between layers of blocks, extending back into the soil. The length of the geogrid should be equal to the wall’s height.
- Angle of Repose: Geogrid helps stabilize the soil behind the wall, reducing pressure and risk of collapse. Ensure it’s installed correctly to reinforce the wall effectively.
By following these steps, you’ll build a retaining wall that’s not only functional but also a beautiful addition to your landscape. Next, we’ll look at some finishing touches to complete your project.
Finishing Touches
Now that your retaining wall is built, it’s time to add the finishing touches. This step not only improves the wall’s appearance but also ensures its longevity.
Adhering the Top Course
The top course of blocks needs special attention to stay in place.
- Secure with Adhesive: Use a strong construction adhesive to bond the top course to the layer below. This prevents the blocks from shifting over time. Make sure the surfaces are clean and free of debris for the adhesive to work effectively.
Capping Blocks
Capping blocks give your wall a polished look.
- Capstone Placement: Arrange capstones so they overhang the retaining blocks by 1 to 1 1/2 inches. This overhang helps protect the wall from water damage and adds a decorative touch.
- Use Adhesive: Apply adhesive to secure the capstones. This helps them withstand weather and prevents them from being dislodged.
Covering the Drain Field
Proper drainage is crucial to prevent water buildup.
- Filter Fabric: Cover the gravel drain field with filter fabric. This keeps soil from seeping into the gravel, ensuring the drainage remains effective.
- Gravel Layer: Ensure the gravel covers the drain pipe completely. This promotes effective water flow away from the wall.
Dressing with Topsoil
Finish the area around your wall with topsoil for planting.
- Add Topsoil: Fill any remaining space behind the wall with topsoil. This provides a base for grass or plants, enhancing the wall’s visual appeal.
- Ensure Good Drainage: Use well-draining soil to prevent water from pooling at the base of the wall. This helps maintain the wall’s integrity and supports healthy plant growth.
By following these steps, your retaining wall will not only be functional but also visually appealing. The finishing touches ensure the wall blends seamlessly into your landscape, providing both stability and beauty. Next, we’ll address some common questions about building a landscape wall with blocks.
Frequently Asked Questions about Building a Landscaping Wall with Blocks
How do you lay a landscape block wall?
Building a landscape block wall is like putting together a sturdy puzzle. Here’s how you do it:
- Preparing the First Row: Start by laying the first row of blocks in a trench that’s wide, deep, and level. This row is the foundation of your wall, so take your time to get it right. Use a level to ensure each block is even. This prevents future rows from tilting or leaning.
- Leveling Blocks: As you lay each block, check for level and adjust as needed. A flat and stable base is crucial for a strong wall. If a block is uneven, adjust the base material to fix it.
- Laying Rows: Continue stacking blocks in a staggered pattern, like bricks in a house. This pattern, known as a running bond, adds strength and stability to the wall. Always check for level as you add each new row.
What do you put under landscape blocks?
The base of your wall is just as important as the blocks themselves. Here’s what to use:
- Crushed Stone: Use crushed stone for the base layer. It’s better than rounded stones like pea gravel because the angular particles lock together, providing a stable foundation.
- Compacting the Base: Once the crushed stone is in place, compact it thoroughly. This step is essential to prevent the wall from settling unevenly over time. A compacted base keeps the wall sturdy, even in harsh weather.
Can you build a retaining wall out of cinder blocks?
Yes, you can build a retaining wall using cinder blocks. Here’s why they work:
- Versatility and Strength: Cinder blocks are versatile and strong, making them a popular choice for retaining walls. They can handle pressure and provide long-lasting support.
- Construction Uses: Cinder blocks are often used in construction for their durability and ease of use. They are perfect for creating walls that need to withstand the forces of gravity and soil pressure.
By understanding these basics, you can confidently build a landscape wall with blocks that is both functional and attractive. In the next section, we’ll explore more about the materials and tools needed for your project.
Conclusion
Building a retaining wall with blocks is more than just stacking stones. It’s about crafting a functional outdoor space that stands the test of time. At MAS Landscaping and Snow Removal, we specialize in creating these durable and beautiful structures. Our team combines professional service with local expertise, ensuring that your landscaping wall not only looks great but also performs well.
Our clients in Everett, Lynnfield, Malden, and surrounding areas trust us to transform their landscapes. We know the local climate, soil conditions, and unique challenges of each area. This knowledge helps us select the right materials and techniques to build walls that are both strong and aesthetically pleasing.
When you choose MAS Landscaping, you’re choosing a partner committed to turning your outdoor vision into reality. We focus on every detail, from the base and drainage to the final capstones, ensuring your wall is both practical and attractive. Our dedication to professionalism means we don’t just build walls; we build lasting relationships with our clients.
Ready to improve your yard with a retaining wall? Let us help you create a stunning and functional outdoor space. Contact MAS Landscaping and Snow Removal to start planning your project today. We’re here to make your landscape dreams come true.
