How to Lay Sod: 10 Essential Tips for Perfect Results
Why Sod Is Your Best Bet for a Beautiful Lawn
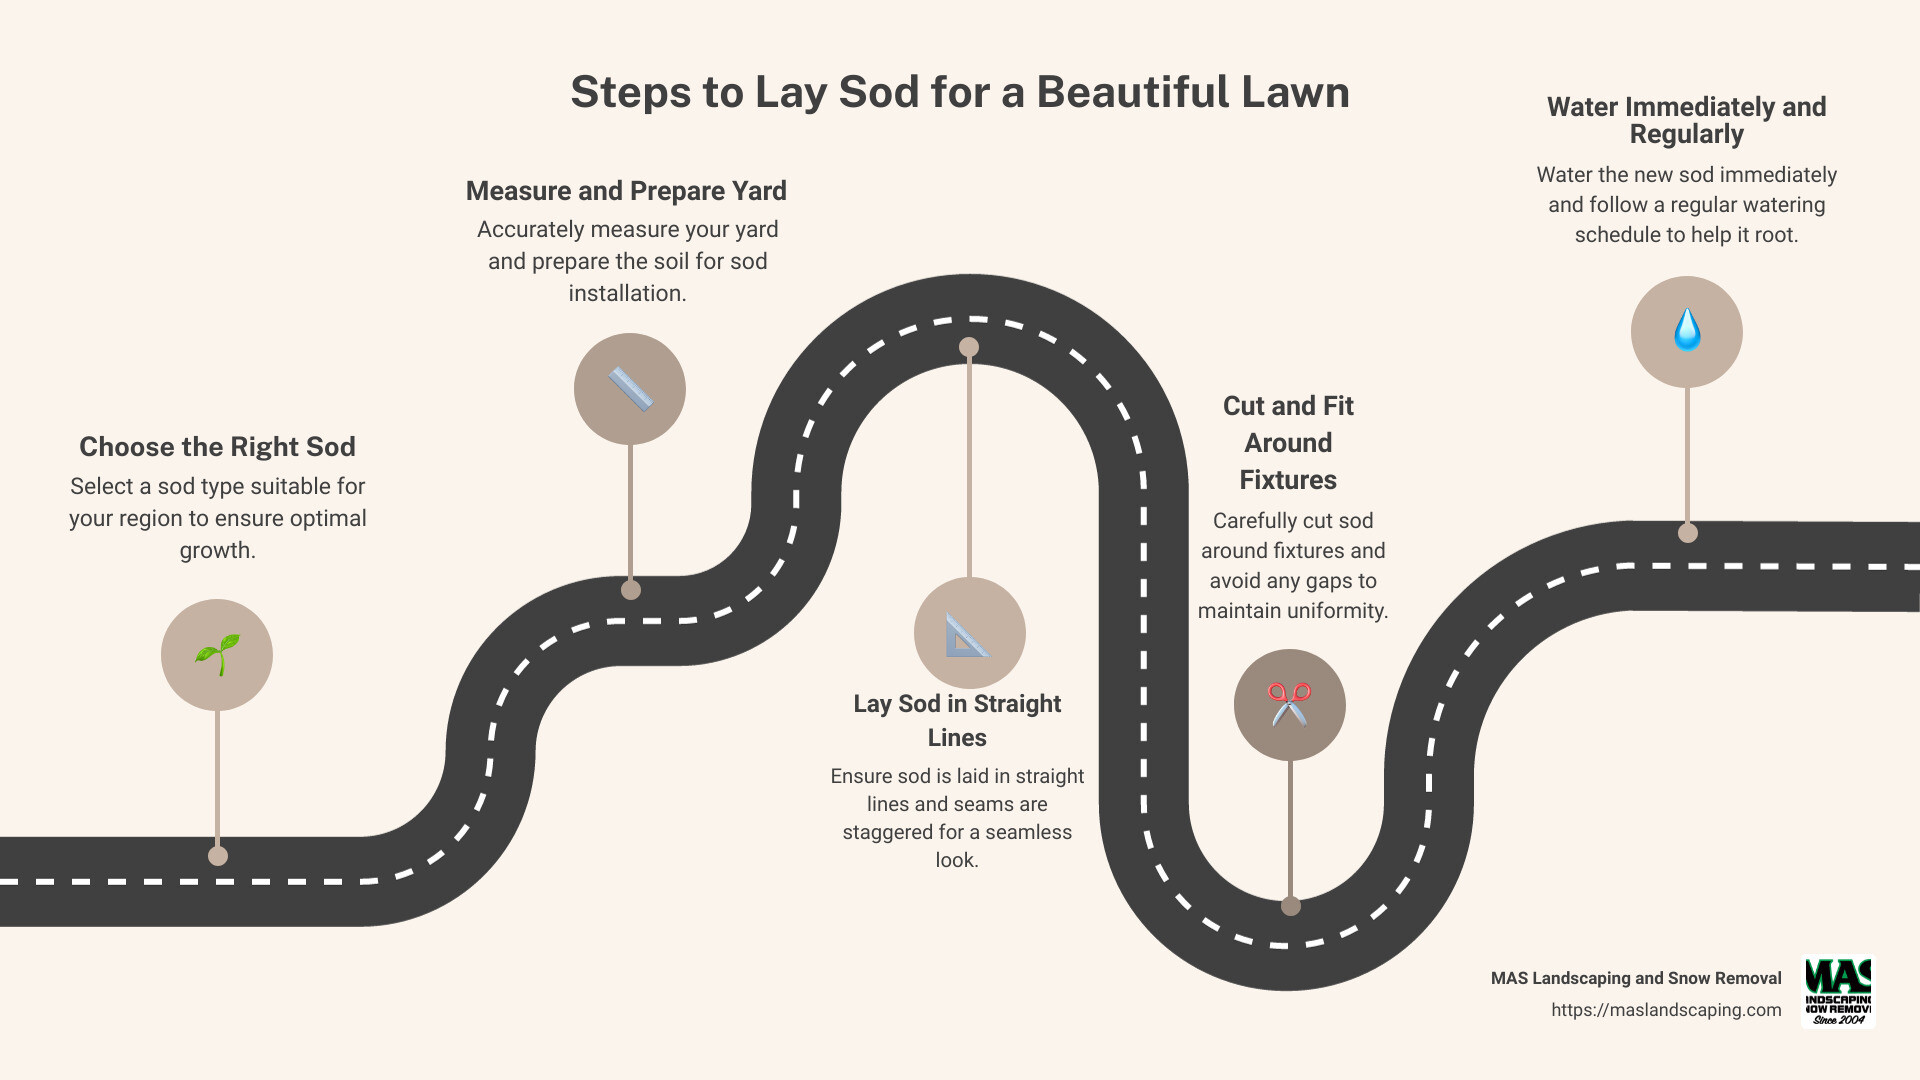
If you’re wondering how to lay sod, you’ve come to the right place. Here’s a quick guide to get you started:
- Choose the right sod type for your region.
- Measure and prepare your yard.
- Lay the sod in straight lines and stagger the seams.
- Water the new sod immediately and regularly.
Instant Lawn, Instant Gratification
Tired of staring at that patchy, lifeless lawn? Laying sod is your quickest route to an instant green oasis. Unlike seeding, which can take months to show results, sod provides an immediate, lush lawn that only gets better with time.
Advantages of Sod Over Seeds:
- Instant Greenery: The moment you lay sod, you see a fully formed lawn.
- Year-Round Installation: Unlike seed, which has specific planting seasons, sod can be laid almost any time of the year.
- Erosion Control: Sod’s established root system helps prevent soil erosion right from the start.
- Weed Management: Mature sod competes well against weeds, giving you a cleaner lawn with less effort.
Ready to transform your yard? Follow our simple steps, and you’ll be enjoying a luxurious lawn in no time.
Preparing Your Yard for Sod Installation
How to Prepare Your Soil for Sod
Before you jump into laying sod, prepping your soil is crucial. Proper preparation ensures that your new lawn will thrive. Let’s break down the essential steps to get your soil ready.
Soil Testing
Start with a soil test. This tells you your soil’s pH and nutrient levels. You can buy a kit online or send a sample to a lab. Knowing your soil’s pH helps you make necessary adjustments. For example, a slightly acidic pH between 6 and 7.5 is ideal for most turf grasses.
Removing Old Grass
Next, remove any existing grass and weeds. Using a sod cutter or a shovel, dig up all the old grass. Avoid using herbicides, as they can stay in the soil and harm your new sod. Clear the area of debris like rocks, sticks, and old roots. This ensures your sod will lay flat.
Leveling
Level the soil to avoid hills and low spots. Uneven ground makes mowing difficult and can cause water pooling. Use a rake to smooth out the surface. If your yard has a gentle slope, level along the grade to prevent bumps.
Topsoil Addition
Check your topsoil depth. Use a soil probe or trowel to see how many inches of loamy topsoil you have. If it’s less than 4 inches, consider adding more. Mix topsoil with compost for better results. This gives your sod a nutrient-rich base.
Rototilling
Rototilling breaks up compacted soil, allowing roots to penetrate deeper. Till the soil to a depth of 4-6 inches. This also helps improve air, nutrient, and water movement. For easier tilling, water the soil a day or two before starting.

Compost
Adding compost improves soil texture and provides nutrients. Spread a layer of compost over the tilled soil and mix it in. This creates a fertile environment for your sod.
Sand
If your soil is heavy clay, mix in some sand. This improves drainage and prevents waterlogging. Aim for a balanced mix to ensure good root growth.
Starter Fertilizer
Apply a starter fertilizer to give your sod a nutrient boost. Choose one specifically made for sod. This helps the roots establish quickly. Spread it evenly over the prepared soil.
Lime
If your soil test shows low pH, add lime to raise it. Follow the soil test recommendations for how much to use. Mix the lime thoroughly into the soil.
By following these steps, you’ll create the perfect foundation for your new sod. Up next, we’ll dive into the actual process of laying sod.
How to Lay Sod
Best Practices for Laying Sod
Laying sod can transform your yard into a lush, green paradise. Here are some essential tips to ensure you get it right.
Straight Edge Alignment
Start by laying the first row of sod along the longest straight edge in your yard. This could be your house, driveway, or sidewalk. A straight edge ensures that your rows are aligned properly, making the rest of the installation easier.
Staggering Rows
Think of laying sod like laying bricks. Stagger the rows to avoid creating long seams. This “brick-like” pattern helps prevent water channels from forming, which can cause the sod to separate and die.
Cutting for Fixtures
Use a sharp sod knife to cut around sprinkler heads, trees, or other fixtures. A clean cut ensures that the sod fits snugly and roots well. You can also use the knife to trim edges for a perfect fit.
Avoiding Gaps
Make sure each piece of sod is butted tightly against the next. Gaps can lead to exposed roots, which can dry out and die. Over time, these gaps can widen, leaving unsightly brown lines in your lawn.
Seam Handling
To handle seams properly, press down along the edges of each sod piece. This helps eliminate air pockets and ensures good contact with the soil. You can use a lawn roller or simply walk over the seams to press them down.
Handling Curves
Curves can be tricky. Instead of cutting long, thin strips, cut smaller pieces that can bend around the curve. Smaller pieces are less likely to dry out and die. Lay these pieces snugly together to maintain a seamless look.
Using a Sod Knife
A sod knife is your best friend during this process. It’s perfect for making precise cuts around fixtures and edges. Make sure your knife is sharp for clean cuts, which will help the sod root better.
Watering After Installation
Water your new sod immediately after installation. The goal is to keep it moist but not waterlogged. For the first two to three weeks, expect to water one to three times daily. Ensure the water penetrates through the sod and into the soil to encourage deep root growth.
By following these best practices, you’ll give your new lawn the best chance to thrive. Next, we’ll cover how to care for your sod once it’s laid.
Watering and Caring for New Sod
Initial Watering
Water your new sod immediately after installation. The goal is to keep it moist but not waterlogged. For the first two to three weeks, expect to water one to three times daily. Ensure the water penetrates through the sod and into the soil to encourage deep root growth.
Frequency
During the first week, check the soil moisture often. Gently lift the corners of the sod to see if the soil underneath is moist. If it starts to dry out, it’s time to water. After the roots begin to establish, you can start watering less frequently but more deeply. This helps the roots grow deeper into the soil.
Morning Watering Benefits
Watering early in the day is crucial. It minimizes the risk of disease and fungal problems. Morning watering allows the grass blades to dry out during the day, reducing the chance of moisture-related issues.
Avoiding Disease
Keeping your sod too wet can lead to disease. Puddles and overly saturated soil are bad. Aim for moist, not soggy, conditions. Regularly check for signs of disease, such as discolored patches or fungus, and adjust your watering schedule if needed.
When to Mow New Sod
Patience is key. Wait until your new lawn reaches 3-4 inches in height before the first mow. This usually happens around three weeks after installation. Ensure the roots are firmly anchored to the soil before mowing.
Mowing Frequency
Once your lawn reaches the desired height, mow it gently. Follow the “one-third rule”: never cut off more than one-third of the grass blade length in a single mowing. This prevents stress on the grass and encourages a healthy root system.
Using a Walk-Behind Mower
For the first few mows, use a walk-behind mower. This is gentler on the still-tender roots of your new sod. Set the mower deck to a height of 3-3.5 inches for the first trim. Let the clippings stay on the grass to add some natural nitrogen fertilizer.
By carefully managing watering and mowing, you’ll set your new sod up for success. Next, we’ll explore the best times to lay sod, considering seasonal and weather factors.
When Is the Best Time to Lay Sod?
Laying sod can be done at various times of the year, but timing it right can make a big difference in how well your new lawn establishes.
Seasonal Advice
The best time to lay sod is during the cooler months of early autumn and spring. During these seasons, temperatures are moderate, and precipitation is usually more abundant. This helps the sod establish roots without the stress of extreme heat or cold.
In mild climates, you can even lay sod in winter. However, avoid laying sod during the peak of summer unless you can provide extra care and watering.
Cool-Season vs. Warm-Season Grasses
Your choice of grass type also influences the best time to lay sod.
- Cool-season grasses like Kentucky bluegrass, perennial ryegrass, and fine fescue thrive in cooler temperatures. These are best laid in early autumn or spring.
- Warm-season grasses such as Bermudagrass, Zoysia, and St. Augustine prefer warmer climates and should be laid in late spring or early summer when the soil is warm enough for root growth.
Weather Considerations
Weather plays a crucial role in sod installation. Avoid laying sod during periods of extreme heat, heavy rain, or drought. Ideal conditions are cool and moist, allowing the sod to root effectively.
Common Mistakes in Laying Sod
Avoid these common pitfalls to ensure your sod installation is a success:
Overlapping
Overlapping sod pieces can prevent proper root establishment and cause uneven growth. Lay each piece tightly against the next without overlapping. Use a sod knife to trim edges for a perfect fit.
Leaving Gaps
Leaving gaps between sod pieces can lead to weed growth and uneven lawns. Ensure each piece fits snugly against its neighbors. Small gaps can be filled with topsoil to promote seamless growth.
Inadequate Soil Preparation
Proper soil preparation is critical. Inadequate soil preparation can hinder root growth and lead to sod failure. Remove old grass, till the soil, and add necessary amendments like compost and fertilizer based on soil test results.
Incorrect Watering
Watering is vital for sod survival. Incorrect watering—either too much or too little—can kill your new lawn. Water the sod thoroughly right after installation and keep it consistently moist for the first few weeks. Check soil moisture regularly to avoid overwatering or underwatering.
By avoiding these common mistakes and choosing the right time to lay sod, you can achieve a lush, green lawn that improves your outdoor space.
Next, we’ll discuss essential tips for watering and caring for your new sod to keep it healthy and vibrant.
Watering and Caring for New Sod
Proper watering and care are crucial for your new sod to thrive. Here are some essential tips to ensure your lawn stays healthy and green.
Initial Watering
Water your sod immediately after installation. This first watering helps the sod settle and start rooting into the soil.
Pro Tip: Water it daily for the first week, preferably in the morning. Morning watering reduces evaporation and allows the grass to absorb water before the heat of the day.
Frequency
After the first week, reduce watering to every other day. This helps the roots grow deeper into the soil.
Important: Avoid walking on the sod during this period. Walking can shift the sod, making it uneven or bunched.
Morning Watering Benefits
Watering in the morning has several advantages:
- Reduces Evaporation: Less water is lost to evaporation compared to midday watering.
- Prevents Disease: Grass blades dry out during the day, reducing the risk of fungal diseases.
Avoiding Disease
To keep your sod disease-free, ensure it’s not overwatered. Overwatering can lead to fungal growth and other issues.
Quick Tip: Check soil moisture regularly. The soil should be moist but not soggy.
Next, we’ll cover when to mow your new sod to promote healthy growth and maintain its lush appearance.
Frequently Asked Questions about Laying Sod
What should you put down before laying sod?
Before laying sod, preparation is crucial. Here’s a quick rundown of what you should put down:
- Soil Amendments: Start with a soil test to determine what nutrients your soil needs. You can get this done through your local extension service. Based on the results, add compost, sand, starter fertilizer, or lime to balance the pH and nutrient levels.
- Topsoil: If your soil is compacted or poor in quality, add a layer of topsoil. This provides a nutrient-rich base for your sod.
- Rototilling: Till the soil to a depth of about six inches. This helps aerate the soil and mix in your amendments.
- Leveling: Use a rake to remove any rocks, roots, or debris and to level the soil. Water the soil lightly to identify and fill any depressions.
Quick Tip: Amend the soil as recommended by your soil test results to ensure your sod has the best start.
Can you lay sod without tilling?
While it’s possible to lay sod without tilling, it’s not recommended for large areas. Tilling helps to loosen the soil, making it easier for the sod’s roots to penetrate and establish themselves. If you skip this step, especially in compacted soil, the sod might struggle to root deeply, leading to poor growth and potential sod failure.
For small patches or repairs, you might get away with not tilling, but for best results, especially for larger lawns, we strongly recommend it.
Pro Tip: If you must skip tilling, at least aerate the soil to improve root penetration.
What is the best base for laying sod?
The best base for laying sod is a well-prepared, nutrient-rich soil. Here’s what it should include:
- Loamy Soil: This type of soil offers a good balance of sand, silt, and clay, providing excellent drainage and nutrient retention.
- Proper pH: Aim for a slightly acidic to neutral pH (between 6 and 7.5). Adjust the pH using lime or sulfur based on your soil test results.
- Nutrient-Rich: Incorporate compost or organic matter to provide essential nutrients. Starter fertilizer can also give your sod a strong start.
- Even Surface: Ensure the soil is level and free of debris. Uneven surfaces can cause pooling water and poor sod contact.
Quick Tip: Use a lawn roller to flatten the soil after leveling to create a firm base for the sod.
By following these guidelines, you’ll create an ideal environment for your sod to thrive.
For more detailed guidance and professional help with your sod installation, visit our Landscape Design Services.
Ready to transform your yard? Our experts at MAS Landscaping and Snow Removal are here to help you lay it right!
