Installing a Patio: Top 4 Easy Steps for Success
Installing a patio can transform your backyard into a gorgeous and functional outdoor space. Whether you’re looking to increase your home’s value, create a fabulous entertaining area, or simply enjoy the beauty of the outdoors from the comfort of your own home, a DIY patio project can be a rewarding experience. Here’s a quick overview of what you’ll need to do:
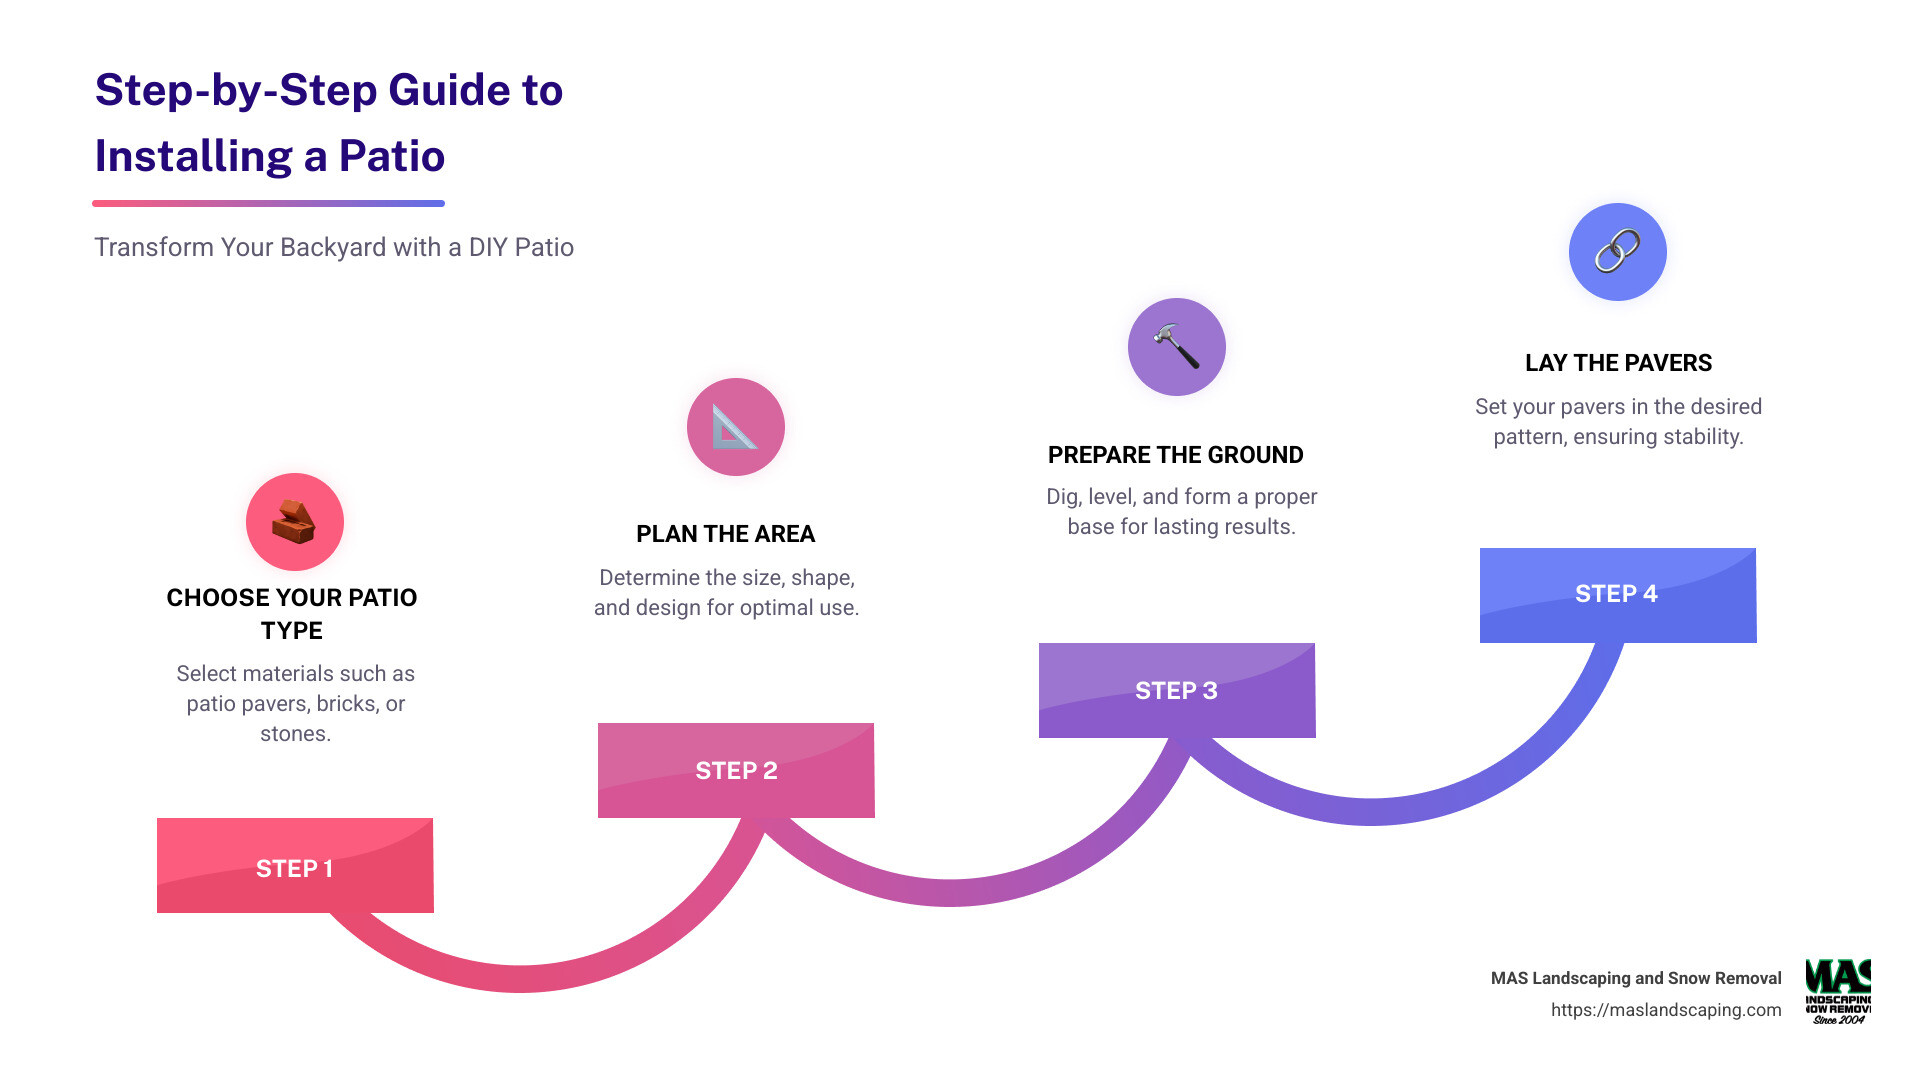
- Choose Your Patio Type: Decide on materials such as patio pavers, bricks, or stones.
- Plan the Area: Determine the size, shape, and design of your patio for optimal use.
- Prepare the Ground: Dig, level, and form a proper base for lasting results.
- Lay the Pavers: Set your pavers in the desired pattern, ensuring stability and alignment.
A well-planned DIY patio not only improves the aesthetic appeal of your outdoor area but also provides a durable and enjoyable space for relaxation and entertaining. In this guide, we’ll take you through each step necessary to complete a patio project with confidence and ease. Whether crafting a small garden nook or a large dining area, we’ve got the tips and tricks you need to succeed.
Installing a patio definitions:
– backyard patio design
– landscape pavers near me
– patio paver sealer companies near me
Preparing Your Patio Area
Before you start installing a patio, it’s crucial to prepare the area properly. This ensures a stable and long-lasting foundation for your patio. Here’s how you can get started:
Tools and Materials Needed
First, gather the essential tools and materials. Here’s a handy list to keep you on track:
- Shovel: For digging and removing sod.
- Tape Measure: To measure and mark the area.
- Garden Rake: Useful for leveling the ground.
- Tamper and Plate Compactor: Essential for compacting the soil and base layers.
- Gravel and Sand: These form the base and leveling layers.
- Landscape Fabric: Helps prevent weeds from growing through the patio.
- Paver Stones: The main material for your patio surface.
Excavation
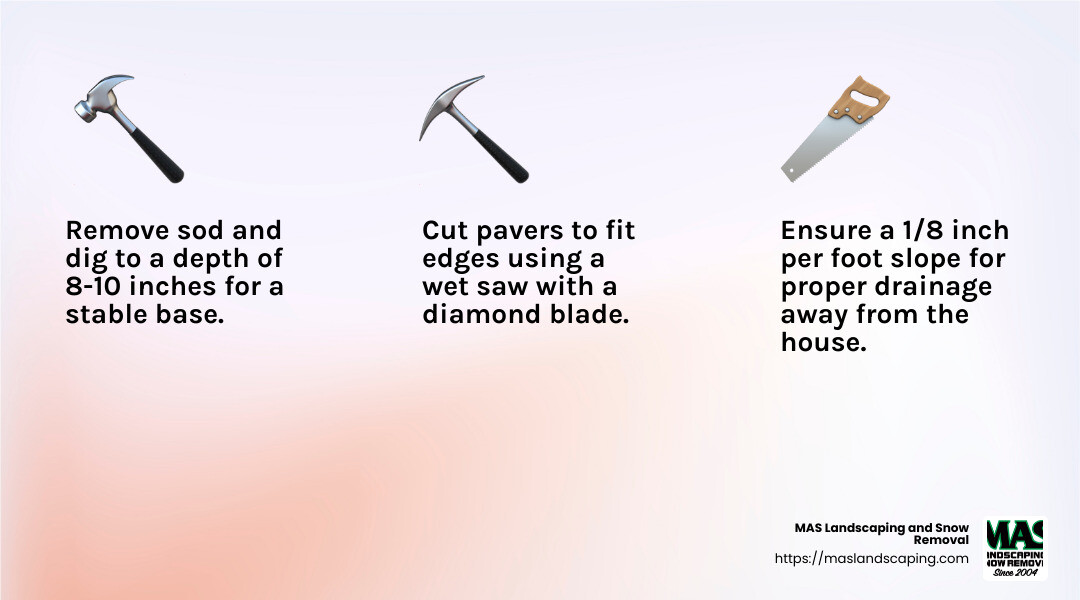
Start by excavating the area where you plan to install the patio. You’ll need to remove the sod and dig to a depth that accommodates the gravel base, sand, and paver stones. A depth of 8-10 inches is typical, depending on the thickness of your pavers and the base layers.
Pro Tip: If you’re dealing with a large area, consider renting a mini skid steer to speed up the excavation process.
Marking the Perimeter
Use stakes and mason line to mark the perimeter of your patio. This helps you visualize the space and ensures you dig and lay materials in the right area. Make sure the lines are straight and corners are at the correct angles.
Leveling the Ground
Once the area is excavated, it’s time to level the ground. Use a garden rake to smooth out the soil, removing any large rocks or roots. This step is crucial for a stable patio surface.
Ensure Proper Drainage: The ground should have a slight slope, about 1/8 inch per foot, to direct water away from your home. This prevents water pooling and potential damage to your patio and home foundation.
Adding Gravel Base
Spread a 4-6 inch layer of gravel over the leveled ground. This gravel base provides stability and assists with drainage. Compact the gravel using a hand tamper or a plate compactor to create a firm foundation.
Laying Landscape Fabric
Lay landscape fabric over the compacted gravel. This prevents weeds from growing through your patio while allowing water to drain. Secure the fabric with pins to keep it in place.
Adding Sand Layer
Finally, spread a 1-inch layer of leveling sand over the landscape fabric. Use a straight edge or a 2×4 board to screed the sand, ensuring it’s smooth and level. This layer provides a cushion for the paver stones and helps with even placement.
With these steps, your patio area is now ready for the next exciting phase: laying the pavers. This preparation ensures a solid foundation, setting the stage for a beautiful and durable patio.
Installing a Patio: Step-by-Step Guide
Step 1: Clear and Excavate
Begin by removing the sod and any loose soil in the area marked for your patio. This step is crucial to ensure a stable base. Dig down to a depth that allows for the gravel base, sand layer, and the paver stones themselves—typically around 8-10 inches. This depth accommodates the gravel base, leveling sand, and the pavers.
Slope for Drainage: As you excavate, ensure your patio has a slight slope—about 1/8 inch per foot—away from your home. This prevents water from pooling and protects the foundation of your house.
Step 2: Add Base and Level
Once excavation is complete, it’s time to add your gravel base. Spread a 4-6 inch layer of clean gravel across the entire area. This gravel acts as the foundation, providing stability and aiding in drainage.
- Compact the Gravel: Use a plate compactor to press the gravel down firmly. This creates a solid base that won’t shift over time.
Next, roll out landscape fabric over the compacted gravel. This prevents weeds from sneaking through your patio but still allows water to drain effectively.
Leveling Sand: Over the landscape fabric, spread a 1-inch layer of leveling sand. Use a straight edge or a long board to screed the sand, ensuring an even, flat surface. This sand layer cushions the pavers and helps maintain their position.
Step 3: Lay the Pavers
Now comes the fun part—laying the pavers. Start from a corner and work your way out, placing each paver stone carefully on the leveled sand. Use a rubber mallet to gently tap them into place.
- Pattern Choice: Decide on a pattern that suits your style. Simple patterns like jack-on-jack or running bond are easy for beginners, while herringbone or pinwheel patterns offer a more intricate look.
- Fitting and Cutting Pavers: As you reach the edges, you may need to cut pavers to fit. A wet saw with a diamond blade is ideal for precise cuts. Make sure to measure twice before cutting to avoid mistakes.
Step 4: Secure and Finish
With your pavers in place, it’s time to secure them with edging stones. These stones help to lock the pavers in place and prevent shifting over time.
Paver Edging: Install paver restraints along the edges of your patio. These are typically secured with spikes driven into the ground.
Finally, sweep polymeric sand or jointing sand into the gaps between the pavers. This sand hardens when wet, locking the pavers together and preventing weeds from growing through the cracks.
With these steps complete, your patio is ready to enjoy. You’ve laid down a sturdy, beautiful surface that will last for years. Next, we’ll explore how to improve your patio space with furniture, lighting, and greenery.
Enhancing Your Patio Space
Once your patio is installed, it’s time to transform the area into an inviting outdoor retreat. Enhancing your patio space involves adding elements that boost comfort, functionality, and aesthetics. Here’s how you can make your patio the ultimate outdoor haven:
Outdoor Furniture
Choosing the right outdoor furniture is key to creating a comfortable and stylish space. Consider weather-resistant materials like teak, aluminum, or synthetic wicker, which are designed to withstand the elements. Here are some ideas to get you started:
- Deep Seating Sofas and Chaise Lounges: Perfect for lounging and enjoying the outdoors, these pieces offer the comfort of indoor furniture with the durability needed for outside use.
- Sturdy Dining Tables and Chairs: Encourage alfresco dining with a robust table set. Opt for materials that can handle exposure to the elements without sacrificing style.
- Daybeds: Add a touch of luxury with a daybed, ideal for lazy afternoons or stargazing nights.
Lighting
Proper lighting can extend the use of your patio well into the evening, creating a warm and welcoming atmosphere. Consider these options:
- LED String Lights: Drape them around trees, pergolas, or along the fence to add a magical glow.
- Solar-Powered Path Lights: These are energy-efficient and perfect for illuminating walkways and garden paths.
- Wall Sconces and Lanterns: Add these to provide ambient lighting and improve the aesthetic appeal of your patio.
Greenery
Incorporating greenery into your patio design brings life and vibrancy to the space. Here are some simple ways to add plants:
- Container Gardens: Use pots of various sizes to grow flowers, herbs, or even small shrubs. This adds color and texture without requiring a lot of space.
- Vertical Gardens: Ideal for smaller patios, vertical gardens use wall space to grow plants, creating a lush backdrop.
- Garden Beds: Surround your patio with garden beds filled with a mix of perennials and annuals to keep the area blooming throughout the seasons.
Fire Pit
A fire pit can be a cozy focal point for your patio, offering warmth and ambiance. Here’s how to safely incorporate one:
- Fire-Resistant Pavers: Ensure your patio pavers are fire-resistant. This prevents damage and ensures safety.
- Pre-Made Fire Pit Kits: These kits come with everything you need and are easy to assemble. Choose a style that complements your patio’s design.
- Safe Placement: Keep your fire pit a safe distance from your home, furniture, and any overhanging branches.
With these improvements, your patio becomes more than just an outdoor space—it transforms into a functional, beautiful extension of your home. Next, we’ll address some frequently asked questions about installing a patio to help you tackle any remaining uncertainties.
Frequently Asked Questions about Installing a Patio
How do you prepare ground for a patio?
Preparing the ground for a patio is crucial for a stable and long-lasting installation. Start by excavating the area where you’ll install the patio. Remove any sod and dig down to the required depth, usually enough to accommodate the layers of gravel, sand, and pavers. Ensure the area slopes slightly away from your home to allow for proper drainage—about 1 inch of drop for every 8 feet is ideal.
Next, compact the soil using a tamper or a plate compactor. This step is essential to prevent the patio from shifting over time. After compacting, lay down a sub-base of gravel, typically 4 inches thick. The gravel acts as a stable foundation and helps with drainage. Compact the gravel layer thoroughly to create a solid base for the sand and pavers.
What is the easiest patio to install yourself?
For DIY enthusiasts, installing a patio with uniform materials like bricks or concrete pavers is often the easiest option. These materials come in consistent sizes and shapes, making them straightforward to lay out in a pattern. Concrete pavers are particularly popular due to their durability and ease of handling. They can be arranged in simple patterns like running bond or basket weave, which require minimal cutting.
Bricks are another user-friendly option. Their consistent size makes them easy to fit together, even for beginners. Both bricks and concrete pavers can be installed with minimal tools, making them ideal for a DIY project.
Can you lay a patio straight onto concrete?
Yes, you can lay a patio directly onto an existing concrete slab. This method can save time and effort since you won’t need to excavate or prepare a new base. However, ensure the concrete is in good condition without major cracks or uneven areas.
To lay pavers on concrete, start by cleaning the surface thoroughly. Then, apply a layer of coarse sand to help with leveling and drainage. Lay the pavers directly on this sand bed, ensuring they are tightly fitted together. No additional materials are typically needed, making this a convenient option if you have a suitable concrete base already in place.
With these foundational questions answered, you’re well on your way to planning and executing a successful DIY patio installation. Next, we’ll explore more about enhancing your outdoor space.
Conclusion
At MAS Landscaping and Snow Removal, we understand that creating a beautiful and functional outdoor space is more than just a project—it’s an investment in your home and lifestyle. With our local expertise and commitment to professional service, we’re here to help you turn your patio dreams into reality.
Local Expertise Matters
Based in Saugus, MA, we have a deep understanding of the local climate, soil types, and weather conditions. This knowledge is crucial when it comes to designing and installing a patio that not only looks great but also stands the test of time. Our team knows which materials work best in our region, ensuring your patio is both durable and low-maintenance.
Professional Service You Can Trust
When you choose MAS Landscaping and Snow Removal, you’re partnering with a team that values quality and customer satisfaction. We pride ourselves on our professionalism, from the initial consultation to the final installation. Our team is fully licensed and insured, giving you peace of mind throughout the process. We keep communication clear and transparent, so you always know what to expect.
Transform Your Outdoor Space
Whether you’re looking to install a new patio or improve your existing outdoor area, our personalized approach ensures that your space reflects your style and meets your needs. From selecting the right pavers to choosing complementary landscaping features, we’re here to guide you every step of the way.
Ready to start your patio project? Explore our landscape design services and find how we can help create an outdoor space you’ll love for years to come. Let’s bring your vision to life together with MAS Landscaping and Snow Removal.
