Paver Installation: Top 7 Expert Tips for Success 2024
Paver installation is a fantastic way to transform your outdoor space, adding both functionality and beauty. Whether you’re looking to create a charming patio, a welcoming walkway, or a sturdy driveway, pavers provide a durable and appealing solution for your landscaping needs. The process might seem daunting, but with the right approach, it can be a rewarding DIY project or a worthwhile investment with professional assistance.
Here’s a quick guide for a successful paver installation:
- Plan: Determine the area, design, and materials.
- Prepare: Clear the area and set a solid base.
- Install: Lay the pavers carefully and ensure proper leveling.
- Finish: Fill joints with sand and seal the surface for longevity.
Engaging with professionals, like MAS Landscaping and Snow Removal, ensures a seamless process and a perfect outcome. They bring expertise, ensuring your paver installation is completed with precision and fits your aesthetic desires while meeting practical needs. Stay tuned for our step-by-step guide and expert tips to make your paver project a triumph!

Paver installation terms you need:
– Cost of Paver Walkway
– Walkway Contractor
– backyard paver walkway ideas
Preparing the Ground for Pavers
To ensure a successful paver installation, preparing the ground is crucial. This involves clearing the area, compacting the sub-base, and leveling the paver base. Here’s how to get started:
Clear Grass and Soil
First, remove any grass or existing hardscape. Use a shovel to dig out the sod and soil. Aim for a depth that accommodates your paver base and pavers, ensuring the surface is flat and free of roots and debris.
Compact the Sub-base
A strong sub-base prevents future shifting. Use a tamper or plate compactor to compact the soil. This step is vital to avoid air gaps, which can lead to uneven pavers later on. Make sure it’s well-compacted and stable.
Level the Paver Base
After compacting, it’s time to level the paver base. Spread a layer of gravel and sand, then use a landscaping rake to even it out. The base should be firm and smooth. This will provide a stable foundation for your pavers.
Mark the Perimeter
Outline your project area with stakes and a string line. This helps keep the layout straight and ensures you maintain the correct dimensions. Use a tape measure to double-check your measurements.
Slope for Drainage
Proper drainage is essential to prevent water pooling. Ensure your base has a slight slope, about 1/4 inch per foot, away from any structures. Use a level to confirm the slope, adjusting as necessary to guide water away efficiently.
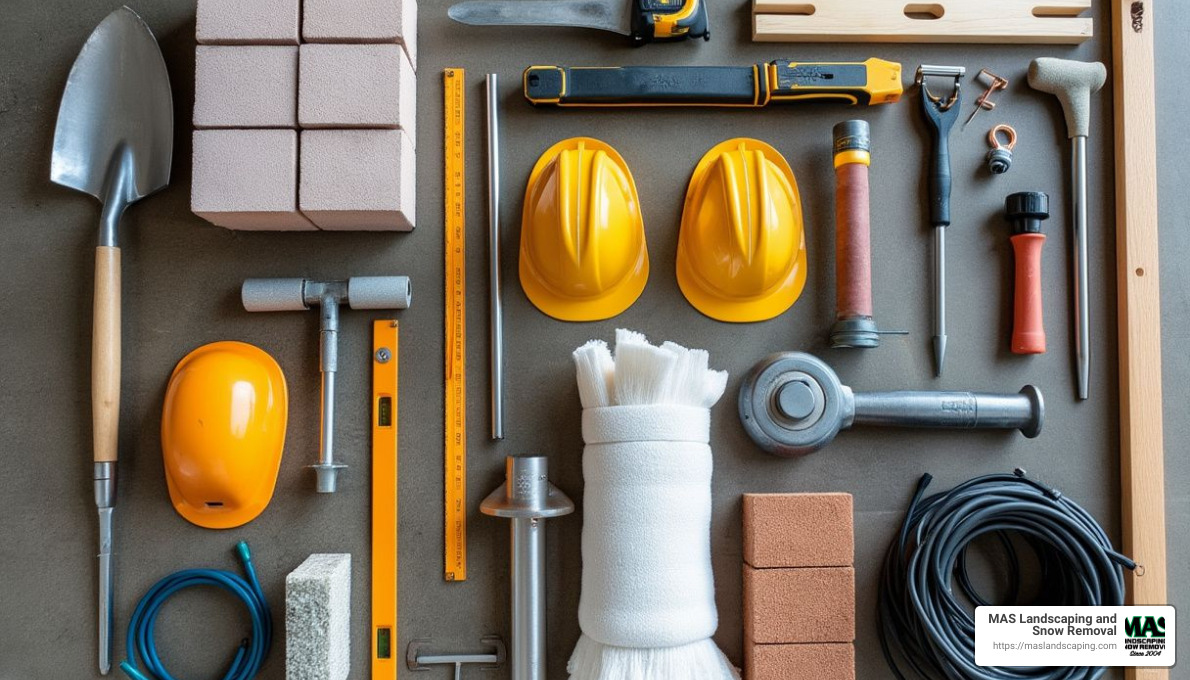
Essential Tools and Materials
Here’s a handy list of tools and materials needed for preparing the ground:
- Tools: Shovel, tape measure, landscaping rake, tamper, plate compactor, rubber mallet, wheelbarrow, circular saw, push broom, garden hose, level, speed square, string line, stakes, eye protection, hearing protection.
- Materials: Pavers, gravel, sand, geotextile fabric, concrete, joint sand, sealer.
Safety first! Wear eye protection and hearing protection while working. This not only safeguards you but also ensures a smooth workflow.
By following these steps, you’re setting a strong foundation for a durable and aesthetically pleasing paver installation. Up next, we’ll dive into the step-by-step guide to laying your pavers perfectly.
Step-by-Step Guide to Paver Installation
Step 1: Clear and Prepare the Area
Begin by outlining your paver area with marking paint. Use garden stakes and a mason’s line to define the perimeter. This ensures you have a clear boundary for your project.
Next, use a spade or shovel to remove any grass and topsoil. Aim for a depth that allows enough room for the paver base and pavers. The area should be free of roots and debris, providing a clean slate for your work.
Step 2: Add and Compact the Paver Base
Spread a layer of gravel across the cleared area. Use a landscape rake to distribute it evenly. The gravel acts as a solid foundation, preventing pavers from shifting over time.
Compact the gravel using a tamper or plate compactor. A garden hose can be used to slightly dampen the gravel, helping it compact more effectively. This step is crucial to eliminate air gaps and ensure a stable base.
Step 3: Add and Level the Paver Sand
Lay electrical conduit pipes across the compacted gravel. These act as guides for leveling the sand. Pour paver sand over the area and use a 2×4 board to screed it, ensuring an even layer.
Remove the conduit pipes carefully, filling in the gaps with more sand. Use a level to verify the sand bed is smooth and even, as this will directly affect how the pavers sit.
Step 4: Lay the Paver Stones
Starting from a corner, begin placing the pavers. Ensure each paver fits snugly against its neighbors. Avoid dragging them across the sand to prevent disturbing the level surface.
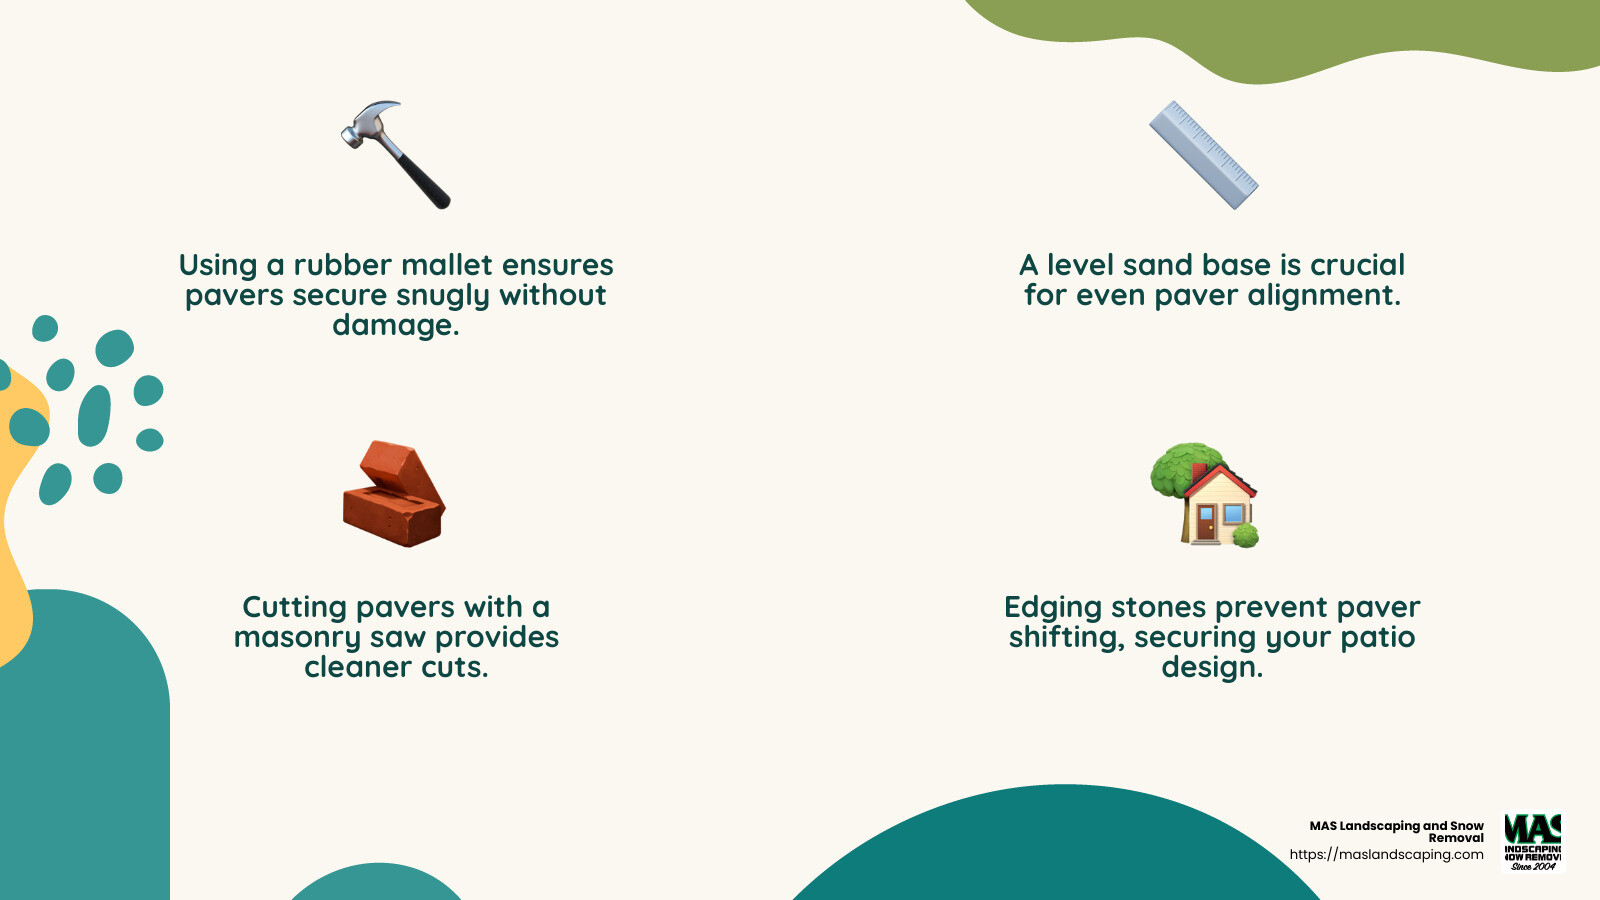
Use a rubber mallet to gently tap each paver into place, ensuring a firm fit. Continue laying pavers row by row, maintaining consistent spacing throughout.
Step 5: Cut and Fit Pavers
For any pavers that need cutting, use a straight edge and marker to outline the cut. A masonry saw is ideal for clean cuts. Remember to wear gloves and protective eyewear for safety.
Position the cut pavers to fill in gaps, ensuring a perfect fit. This step is essential for achieving a polished look.
Step 6: Add Edging Stones or Paver Edging
To secure the pavers, install edging along the perimeter. Use concrete or mortar to set stone edgings, or opt for hard plastic edging secured with stakes.
This step prevents the pavers from shifting over time and maintains the integrity of the design.
Step 7: Finish the Patio
Spread a thin layer of paver sand over the entire patio. Use a push broom to sweep the sand into the joints between the pavers. This locks them in place and fills any gaps.
Run a plate compactor over the surface to settle the sand and pavers. Add another layer of sand and repeat the process for a secure and professional finish.
By following these steps, you’ll achieve a durable and visually appealing paver installation. Next, we’ll explore some tips and tricks to ensure your project is a success.
Tips and Tricks for a Successful Paver Installation
Achieving a successful paver installation requires attention to detail and some insider knowledge. Here are some key tips and tricks to help you get the best results:
Proper Drainage
Ensuring proper drainage is crucial. Without it, water can pool and cause pavers to shift or sink over time. Create a slight slope of about 1/4 inch per foot away from any structures. This encourages water to flow away, protecting your pavers and your home.
Compacting the Sub-base
A well-compacted sub-base is the backbone of a stable paver installation. Use a plate compactor to press down the gravel base. This step eliminates air pockets and prevents future settling. Compacting should be done in layers, not all at once, to ensure even stability.
Using Geotextile Fabric
In areas with clay soil, like Southern California, geotextile fabric is a game-changer. It acts as a barrier between the soil and sub-base, preventing soil from mixing with the gravel. This helps maintain the integrity of the base and reduces the risk of paver movement.
Maintaining a Level Sand Bed
The sand bed is the final layer before laying pavers, and it must be perfectly level. Use guides like electrical conduit pipes and a 2×4 board to screed the sand. This ensures an even surface for the pavers to sit on, preventing unevenness and creating a professional finish.
Avoiding Air Gaps
Air gaps can lead to pavers shifting or cracking. To avoid this, make sure every layer—from the sub-base to the sand bed—is thoroughly compacted. When laying pavers, fit them snugly without forcing them into place. This minimizes space between pavers and ensures a tight, stable fit.
By following these tips, your paver installation will not only look great but also stand the test of time. Up next, we’ll tackle some frequently asked questions about the process.
Frequently Asked Questions about Paver Installation
How do you prepare the ground for pavers?
Preparing the ground is the first step in a successful paver installation. Start by clearing the area of any roots and rubble. This ensures a smooth surface for your project.
Next, compact the soil using either a hand or mechanical compactor. This will create a firm foundation and prevent future settling.
Then, add a compatible sand sub-base. This layer helps distribute weight evenly and aids in drainage. Make sure the sand is well-leveled before moving on to the next step.
What do you install under pavers?
Underneath pavers, you’ll need a few key materials to ensure stability and longevity.
First, lay down a layer of crushed stone or gravel. This forms the base and aids in drainage. Compact it well to eliminate air pockets.
Above the gravel, spread a layer of sand. This acts as a cushion and helps lock the pavers in place.
In some cases, you might use mortar or bituminous material for added stability, especially in areas with heavy traffic.
Pedestals are another option, often used in raised patios or decks, to provide support and allow for drainage beneath the pavers.
Can I install pavers myself?
Yes, you can definitely install pavers yourself! Here’s how:
- Measure your outdoor space to determine the number of pavers needed. Calculate an extra 10% to account for cuts and waste.
- Dig out the soil to the required depth, considering the base and paver thickness.
- Compact the gravel base using a plate compactor for a firm foundation.
- Level the paver base with sand, using a screed board to ensure evenness.
- Lay the pavers starting from a corner, placing them snugly without forcing.
- Fill cracks with paver sand to lock them in place and prevent shifting.
With careful planning and attention to detail, a DIY paver installation can be a rewarding project. Up next, we’ll wrap up with a summary of the benefits and how MAS Landscaping and Snow Removal can assist you.
Conclusion
Starting on a DIY paver installation can be a truly rewarding experience. Not only does it allow you to create a personalized outdoor space, but it also improves the aesthetic and functional value of your property. By following the steps outlined in this guide, you can achieve a professional-looking result that you can take pride in. The benefits of a DIY approach include cost savings, the flexibility to work at your own pace, and the satisfaction of completing a hands-on project.
However, we understand that not everyone has the time or resources to tackle such a project on their own. That’s where our team at MAS Landscaping and Snow Removal comes in. With our commitment to professionalism and personalized service, we offer expert assistance to ensure your paver installation is both beautiful and durable. Our local expertise in areas like Everett, Lynnfield, and Malden means we are well-versed in the unique conditions and regulations of the region, ensuring your project is compliant and sustainable.
Whether you choose to do it yourself or seek professional help, the key is to plan carefully and pay attention to detail. If you decide to let the experts handle it, we invite you to explore our Walkway Installation Services to see how we can bring your vision to life. With MAS Landscaping and Snow Removal, you can rest assured that your outdoor space will be transformed into a functional and inviting area that meets your needs and exceeds your expectations.
