




What Is Polymeric Sand — And Why It Makes Paver Joints Last
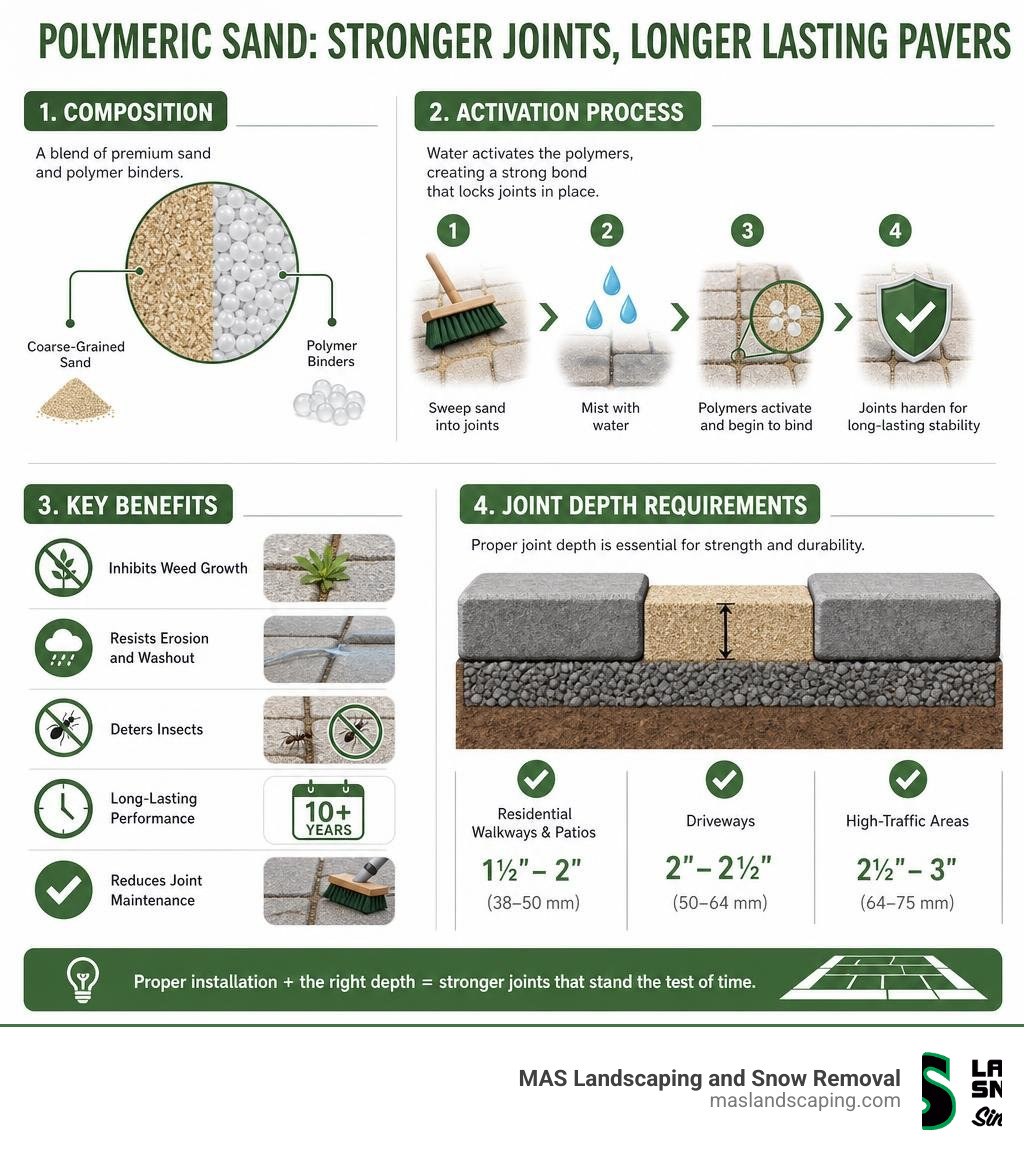
Polymeric sand is a mixture of coarse-grained sand and polymer binders that hardens when activated with water, locking paver joints in place and resisting weeds, erosion, and insects far better than regular jointing sand.
Quick answer for homeowners:
- What it is: A specially formulated sand with polymer additives that bonds when wet
- What it does: Stabilizes paver joints, blocks weed growth, and resists washout
- Where it’s used: Patios, driveways, walkways, pool decks, and any interlocking paver surface
- How long it lasts: Properly installed joints can last 10+ years depending on climate, traffic, and maintenance
- Who should use it: Anyone installing or restoring pavers who wants a low-maintenance, long-lasting joint
If your patio, driveway, or walkway is losing sand between the joints — or if weeds keep pushing through — polymeric sand is almost certainly the right fix.
For Greater Boston homeowners especially, where freeze-thaw cycles hit joints hard every winter, the difference between regular sand and polymeric sand can mean the difference between joints that stay tight for a decade and joints that need refilling every season.
This guide walks you through everything you need to know: what polymeric sand is, how to use it correctly in 5 steps, the mistakes that cause it to fail, and how to keep your pavers looking great year after year.
Common polymeric sand vocab:
What Is Polymeric Sand and Why Use It for Paver Joints?
To understand why polymeric sand has become the gold standard in modern hardscaping, it helps to look at what it actually is. At its core, this product is a precise blend of clean, graded, coarse-grained sand (often conforming to ASTM C144 standards) and synthetic polymer binders.
When dry, it behaves exactly like regular sand, easily sweeping into the narrowest gaps. However, once you introduce water, these dry polymers undergo a chemical reaction. They activate, melt together, and cure into a strong, flexible, self-healing glue that binds the sand particles into a cohesive, semi-solid joint.
How Polymeric Sand Differs From Regular Jointing Sand
Traditional jointing sand consists of simple silica sand or stone dust. While it is excellent for initially creating friction between pavers, it remains loose. Over time, regular sand easily washes away during heavy rainstorms, gets blasted out by leaf blowers, or is carried off by ants. Worse, loose sand creates an ideal nursery for windblown weed seeds to germinate and take root.
| Feature | Regular Jointing Sand / Stone Dust | Polymeric Sand |
|---|---|---|
| Composition | Natural crushed silica sand or stone dust | Graded silica sand + synthetic polymer binders |
| Water Resistance | Low (easily washes out during rain or washing) | High (cures into a water-resistant, flexible mass) |
| Weed Prevention | None (seeds easily germinate in loose sand) | Excellent (hardened barrier blocks seed growth) |
| Insect Control | None (ants easily tunnel and nest) | Excellent (impenetrable to burrowing pests) |
| Flexibility | Rigid (paver movement causes sand loss) | Flexible (self-heals and moves with ground shifts) |
| Lifespan | Requires annual or bi-annual replenishment | Can last 10+ years when applied correctly |
Using a product like EZ Sand 40 lbs. Tan Polymeric Sand or PolySweep Polymeric Sand – SEK SUREBOND – US.COM ensures that the sand stays exactly where it belongs: in the joint, keeping your pavers locked tight.
Main Benefits of Polymeric Sand
When we design and install a custom hardscape project via our Patio Paver Installation services, we almost always recommend a high-quality polymeric sand. The benefits speak for themselves:
- Weed Prevention: By curing into a solid joint, it prevents airborne weed seeds from establishing root systems between your pavers.
- Ant and Insect Resistance: Ants love nesting in warm, loose sand. Polymeric sand dries too hard for them to tunnel through, keeping your patio free of unsightly sand mounds.
- Erosion Control: It resists heavy rain, runoff, and the moderate pressure of garden hoses or leaf blowers.
- Structural Stability: It locks the individual pavers together, spreading weight loads evenly. This is crucial for high-traffic areas like driveways and walkways.
- Flexibility: Unlike rigid mortar, which cracks when the ground moves, polymer joints expand and contract, absorbing ground movement without failing.
How Long Polymeric Sand Typically Lasts
Under optimal conditions, a professional-grade installation of polymeric sand can easily last 10 years or more. However, its true lifespan depends heavily on several factors: the quality of the sub-base drainage, the amount of direct sunlight, traffic loads, and—most importantly—the weather.
Here in Eastern Massachusetts, our harsh winters bring severe freeze-thaw cycles. Water gets into hardscapes, freezes, expands, and then thaws. Standard jointing sands fail quickly under these conditions. High-quality polymeric sands, such as PolyXsand Polymeric Sand – Natural – StonehengeUS or Polysweep Polymeric Sand SEK Surebond — Polymeric Sand Store , are specifically engineered to remain flexible, allowing the joint to bend rather than break during our cold Saugus, Lynnfield, and Malden winters.
Before You Start: Where Polymeric Sand Works Best
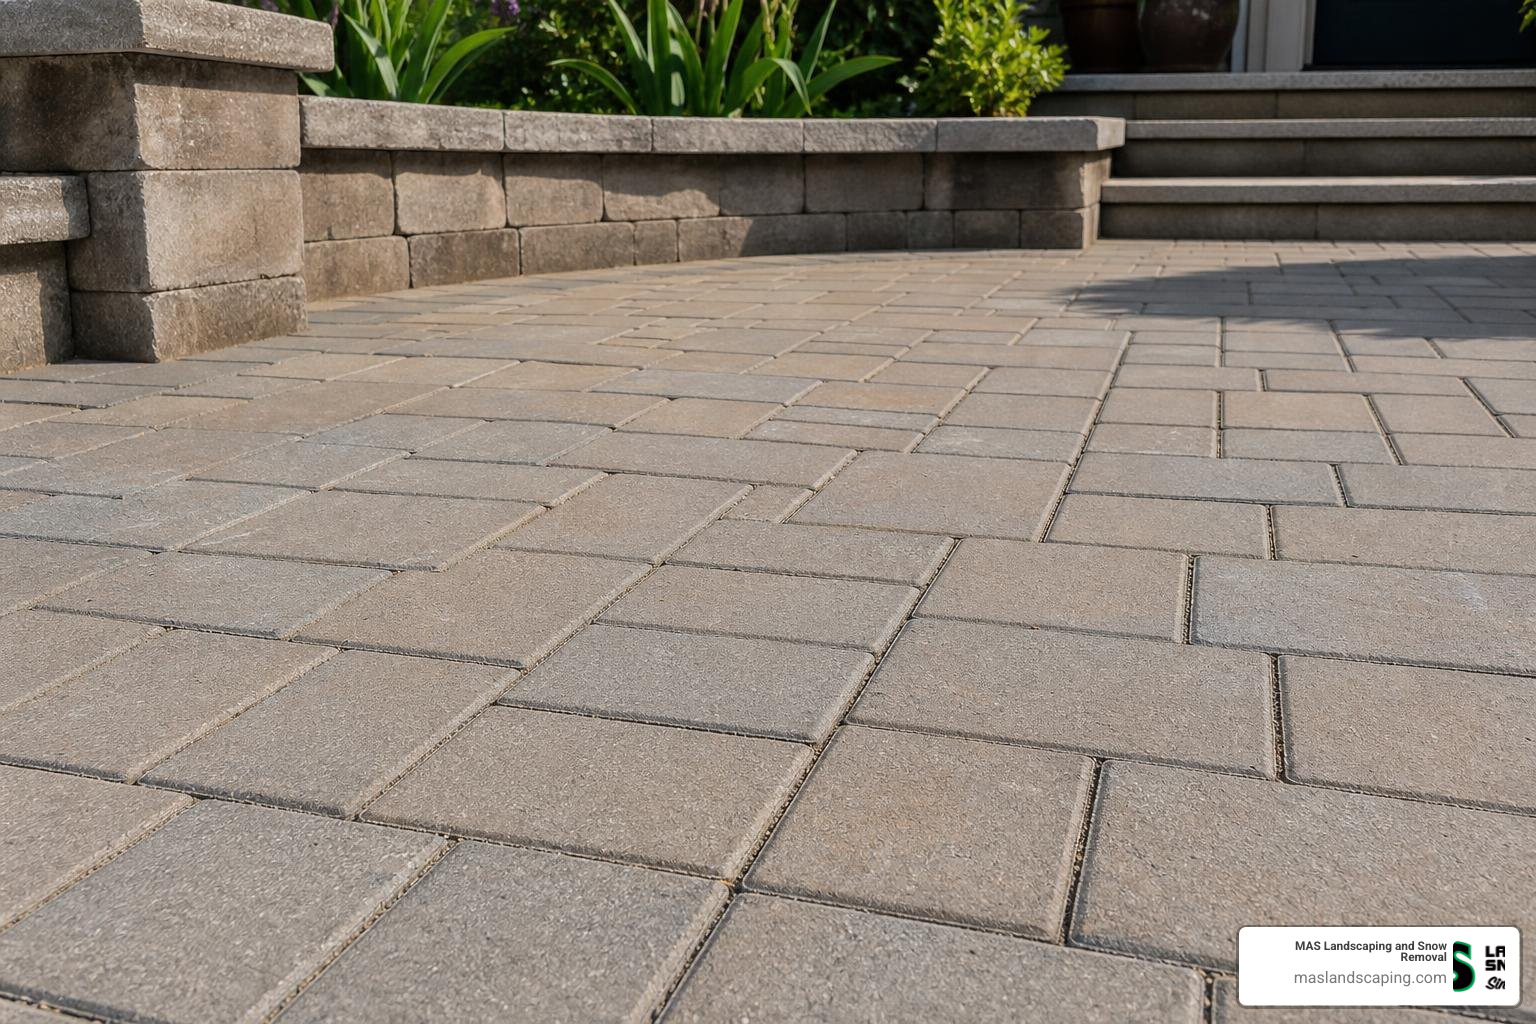
Before ripping open a bag of sand, you must evaluate your site. Polymeric sand is a fantastic product, but it is highly sensitive to installation conditions. If you do not meet its physical requirements, it will fail to cure, turn into a gooey mess, or leave a permanent white haze across your beautiful stone.
Suitable Joint Widths and Depths for Polymeric Sand
For standard polymeric sand formulas, the sweet spot for joint width is between 1/8 inch and 1 inch. If your joints are narrower than 1/8 inch, the sand grains cannot physically settle deep enough into the gap, leading to a thin, weak crust that will quickly flake off.
For wider joints—such as those found in natural flagstone patios—you must use a wide-joint formula, such as Polybind Complete Sand G2 – Polybind , which can handle joints up to 4 inches wide.
In terms of depth, the joint must be at least 1 to 1.5 inches deep. Never sweep polymeric sand over old, shallow sand. It requires a thick, cohesive column of sand to cure with enough structural strength to resist cracking. Always consult the manufacturer’s polymeric sand technical data sheet for exact depth and width limits.
When You Should NOT Use Polymeric Sand
While polymeric sand is incredibly versatile, there are several scenarios where it should never be used:
- Wet or Damp Surfaces: If your pavers are even slightly damp from morning dew or a recent rain, the polymers will activate prematurely on the surface, leaving a stubborn, cloudy white stain known as “polymeric haze.”
- Direct Concrete Overlays Without Drainage: If you are laying pavers over an existing concrete slab, you must have adequate drainage. If water pools under the pavers, the sand joints will remain saturated, liquefy, and wash out.
- Heavily Textured Pavers: Pavers with deep, rustic textures or split-face finishes can trap polymer dust in their crevices. When watered, this dust cures in place, ruining the look of the stone.
- Pool Coping Joints: For the joints directly bordering pool coping units that are subject to constant submersion or heavy splashing, a traditional mortar joint or specialized marine sealant is often a safer choice.
Choosing the Right Color for Your Project
The color of your joint sand acts as a frame for your pavers, dramatically shifting the visual design of your patio or driveway.
- Gray/Titanium Gray: Perfect for modern, clean concrete pavers. It provides a sleek, monolithic, contemporary look.
- Tan/Natural: Best for natural stone, clay bricks, or warm-toned concrete pavers. It mimics the natural look of mortar or beach sand.
- Charcoal/Black: Creates a bold, high-contrast frame around light-colored pavers, highlighting individual stone shapes.
Pro Tip: Always ask your supplier—such as our local friends at Georgetown Building Supply, georgetown ma, georgetown ma … —for physical sand color samples. Polymeric sand often looks much darker when wet than when dry, so testing a small sample on-site is always a smart move.
How to Use Polymeric Sand in 5 Simple Steps
Applying polymeric sand is a straightforward process, but it requires strict attention to detail. Think of it like baking a cake: if you skip a step or rush the measurements, the final product won’t turn out right. Follow our professional, step-by-step polymeric sand installation guide to ensure a flawless finish.
Step 1: Clean and Dry the Paver Surface
The absolute most important rule of polymeric sand is this: the pavers and joints must be 100% dry.
If you are working on a brand-new installation, this is easy. If you are performing a restoration on an older patio, you must first completely excavate the old, weed-choked sand. We recommend using a pressure washer to clean out the joints to a depth of at least 1.5 inches.
Once washed, you must wait! Let the patio dry for at least 24 to 48 hours. Do not attempt to install sand if there is moisture hiding deep in the joints, or if morning dew is still clinging to the stone. If you need help preparing your old pavers, check out our comprehensive Paver Restoration Near Me Guide.
Step 2: Sweep Polymeric Sand Into the Joints
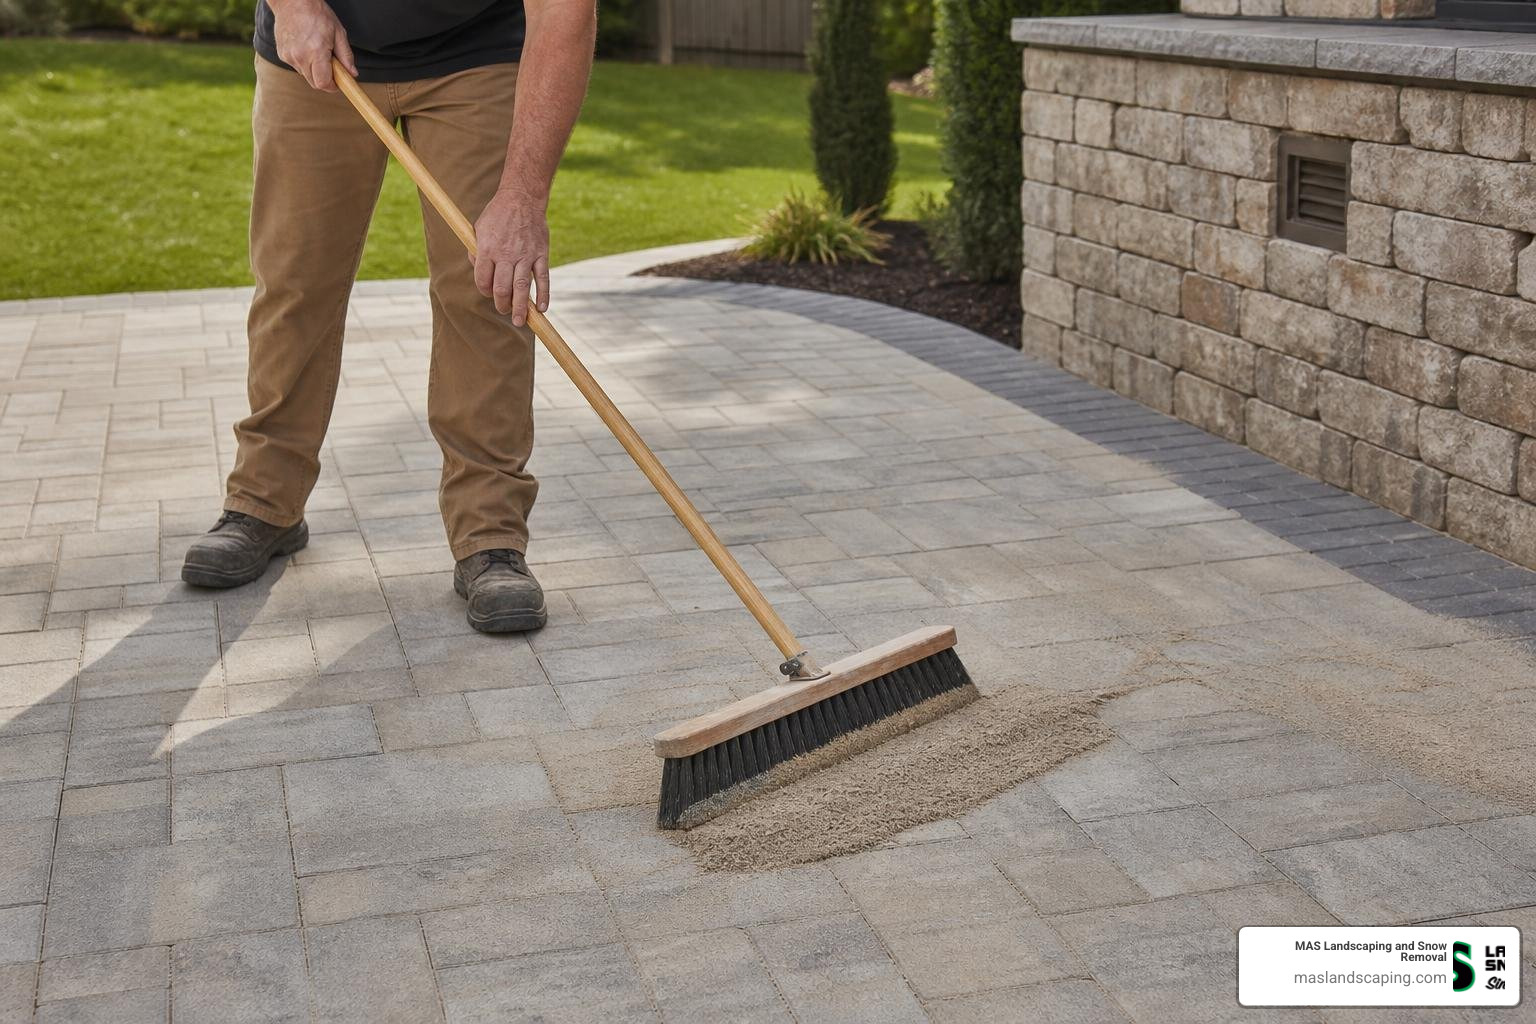
Pour the sand directly out of the bag onto the dry pavers. Using a clean, dry, hard-bristled broom, sweep the sand across the patio.
Always sweep diagonally across the joints. If you sweep parallel to the joints, the bristles of your broom will dig into the gaps and pull the sand back out. Work in manageable sections (about 100 square feet at a time) to ensure you are filling every single joint completely to the top.
Step 3: Compact the Sand for Full Joint Fill
Simply sweeping sand into the joints leaves air pockets. If you skip compaction, the sand will settle the first time it rains, leaving your joints half-empty and structurally weak.
For concrete pavers, we use a mechanical plate compactor equipped with a rubber protective pad to avoid scratching the surface. The vibration forces the sand grains to lock tightly together and settle deep into the joints.
If you are working with delicate natural stone, wet-cast pavers, or a smaller DIY patio, you can use a hand tamper or run a heavy vibratory roller over the surface. Once compacted, you will notice the sand level has dropped. Sweep in more sand to fill the voids, and compact a second time. Repeat this process until the sand settled consistently at about 1/8 inch below the paver’s chamfer (beveled edge).
Step 4: Remove All Surface Residue
Before you introduce a single drop of water, you must remove every speck of leftover sand and polymer dust from the surface of your pavers. Any dust left behind will permanently bond to the top of the stone once wet.
First, use a soft-bristled broom to sweep away the bulk of the excess sand. Next, grab a leaf blower. Holding it at a shallow angle and keeping it on a low setting, blow the remaining fine polymer dust off the patio. Be careful not to point the blower directly down into the joints, or you will blow your newly compacted sand right out of the gaps.
Step 5: Activate With Water and Let It Cure
Now comes the magic: water activation. You want to thoroughly saturate the sand joints from top to bottom without washing the sand out.
- Set your garden hose nozzle to the shower or mist setting. Never use a jet stream.
- Work in sections of about 300 to 500 square feet.
- Start at the lowest point of your patio’s slope and work your way up. Mist the area lightly for about 30 seconds to let the water sink in.
- Make a second, heavier pass. You want to see the water pooling slightly on top of the joints, indicating they are fully saturated. If you see white, soapy foam bubbling up, you are watering a bit too fast; back off slightly.
- Once fully watered, use a leaf blower to blow any standing puddles of water off the surface of the pavers and into the grass or garden beds. This prevents any dissolved polymers from drying on top of the stones.
Let the patio dry. Depending on the product used—for instance, Polybind Sand – Polybind —the joints can be rain-safe in as little as 1 hour, but we recommend keeping off the patio for at least 24 to 48 hours to let the sand fully cure.
Common Polymeric Sand Mistakes to Avoid
Even seasoned DIYers can run into trouble with polymeric sand if they try to cut corners. Knowing what not to do is just as important as knowing the steps.
Installing on Damp Pavers or Damp Joints
We cannot stress this enough: moisture is the ultimate enemy during the dry phase of installation. If you sweep sand onto damp pavers, the dry polymers will immediately liquefy and stick to the stone, creating a stubborn white cloud of polymeric haze. Removing this haze requires specialized, expensive acid washes and intense scrubbing. Always wait for a clear, dry weather window with zero rain in the forecast for at least 12 to 24 hours after your planned installation.
Using Too Much or Too Little Water
Watering is a delicate balance:
- Under-watering: If you only mist the very top of the joint, only the top 1/8 inch of sand will activate. This creates a thin, brittle crust over loose, dry sand. Within a few weeks, the crust will crack, peel off, and wash away.
- Over-watering: If you flood the patio with a high-pressure hose, you will wash the active polymers right out of the sand, leaving behind a weak, gooey slurry that will never harden properly.
Overfilling Joints or Ignoring Drainage
Always leave a 1/8 inch gap between the top of the sand joint and the top edge (or chamfer) of the paver. If you fill the joints flush to the very top, foot traffic and car tires will constantly rub against the sand, causing it to break down and erode.
Additionally, your patio must have a slight slope (at least 1% to 2% away from your home’s foundation) to shed water. If water pools on your patio, the polymeric sand will remain constantly saturated, lose its bond, and eventually fail.
Alternatives, Costs, Sealing, and Long-Term Maintenance
While polymeric sand is the go-to choice for most modern hardscapes, it is wise to understand your other options, the average costs involved, and how to protect your investment over time.
Alternatives to Polymeric Sand
Depending on your project’s specific needs, budget, or architectural style, you might consider these alternatives:
- Regular Jointing Sand: Best for budget-friendly projects, historic brick walkways, or temporary installations. You can find quality local aggregates through suppliers like Andover, MA Loam Topsoil Sand Stone Dust Landscape … .
- Resin Sand: A mixture of graded sands and liquid polyurethane resins. It cures into an incredibly strong, completely water-permeable joint. It is highly resistant to chemicals and heavy power-washing, making it ideal for high-end commercial projects, though it is significantly more expensive and complex to install.
- Mortar/Grout: Best for stone overlays set on concrete slabs, or for pool coping joints. However, it is rigid and prone to cracking during New England winters.
- Permeable Aggregate: For permeable paver systems designed to let stormwater drain directly into the ground, clean, open-graded crushed stone chips (like ASTM No. 9 stone) are used instead of sand.
Average Cost Considerations Based on Internet Data
When budgeting for a paver joint replacement or new installation, costs will vary based on your location, the size of your patio, and joint width.
Note: The following figures represent average national costs gathered from online home improvement databases in June 2026. These are not actual quotes or pricing for MAS Landscaping.
- DIY Material Costs: A standard 40 lb to 50 lb bag of high-quality polymeric sand (like Pavermate Z3™ Polymeric Sand – Acres Edge ) typically ranges from $25 to $85 per bag, depending on the brand, color, and joint-width rating. One bag generally covers 50 to 75 square feet of standard pavers with narrow joints.
- Professional Installation Costs: If hiring a professional hardscaping crew to excavate old joint material, pressure wash, dry, install new sand, and compact the surface, average internet data shows typical project costs ranging from $1.50 to $6.50 per square foot. For complex layouts, heavily weeded old patios, or wide natural stone joints, high-end professional restoration costs can reach $18.00+ per square foot—more than 3x the average cost—reflecting the intense labor required to safely remove old jointing material without damaging the pavers.
Maintaining Pavers Sealed With Polymeric Sand
Once your polymeric sand has fully cured, keeping it in top shape is simple:
- Routine Cleaning: Regularly sweep away organic debris, leaves, and dirt. If left to rot on your patio, organic matter can stain both the pavers and the sand joints.
- Gentle Washing: When washing your patio, use a gentle garden hose spray. If you must use a pressure washer, keep the pressure under 1200 PSI, use a wide 40-degree fan nozzle, and keep the tip at least 12 inches away from the surface. Never blast the pressure washer directly down into the sand joints.
- Winter Care: When clearing snow off your walkways or patio, always use a plastic shovel or a shovel with a protective rubber edge. Metal blades can easily gouge and scratch both the pavers and the hardened sand joints.
- De-Icing Caution: Use calcium chloride-based de-icers very sparingly. Avoid rock salt (sodium chloride), as it can penetrate the sand joints, crystallize, and cause the polymers to break down prematurely.
- Sealing: To further protect your joints and pavers, consider applying a breathable sealer. To learn more about selecting the right sealer for your project, read our guides on How to Seal Patio Pavers and Sealing the Deal: Everything You Need to Know About Concrete Paver Sealers.
Frequently Asked Questions About Polymeric Sand
Can polymeric sand stop weeds completely?
While polymeric sand is highly effective at preventing weeds, no joint sand can claim to stop them 100% permanently. Polymeric sand blocks weeds from growing up from the soil beneath your pavers. However, over time, fine dust and organic dirt can settle on top of your sand joints. If windblown weed seeds land in this surface dirt, they can sprout. Regular sweeping and occasional gentle rinsing will keep your joints clean and weed-free.
Can you put new polymeric sand over old polymeric sand?
No. You should never top off low joints by adding a thin layer of new polymeric sand over old, hardened sand. The new layer will fail to bond properly to the dirty, weathered surface of the old sand, resulting in a thin crust that will quickly crack and wash away. If your joints are low, you must excavate the old sand to a depth of at least 1 to 1.5 inches before applying a fresh, full-depth layer of sand.
How soon can you seal pavers after using polymeric sand?
We recommend waiting at least 30 days—and ideally up to 90 days—after installing polymeric sand before applying a paver sealer. This waiting period allows any natural minerals (efflorescence) trapped within the concrete pavers to escape to the surface and wash away. Sealing too early can trap these minerals beneath the sealer, creating a permanent, unsightly white blush over your entire patio.
Conclusion
Using polymeric sand is one of the single best upgrades you can make to your outdoor living space. It keeps your pavers locked tight, prevents weed growth, blocks ants, and stands up to our harsh New England winters.
However, as we have discussed, achieving a flawless, long-lasting install requires patience, a completely dry surface, proper compaction, and precise watering.
If you are planning a new patio project or want to restore an aging, weed-choked walkway in Saugus, Lynnfield, Malden, Everett, or the surrounding North Shore area, we are here to help. Our team has the specialized equipment and local expertise to get the job done right the first time.
Schedule expert patio paver installation with MAS Landscaping today!
