Artificial Pet Turf Installation: 2025’s Essential Guide
When it comes to changing your yard into a pet-friendly paradise, artificial pet turf installation is a game-changer. It not only improves the aesthetic appeal of your space but also offers numerous benefits for pet owners. Here’s a quick overview of what makes artificial pet turf installation an excellent choice:
- Pet-Friendly: Provides a safe, clean, and comfortable surface for your furry friends.
- Low-Maintenance: No need for watering, mowing, or fertilizing.
- Durable: Resilient to wear and tear from energetic pets.
- Year-Round Greenery: Stays vibrant regardless of weather conditions.
Artificial turf is increasingly popular among homeowners who desire an immaculate lawn without the hassle of traditional upkeep. At MAS Landscaping and Snow Removal, we specialize in creating beautiful, functional outdoor spaces custom to meet your needs. Whether you’re dreaming of a lush garden for family gatherings or a secure play area for your pets, artificial pet turf offers a reliable solution.
If you’re considering installing artificial pet turf, our comprehensive guide will walk you through every step of the process, ensuring a successful change of your outdoor space.
Artificial pet turf installation vocabulary:
– how to install artificial grass on soil
– garden artificial grass installation
– underlay for artificial grass on soil
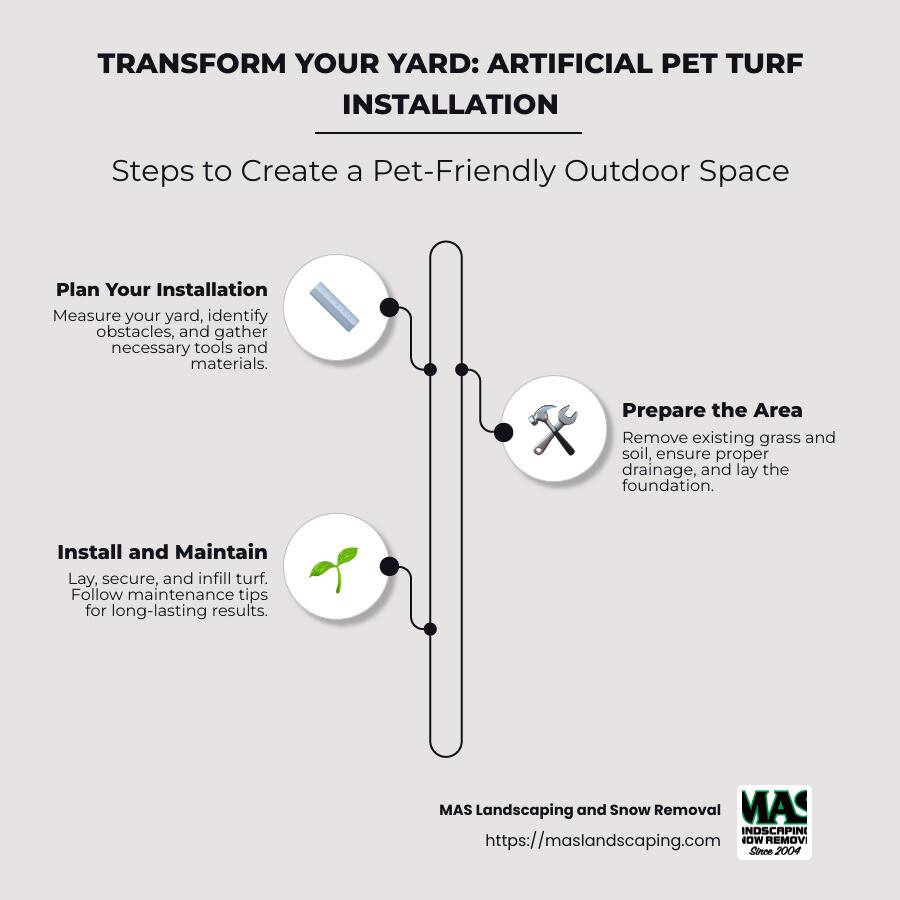
Planning Your Pet Turf Installation
When you’re ready to start your artificial pet turf installation, planning is the first critical step. A well-thought-out plan will save you time and prevent costly mistakes. Here’s how to get started:
Measuring and Calculating
To determine how much turf you’ll need, you’ll first want to measure your space accurately. Use a tape measure to record the dimensions of your yard. For irregular shapes, break the area down into manageable sections like rectangles or triangles. Here’s a quick guide:
- Squares/Rectangles: Multiply length by width.
- Triangles: Multiply the base by height and divide by two.
- Circles: Multiply the radius by pi (3.14).
For more complex spaces, consider using a CAD tool or graphing paper to create a scaled drawing. This will help you visualize the layout and ensure accuracy.

Identifying Physical Obstacles
Before laying your turf, identify any obstacles that might affect installation. Common obstacles include:
- Sprinkler systems: Ensure they’re marked to avoid damage.
- Trees and shrubs: Plan to work around or incorporate them into your design.
- Structures: Consider how existing patios, decks, or sheds will fit with your new turf.
- Rocks and pools: Decide if these will be focal points or if they need adjusting.
- Fences and walls: Check for any gaps or areas that might need extra turf.
- Paths and steps: Make sure these are clearly defined and accessible.
- Sculptures and lawn ornaments: Plan their placement to improve, not hinder, your space.
Using yard stakes can help outline the area and visualize how the turf will fit around these obstacles. This is crucial for avoiding any surprises during installation.
Tools and Materials
Gather the right tools and materials to streamline your installation process. Essential items include:
- Tape measure: For accurate measurements.
- Yard stakes: To mark boundaries and obstacles.
- Graphing paper: To sketch your layout.
- Sharp cutting tools: For trimming the turf.
- Turf adhesive and nails: To secure the turf in place.
With a clear plan and the right tools, you’re well on your way to a successful artificial pet turf installation. Next, we’ll guide you through preparing the area to ensure a smooth and lasting installation.
Preparing the Area
Before you can enjoy the benefits of your new pet-friendly turf, you need to prepare the area properly. This step is crucial for ensuring a smooth and durable installation.
Removing Existing Grass and Soil
The first task is to remove the existing grass and soil. This creates a clean slate for your artificial turf. You’ll need to dig down about 3 to 4 inches to ensure you remove all vegetation and roots. This depth helps prevent future weed growth and provides space for the base materials.
- Tools You Might Need: A sod cutter or walk-behind tractor can make this job easier and faster. For smaller areas, a shovel and wheelbarrow will do the trick.
- Manual Labor: If you don’t have access to heavy machinery, manual removal with a shovel is possible but more labor-intensive. Enlist help if needed to expedite the process.
Ensuring Proper Drainage
Proper drainage is key to preventing water buildup, which can lead to mold or odors over time. The drainage method depends on the surface you’re working with:
- Concrete: If you’re installing turf over concrete, ensure there are gaps around the edges for water to escape. A 6-inch gap is typically sufficient.
- Soil: For soil surfaces, you’ll need a solid drainage base. Use crushed rock or gravel to create a layer that allows water to pass through easily. Aim for a thickness of about 3 to 5 inches.
- Plastic Bender Board: Consider using plastic bender board around the turf’s edges. This helps contain the base materials and ensures a neat boundary without impeding drainage.
Leveling the Surface
Once the existing grass and soil are removed, it’s time to level the surface. An even base is crucial for the longevity of your artificial turf. Use a rake or tamping tool to smooth out any bumps or holes.
- Compacting the Base: After leveling, compact the soil to create a firm foundation. This prevents the turf from shifting over time.
Installing Weed Barriers
To further prevent weed growth, lay a weed barrier over the prepared area. This extra step ensures that no unwanted plants disrupt your new turf. Geotextile fabric is a popular choice for its durability and effectiveness.
With these steps completed, you’re ready to move on to installing the base for your artificial pet turf. Proper preparation ensures that your turf will look great and function well for years to come.
Installing the Base
Now that your area is prepped, it’s time to install the base for your artificial pet turf installation. A well-prepared base is essential for proper drainage and a stable surface.
Compacting and Leveling the Base
Choosing the Right Base Material
For the best results, use a combination of gravel, crushed rock, or decomposed granite. These materials provide excellent drainage and stability.
- Gravel: You’ll need about a yard of gravel for every 100 square feet of turf. This ensures adequate coverage and support.
- Crushed Rock and Decomposed Granite: These materials should have a particulate size of under 3/8th of an inch. This smaller size helps compact the base effectively, creating a solid foundation.
Compacting Tools
To properly compact your base, you’ll need the right tools:
- Plate Compactor: This is the most efficient tool for compacting large areas. It ensures the base is firm and level, preventing any future shifting.
- Hand Tamper: For smaller areas or those hard-to-reach spots, a hand tamper can be used. It requires more effort but is effective for detailed work.
Steps to Compact and Level the Base
- Spread the Base Material: Distribute the gravel, crushed rock, or decomposed granite evenly across the area. Aim for a depth of about 3 to 5 inches.
- Level the Surface: Use a rake to even out the material. This step is crucial to avoid any dips or slopes that could affect drainage.
- Compact the Base: Go over the entire area with a plate compactor. Make multiple passes to ensure the material is packed tightly.
- Check for Levelness: After compacting, use a level to check the surface. Make any necessary adjustments by adding or removing base material.
Optional: Rubber Shock Pad
If you’re installing over concrete or want extra cushioning, consider adding a rubber shock pad. While not required, it provides additional comfort and can improve the durability of your turf.
With the base compacted and leveled, you’re ready to lay the turf. This solid foundation will help your artificial pet turf installation last for years, providing a safe and enjoyable space for your pets.
Artificial Pet Turf Installation
Laying Out and Securing Turf
Once your base is ready, it’s time to lay out your artificial pet turf. Begin by unrolling the turf rolls and laying them out over the prepared base. Allow the turf to sit in the sun for about 30 minutes. This helps the material relax and makes it easier to work with.
Cutting and Trimming
Use a sharp utility knife to cut and trim the turf to fit your space perfectly. Pay special attention to edges and seams. Ensure that the seams fit together snugly to create a seamless appearance.
Securing the Turf
For securing the turf, you have several options. Use adhesive along the seams and edges to hold the turf in place. It’s crucial to ensure that the adhesive doesn’t touch the turf filaments. Alternatively, you can use nails or stakes around the perimeter. If you choose nails, space them about 6 inches apart to prevent any movement.
Seaming the Turf
If you’re working with multiple pieces of turf, you’ll need to seam them together. Apply adhesive to the seaming tape and then press the edges of the turf onto it. For best results, use a carpet stretching tool to ensure the seams are tight and less visible. Make sure the blades of each piece of turf are facing the same direction for a uniform look.
Adding the Infill
Infill is an essential step in the artificial pet turf installation process. It helps the grass fibers stand upright and adds weight to hold the turf in place.
Types of Infill
- Sand: Commonly used in residential settings. It’s affordable and effective.
- Silica Sand: Offers better drainage and is less likely to compact over time.
- Crumb Rubber: Provides extra cushioning, great for play areas.
Applying Infill
Use an infill broadcaster to evenly distribute the infill material across the turf. Aim for about 1 pound of infill per square foot of turf. This ensures adequate coverage and support.
Raking and Brushing
After spreading the infill, use a rake or power broom to work the infill into the turf. This helps the fibers stand up and creates a natural, lush appearance. Make sure to brush in the same direction for a consistent look.
With the turf laid out and the infill applied, your artificial pet turf installation is complete. This setup not only looks great but also provides a durable and pet-friendly surface. Next, we’ll cover maintenance tips to keep your new turf looking its best.
Maintenance Tips for Pet Turf
Cleaning and Odor Control
Keeping your artificial pet turf clean and odor-free is crucial for maintaining a fresh and inviting outdoor space. Here are some simple yet effective tips to ensure your pet turf remains in top condition.
Debris Removal
Regularly remove leaves, twigs, and other debris from your turf. This can be done using a leaf blower or a stiff broom. Removing debris prevents it from breaking down and causing potential odor issues.
Rinsing
Rinse your turf weekly with a garden hose to remove dust, pollen, and pet urine. This helps keep the surface clean and minimizes the risk of odors. If your turf is installed over a proper drainage system, the water will flow through easily, taking waste with it.
Brushing
Brush your turf regularly to keep the fibers standing upright. This not only maintains the appearance but also helps distribute the infill evenly. A stiff-bristled broom or a power broom can be used for this task.
Odor Treatment
To tackle any lingering odors, use an enzymatic cleaner like ProVet Logic Kennel Care. This environmentally-friendly spray breaks down odor-causing compounds without leaving any residue. Simply spray it on the turf and let it air dry.

Microbial Resistance
Choosing an infill with antimicrobial properties, such as Envirofill, can significantly reduce bacteria growth on your turf. Envirofill is infused with Microban® technology, which inhibits the growth of bacteria, mold, and mildew. This keeps your turf cleaner and healthier for your pets.
Infill Maintenance
Ensure the infill remains evenly distributed by brushing the turf regularly. This not only supports the fibers but also improves the antimicrobial benefits. If you notice any low spots, add more infill as needed.
By following these maintenance tips, your artificial pet turf will remain a safe and pleasant environment for your pets to enjoy. Next, let’s explore some frequently asked questions about pet turf installation.
Frequently Asked Questions about Artificial Pet Turf Installation
What do you put under artificial grass for pets?
When installing artificial pet turf, the right underlayment is key to ensuring durability, cleanliness, and comfort. Start with a drainage layer such as DrainCore or AirDrain. These materials help water and pet urine flow away easily, preventing odors and bacteria buildup. On top of this, add a base layer like decomposed granite or a Class II Road Base. These materials provide a stable foundation and promote proper drainage. Finally, use an antimicrobial infill like Envirofill to keep bacteria and odors at bay, ensuring a healthy environment for your pets.
Can I install pet turf myself?
Yes, installing pet turf yourself is possible, but it requires careful planning and preparation. Here’s a quick overview of the DIY process:
- Planning: Measure your area, calculate the amount of turf needed, and identify any physical obstacles like trees or sprinkler systems.
- Preparing the Area: Remove existing grass and soil, then ensure proper drainage using concrete or plastic bender boards.
- Installing the Base: Lay a base of gravel or decomposed granite, compact it, and level it for a smooth surface.
- Laying Turf: Unroll the turf, cut it to fit, and secure it using nails, stakes, or adhesive.
- Adding Infill: Distribute infill evenly across the turf using a rake or power broom.
While it’s a manageable project, professional installation by experts like MAS Landscaping and Snow Removal can save time and ensure a flawless finish.
What is the best base for artificial turf with pets?
The best base for artificial turf with pets is a combination of materials that provide stability, drainage, and comfort. Start with a Class II Road Base if available, or opt for decomposed granite mixed with a stabilizer. This combination offers a solid foundation and excellent drainage capabilities. For added comfort and cushioning, consider using a rubber shock pad beneath the turf. This not only improves the feel underfoot but also helps prevent injuries for active pets. A well-prepared base ensures your pet turf installation is both durable and pet-friendly, providing a safe and enjoyable space for your furry friends.
Conclusion
At MAS Landscaping and Snow Removal, we understand that changing your outdoor space into a pet-friendly oasis is a significant investment. With our professional installation services, you can rest assured knowing that your artificial pet turf will be expertly installed, providing a beautiful and functional area for both you and your pets to enjoy.
Our team is dedicated to delivering personalized service custom to your specific needs. We take the time to understand your vision and work closely with you throughout the entire process, from planning and preparation to the final installation. This commitment to personalized service ensures that every detail is handled with care and precision.
Our deep local expertise sets us apart. Based in Saugus, MA, we have extensive knowledge of the unique climate and soil conditions in the Everett, Lynnfield, Malden, and surrounding areas. This allows us to recommend the best materials and techniques to ensure your pet turf installation is both durable and sustainable.
Whether you’re considering a DIY approach or opting for professional assistance, our team is here to support you every step of the way. With MAS Landscaping and Snow Removal, you’re not just getting a service; you’re partnering with experts who are passionate about creating stunning outdoor spaces.
Ready to transform your yard with artificial pet turf? Contact us today to learn more about our installation services and how we can help you achieve the perfect outdoor environment for you and your pets. Let’s make your vision a reality together!
