




How to install a new seed lawn bed preparation 25 Best
Why Proper Lawn Bed Preparation Makes or Breaks Your New Lawn
How to install a new seed lawn bed preparation starts with one simple truth: your grass is only as good as the soil beneath it. Most homeowners who struggle with patchy, weed-infested lawns didn’t fail at seeding—they failed at preparation.
Here’s the quick roadmap for preparing your lawn bed for seed:
- Clear the area – Remove all existing vegetation and debris down to bare soil.
- Test and amend the soil – Check pH levels (ideal is 6.0-7.0) and add compost or lime as needed.
- Till the soil – Loosen compacted earth to a depth of 3-7 inches.
- Grade for drainage – Ensure water slopes away from structures.
- Level and rake – Create a smooth, even surface.
- Apply starter fertilizer – Add phosphorus-rich fertilizer before seeding.
- Spread seed evenly – Use a broadcast spreader in a crisscross pattern.
- Cover and water – Mulch with straw and water consistently until established.
The difference between a thriving lawn and a struggling one comes down to what happens before you spread a single seed. Proper bed preparation creates strong root systems, improves water efficiency, reduces weed competition, and sets the stage for dense, healthy turf growth.
Think of it like building a house. You wouldn’t pour a foundation on uneven, rocky ground. Your lawn works the same way. This guide walks you through every step of preparing your lawn bed for successful seed installation.
How to install a new seed lawn bed preparation vocab explained:
- how much does it cost to install a new lawn
- how long does the new lawn installation process take
- cost of new lawn irrigation system installation
Groundwork: Essential Tools and Initial Clearing
How to install a new seed lawn bed preparation begins with the essential groundwork: gathering the right tools and clearing the area. Rushing this step will lead to an uphill battle for years to come.
Gathering Your Arsenal
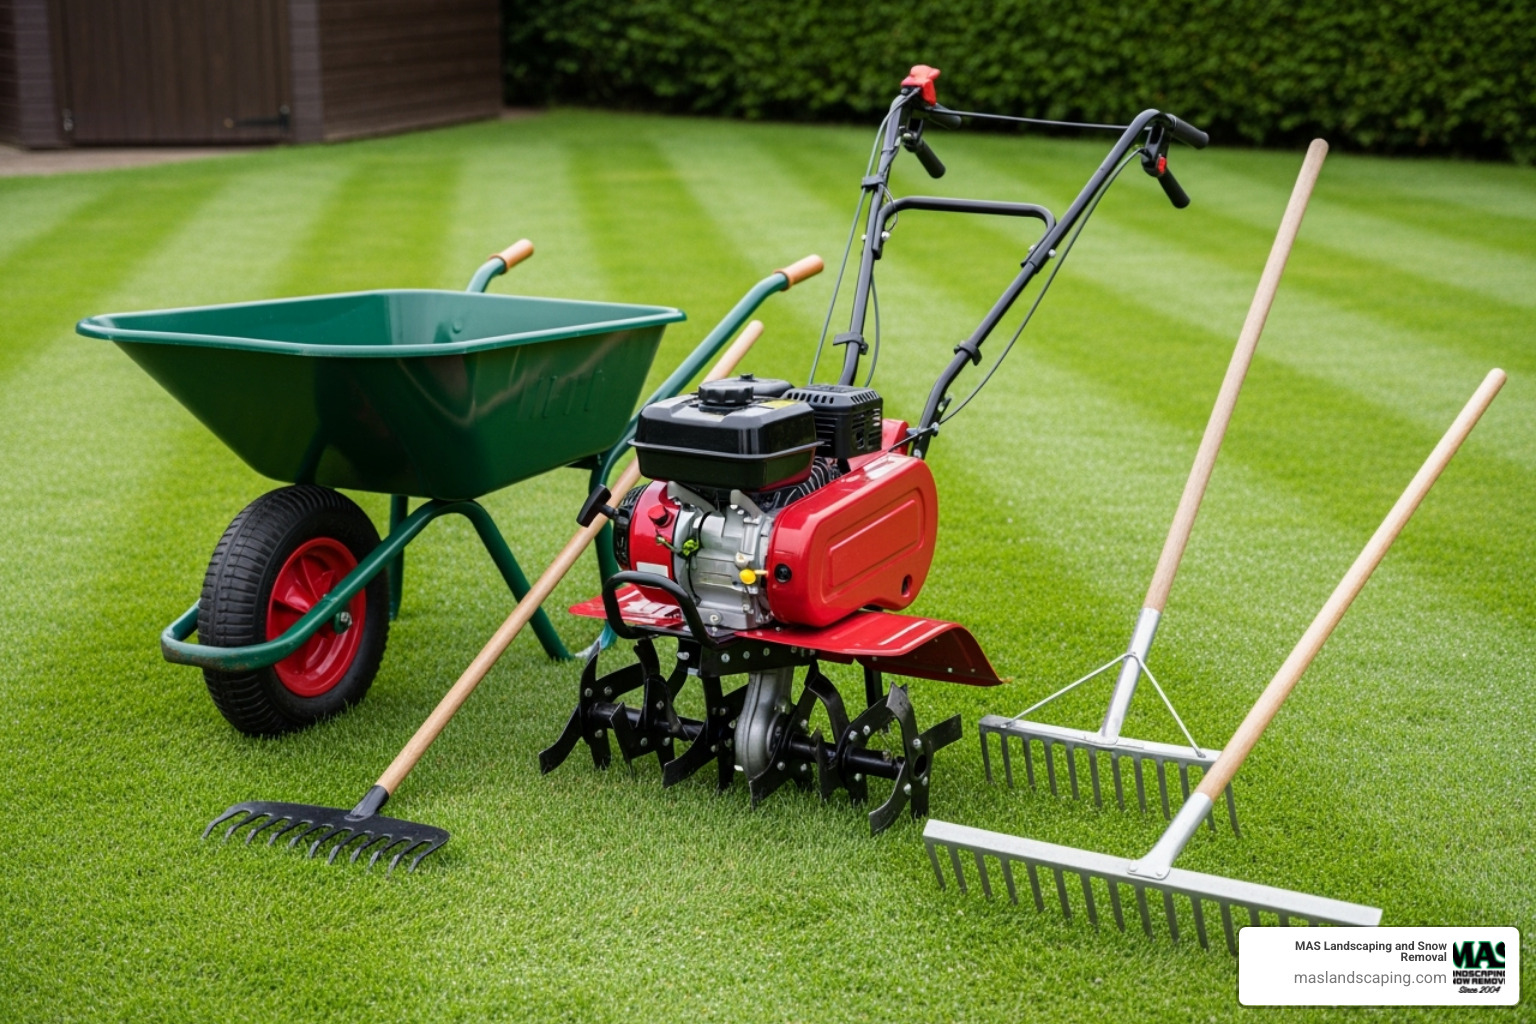
Having the right equipment saves hours of frustration. The star of the show is a rototiller for breaking up compacted soil. You’ll also need a sturdy shovel for digging out roots and rocks, a heavy-duty bow rake for leveling, and a wheelbarrow for moving materials.
For the seeding phase, a walk-behind broadcast spreader ensures even coverage. A lawn roller (filled with water or sand) is crucial for lightly compacting the soil and ensuring good seed-to-soil contact. Finally, grab a soil test kit and a hose with a sprinkler attachment.
Creating a Blank Canvas
Now, clear the old to make room for the new. Your goal is bare soil with no competition for space, nutrients, or water.
Weeds are your biggest enemy. For heavily weeded areas, a non-selective herbicide is most efficient. Apply it according to the label and wait 7-15 days for it to kill weeds down to the root before tilling. For an organic approach, pull weeds by hand (getting the entire root) or use repeated tilling over two weeks to expose and kill roots.
To remove an old lawn, a sod cutter can slice turf into removable strips. For uneven ground, a rototiller can break down the old turf and mix the organic matter into the soil.
Debris cleanup is tedious but necessary. Walk the area and remove rocks, sticks, roots, and anything else that doesn’t belong. Dig out or grind down any large stumps or buried debris. When you’re done, you should be looking at bare, native soil, ready for the next step.
If the scope of clearing feels overwhelming, professional help can save you days of work. You can find more info about yard clean-up services that can handle the heavy lifting.
The Science of Soil: Testing and Amending Your Foundation
With a blank canvas, it’s time to focus on the soil. This is where the magic happens, determining whether your lawn thrives or merely survives. Think of how to install a new seed lawn bed preparation like baking a cake—you need to know your ingredients before you start.
Understanding Your Soil’s Needs
A Soil Test is essential. For a small cost, you get a complete analysis of what’s happening beneath the surface.
pH levels are the first thing to check. Grass prefers a slightly acidic to neutral range of 6.0 to 7.0. In Massachusetts, our soil is often too acidic (below 6.0). In this case, we add lime to raise the pH and make nutrients more available. If soil is too alkaline (above 7.0), sulfur can lower it.
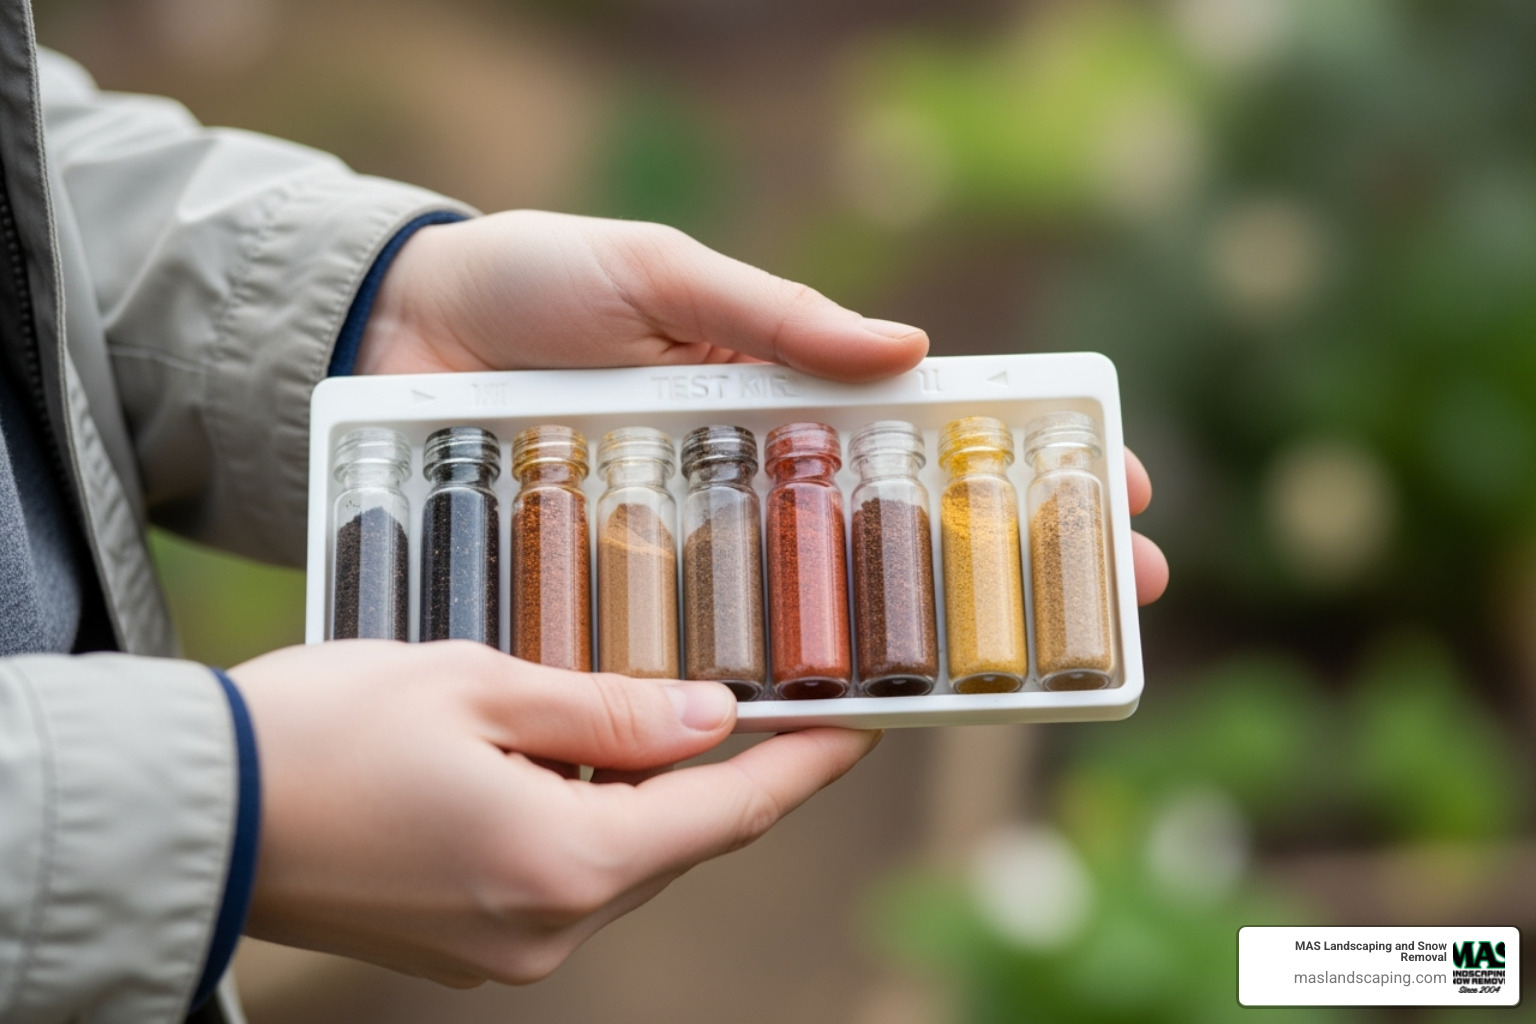
Your soil test also reveals nutrient deficiencies—specifically nitrogen, phosphorus, and potassium. This information allows for targeted amendments, so you don’t waste money on unnecessary fertilizers.
Improving Soil Structure and Fertility
Next, we improve the soil’s physical structure. This means addressing compacted soil and adding organic matter.
Compacted soil prevents water, air, and roots from penetrating the ground. Tilling is our main weapon against it. By tilling to a depth of 3-7 inches, we break up hard-packed earth and give roots room to grow.
Now for the best part: organic matter. Adding compost is one of the best things you can do for long-term lawn health. We recommend spreading 1-2 inches of high-quality compost and mixing it into the top 5-6 inches of soil.
Compost is a cure-all: it improves drainage in clay soils, helps sandy soils hold moisture, feeds beneficial microbes, and slowly releases nutrients. It’s a critical step for overall soil health.
If your existing soil is very poor, we might bring in 4-6 inches of quality topsoil. The key is to till this new topsoil into your existing soil to create a seamless blend, preventing root-growth barriers. This investment in soil preparation sets you up for long-term success.
How to Install a New Seed Lawn Bed Preparation: Tilling, Grading, and Leveling
With the soil tested and amended, it’s time to physically shape the earth. This phase of how to install a new seed lawn bed preparation transforms your space into the perfect seedbed through tilling, grading, and leveling.
Step-by-Step Guide to Loosening and Leveling
This step creates the ultimate welcome mat for your grass seeds, ensuring they can root deeply while water flows where it should.
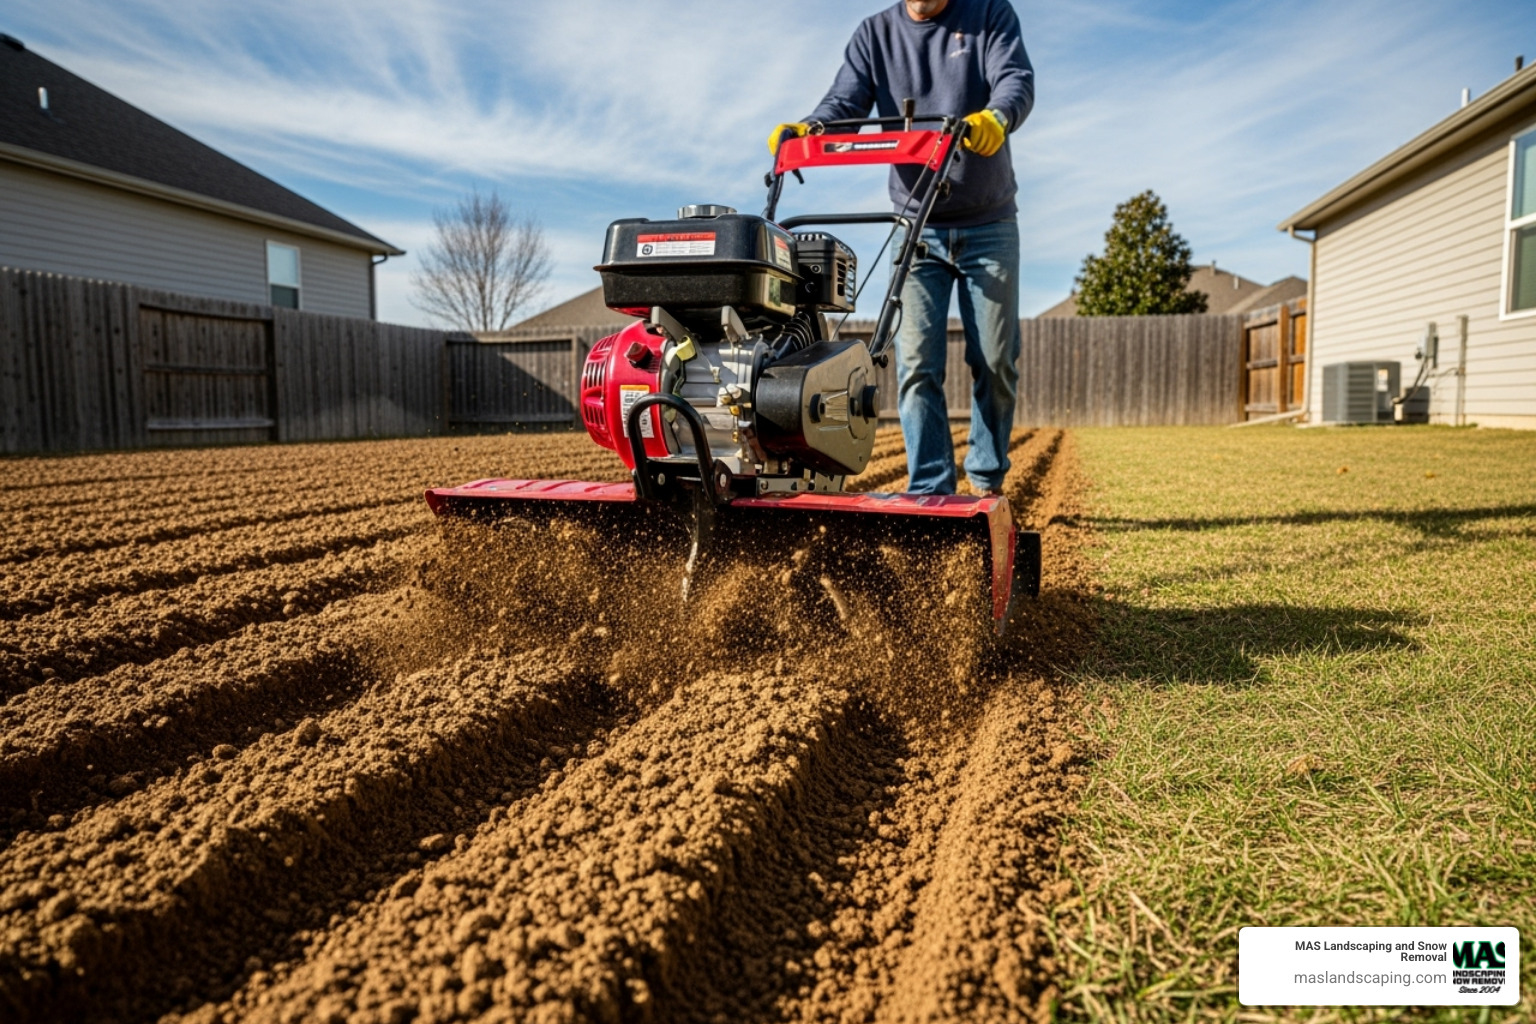
Tilling the soil breaks up compacted earth. Aim for a depth of 3 to 4 inches, though 5-7 inches is ideal for heavily compacted soil. This gives roots room to stretch and allows water to penetrate. Use a rototiller methodically across the area, overlapping your passes. Be careful not to over-till the soil into a fine dust, which can compact easily when wet.
Grading for drainage is critical in Massachusetts. The land must slope gently away from your home and other structures—a 1-2% grade is usually sufficient. This prevents water from pooling against your foundation and creating swampy patches in the lawn.
Once graded, it’s time for raking for a smooth finish. Use a sturdy bow rake to break up remaining clods and remove any small rocks or debris that surfaced during tilling.
Finally, use a lawn roller filled about halfway with water. Roll it gently over the entire surface to lightly firm the soil. This step is vital for good seed-to-soil contact later.
Final Touches Before Seeding for how to install a new seed lawn bed preparation
Just two more steps remain before the seeds go down.
Applying a starter fertilizer gives new grass seeds a nutritional boost. Use a fertilizer high in phosphorus (the middle number in the N-P-K ratio, like 5-10-5). Phosphorus is a root-building powerhouse, helping seedlings establish strong, deep roots quickly. Apply it evenly with a walk-behind broadcast spreader.
After fertilizing, do one final light raking to create a firm, smooth surface. The seedbed should be uniform and level. Your footprints should barely register. This meticulous work, similar to how we prepare ground for sod, has created the ideal environment for grass seed success.
Seeding, Covering, and First Care
Now for the exciting part of how to install a new seed lawn bed preparation: applying the grass seed. This is where all your meticulous groundwork pays off, turning bare earth into a lush green lawn.
Sowing the Seeds of Success
Proper seed choice and application are fundamental to a dense, uniform lawn.
Always opt for a bag of high-quality plain seed with a high germination rate. For our New England climate, cool-season grasses are best. A blend of Kentucky bluegrass, perennial ryegrass, and fescues offers excellent resilience and adapts well to sun and shade.
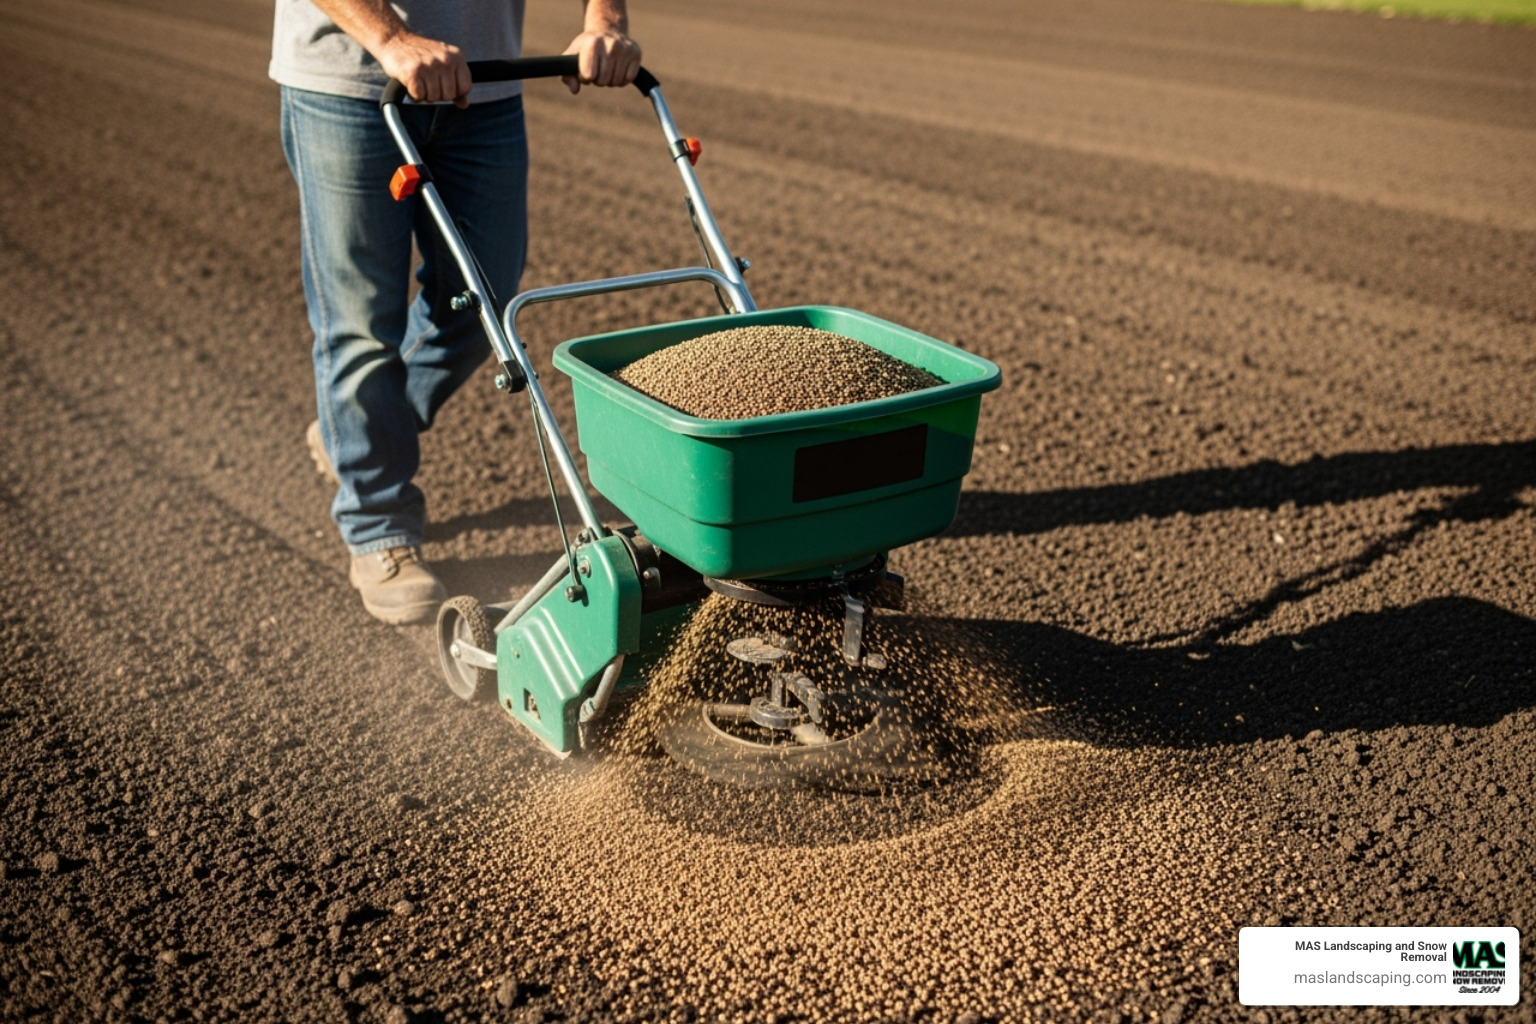
Even distribution is critical. Use a walk-behind broadcast spreader for the best results. A pro tip: divide your seed into two portions. Spread the first half walking north-to-south, then spread the second half walking east-to-west. This crisscross pattern ensures thorough coverage. Resist the temptation to overseed, as too much seed creates weak seedlings that choke each other out.
Seed-to-soil contact triggers germination. After spreading, lightly rake the area to cover seeds with about 1/8 inch of soil. A final pass with a lawn roller presses the seeds firmly into the soil, maximizing this crucial contact.
Protecting and Nurturing New Growth
Once sown, seeds are vulnerable and need constant care.
Covering your seed is non-negotiable. Mulching protects seeds from birds and drying out. We recommend a thin layer of clean, weed-free straw (about 1/4 inch thick). On sloped areas, erosion mats can prevent washout.
Watering is where most DIY installations succeed or fail. New seeds need consistent moisture. For the first 2-4 weeks, water lightly and frequently to keep the top inch of soil moist like a wrung-out sponge. This may mean daily watering in warm weather. Patience is key, as different seeds sprout at different rates (from 5 days to 3 weeks).
Once your grass reaches 2-3 inches tall, transition to deeper, less frequent watering. Aim for about one inch of water per week, applied in longer sessions. This encourages deep root growth, making your lawn more drought-tolerant. For more tips, explore resources on how to care for new lawns.
Frequently Asked Questions about New Seed Lawn Bed Preparation
Preparing a lawn for seeding can feel overwhelming. Here are answers to the most common questions about your how to install a new seed lawn bed preparation project.
What’s the difference between preparing for a new lawn vs. overseeding?
This is an important distinction. Preparing for a new lawn is a complete rebuild. The process involves clearing the area to bare soil, tilling deeply to fix compaction, grading for drainage, and amending the soil from scratch.
Overseeding, on the other hand, is a renovation of an existing lawn. The goal is to thicken up thin or patchy turf. Preparation involves mowing the existing grass low, then dethatching or aerating to expose the soil so new seeds can make contact. No deep tilling is involved.
When is the best time for how to install a new seed lawn bed preparation in Massachusetts?
Timing is critical in our New England climate.
Fall is absolutely the best time (late August through mid-October). The soil is still warm from summer, which aids germination, but the cooler air temperatures reduce stress on new seedlings. There is also less weed competition.
Spring is the second-best option (mid-March through mid-May). However, spring seeding means battling more weeds, and an early summer heatwave can stress the young, vulnerable grass.
If you can, always aim for the fall planting window for a healthier, more resilient lawn.
When can I mow and fertilize my new lawn?
Patience is crucial as your new grass develops.
For your first mowing, wait until the grass reaches about 3 inches tall. Set your mower blade high (3 to 4 inches) and make sure it’s sharp to ensure a clean cut. A dull blade will tear the grass, leaving it vulnerable to disease.
As for fertilizing, the starter fertilizer you applied during preparation is sufficient for the first several weeks. Wait to apply the next round of fertilizer until after you’ve mowed at least 6 times, or roughly 6-8 weeks after planting. At that point, use a balanced, slow-release fertilizer like an organic granular lawn fertilizer.

Conclusion: Reap What You Sow
We’ve covered the complete journey of how to install a new seed lawn bed preparation, from a bare patch of dirt to the first green shoots. Creating a beautiful lawn isn’t magic; it’s a process where every step—clearing, amending, tilling, grading, seeding, and watering—builds upon the last.
The payoff for doing it right is a lawn with strong roots, dense growth that crowds out weeds, and improved water efficiency. It’s a rewarding project that transforms your property and gives you a beautiful space to enjoy.
Of course, not everyone has the time, tools, or inclination to tackle this themselves. For homeowners in the Saugus, MA area and throughout Everett, Lynnfield, Malden, Melrose, Medford, Revere, and Chelsea, MAS Landscaping offers expert lawn installation and landscape design services. Our local expertise means we know how to create lawns that thrive in our unique New England seasons.
Our team brings the same meticulous attention to detail outlined in this guide to every job. Ready to get the lush, healthy lawn you’ve been dreaming of? Explore our full range of Landscaping Services to get started. We’re here to ensure your lawn gets the healthy foundation it deserves.
