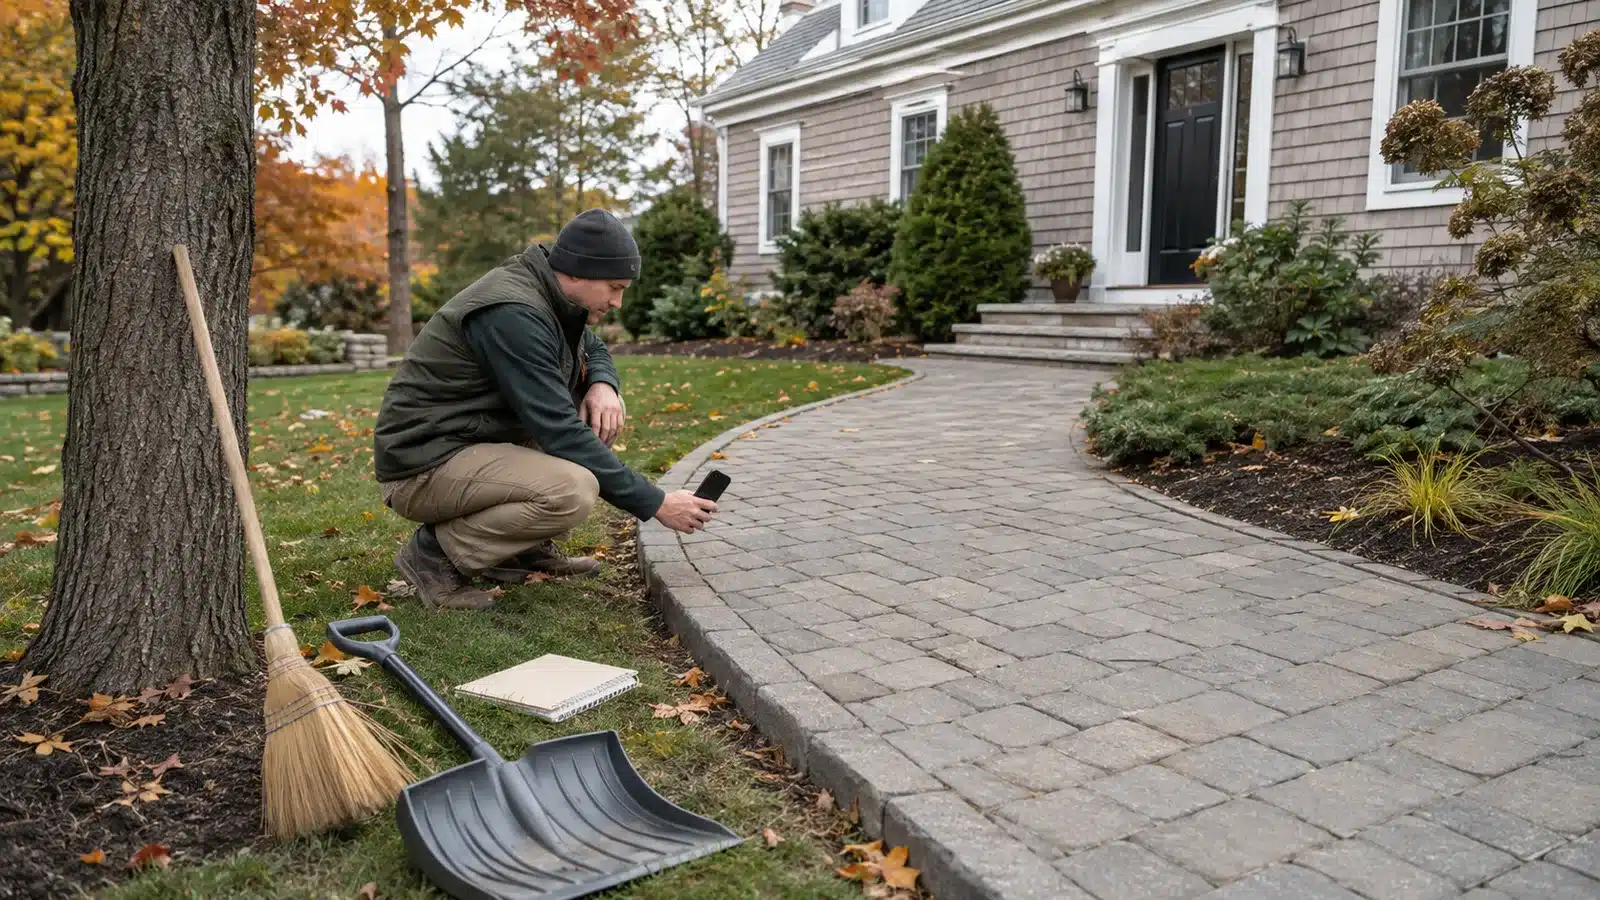



Walkway Winter Preparation: A Fall Checklist for Paver Surfaces
Walkway winter preparation for interlocking concrete pavers starts with a dry-weather baseline: clear surface debris, photograph the full route, record movement and joint loss, trace drainage, and write down how snow and ice will be removed. Do this while edges and transitions are visible. The checklist helps separate routine fall care from conditions that need review before snow hides them.
Confirm the surface before using this checklist
This guide applies to walkways made from interlocking concrete pavers. Natural stone, clay brick, poured concrete, porcelain, and permeable systems can require different cleaning, joint, equipment, and deicer guidance. If the product is unknown, use installation records, spare-unit labels, or a contractor’s identification before choosing a treatment material.
Walk the route in daylight when it is clean and dry. Start at the door or driveway, follow the full path, and inspect every transition to steps, landings, patios, pavement, planting beds, and public walks.
| What you see | What to record | Fall action | Reason to request review |
|---|---|---|---|
| Leaves, soil, or loose grit | Location, source, and whether debris collects after rain | Sweep with a broom or use a blower without disturbing joints | Debris repeatedly returns with runoff or hides a changed low area |
| Raised, sunken, or rocking units | Wide photo, close-up, route location, and comparison with adjacent units | Mark the condition outside the travel line and limit use if needed | The edge can catch a foot or snow tool, movement spans an area, or the change is progressing |
| Open or depleted joints | Whether loss is isolated, repeated in a line, or paired with spreading edges | Identify the installed joint material before adding anything | Joint loss returns, units move, or runoff crosses the affected area |
| Moved border or exposed restraint | Alignment, widening outer joints, washed soil, and nearby roots | Keep loads and snow equipment away from a loose edge | The border is spreading, support is missing, or a transition has changed height |
| Low area or drainage conflict | Water source, direction, outlet, duration, and proximity to steps or doors | Clear an existing visible surface outlet and document the result | Water repeatedly ponds, flows toward the building, or freezes in the used route |
| Unknown stain or surface change | Product, extent, first-seen date, and recent cleaning or treatment | Pause chemical cleaning until compatibility is known | The surface is scaling, flaking, crumbling, or changing after deicer use |
Sort the result into three outcomes: clean and recheck for removable debris on an otherwise stable surface, document and request review for movement, recurring water, or unknown material, and limit use when a catch point, rocking unit, loose edge, or icy route creates an immediate concern.
Sweep first, then photograph the baseline
Remove leaves, soil, sticks, and loose grit with a broom or blower so the joints and surface are visible. Direct air across the surface rather than down into the joints. If cleaning removes joint material or reveals movement, stop and document the pattern instead of continuing with a more aggressive method.
Take one photo from each end of the walkway and one at every step, landing, curve, and material transition. Close-ups are useful only when paired with a wide image that makes the location identifiable. Keep this fall set for comparison after the first storm and during the spring thaw.
Map movement before snow tools meet the surface
Look across the walkway from a low angle and note raised edges, settled areas, rocking units, spreading borders, and places where a paver meets a rigid step or slab. Do not assume freezing caused every change. Roots, concentrated runoff, base conditions, edge movement, loads, prior work, and joint loss can create similar surface patterns.
The Concrete Masonry & Hardscapes Association’s operation and maintenance guide for interlocking concrete pavement recommends correcting lifted units that can create lippage before winter and explains that shovels, snow blowers, or plows can catch paver edges. A visible catch point in a used route is a review item, not something to conceal with sand, salt, or a marker placed in the walking line.
Trace drainage from source to outlet
Follow roof runoff, downspouts, slopes, planting-bed edges, and pavement above the walkway. Then identify where surface water leaves the pavers. Clear leaves from an existing visible channel or inlet, but do not cut a new outlet, redirect a downspout, or regrade the edge without understanding the complete route.
Record low areas that remain wet after surrounding pavers dry. If water crosses a step, entry, or frequently used section, note the time of day and temperature when it refreezes. That observation is more useful than simply writing “icy walkway.”
Write a snow-removal surface note
Give the person clearing the walkway a one-page note that identifies the surface as interlocking concrete pavers, shows known transitions and catch points, lists approved tools or equipment settings, and names the contact for a newly moved unit or edge. The CMHA guide advises working diagonally to paver joints when practical and considering plastic shovels or synthetic blade edges where surface appearance matters.
- Do not assume the tool used on adjacent asphalt or concrete is appropriate for the pavers.
- Keep metal edges, worn shoes, and aggressive scraping away from a raised or loose unit.
- Identify where removed snow may go without covering the walkway’s outlet or pushing loads against an unsupported edge.
- Report a caught blade, newly rocking unit, displaced border, or fresh scrape instead of continuing over the same point.
- Update the surface note after a repair, product change, or new snow-removal provider.
Match deicer guidance to the installed paver system
Do not choose a deicer from a generic “safe for pavers” label alone. Confirm the paver manufacturer’s current guidance, the product age and condition, the joint system, surrounding vegetation and metals, and the snow provider’s material plan. Apply only according to the deicer label and the surface manufacturer’s instructions.
CMHA’s guide compares deicing materials for interlocking concrete pavement and emphasizes removing snow first, limiting chemical exposure, and clearing excess material. That guidance is specific to the pavement system it covers; it should not be extended automatically to natural stone, clay brick, poured concrete, or an unidentified surface.
Keep routine care separate from corrective work
Sweeping surface debris, clearing an existing visible inlet, and building a photo record are routine observation steps. Lifting units, adding bedding material, refilling joints, installing edge restraint, changing drainage, applying a sealer, or replacing a section changes the system. Those decisions should follow identification of the material and an assessment of the movement, base, edge, and water route.
Use three disposition labels:
- Ready and record: the route is stable, joints and edges are intact, drainage is clear, and the snow-removal note is current.
- Clean and recheck: debris obscures the surface or an existing outlet, but no unsafe condition is visible after careful cleanup.
- Limit and review: a unit rocks, a raised edge affects the route, a border is moving, water repeatedly freezes in the path, or deterioration is progressing.
Recheck after the first storm and after thaw
After the first event, compare the walkway with the fall photos. Note where snow tools contacted edges, where joint material moved, where meltwater traveled, and whether the planned outlet stayed open. Update the surface note while the event is recent.
Repeat the photo route after snow and surface frost are gone in spring. A condition that returns after spot work or expands across several units needs a broader assessment; repeated resetting without identifying the water, edge, or base pattern can hide useful evidence.
If the walkthrough points to reconstruction or you are planning a new path, MAS Landscaping’s walkway installation service covers site assessment, drainage, material selection, and construction for Saugus and surrounding Massachusetts communities. Bring the fall baseline, first-storm notes, product information, and spring comparison so the conversation begins with observed conditions.