Putting Artificial Grass: 5 Easy Steps for 2024 Success
Putting artificial grass in your outdoor space is a modern solution for achieving a vibrant lawn without the hassle of constant upkeep. If you’re looking for low-maintenance, eco-friendly landscaping that saves on both time and water, artificial turf might just be what you need.
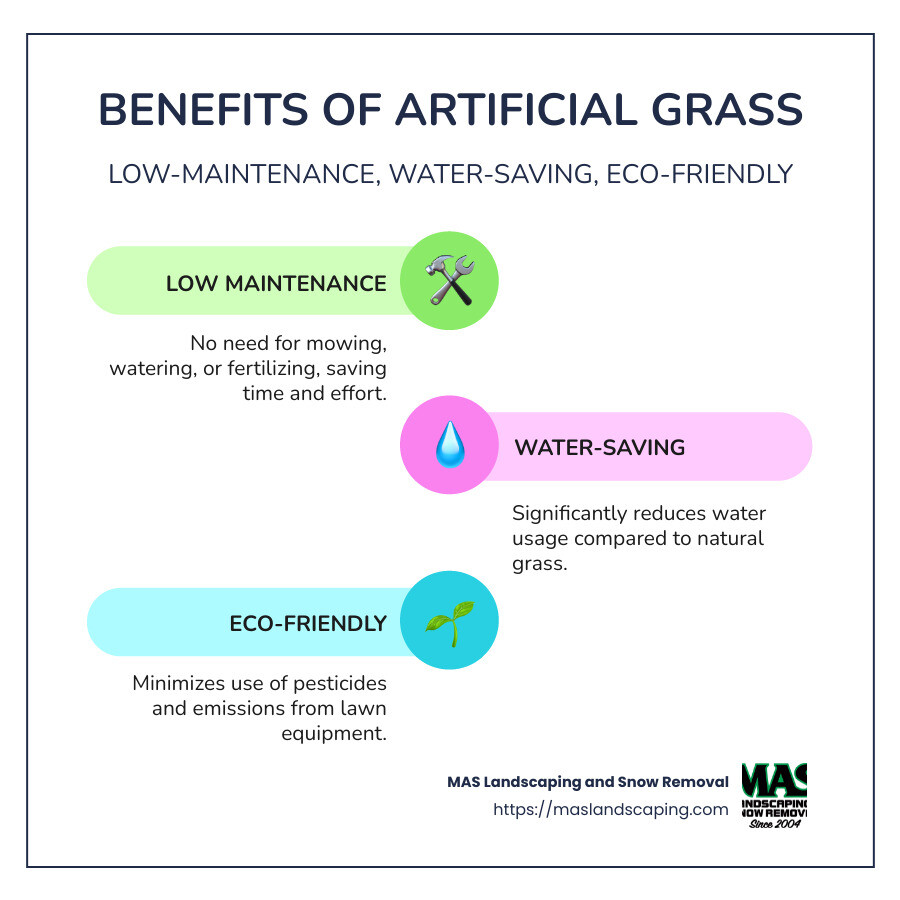
Quick Benefits:
– Low Maintenance: No mowing, watering, or fertilizing.
– Water-Saving: Requires minimal water compared to natural grass.
– Eco-Friendly: Reduces the use of pesticides and lawn equipment emissions.
Artificial turf has become a popular choice for homeowners and businesses in Greater Boston, offering a green alternative that stays lush year-round. Not only does it require less attention, it also supports water conservation efforts, cutting down significantly on usage compared with maintaining natural lawns.
The installation process is straightforward and can be customized to fit different parts of your yard, including play areas, pet zones, and even backyard putting greens. By choosing artificial grass, you’re investing in a sustainable future for your property that balances beauty with practicality.
Putting artificial grass terms simplified:
– how to install artificial grass on soil
– underlay for artificial grass on soil
– garden artificial grass installation
Tools and Materials Needed
Installing artificial grass involves a few essential tools and materials. Here’s a simple breakdown of what you’ll need to get started.
Tools
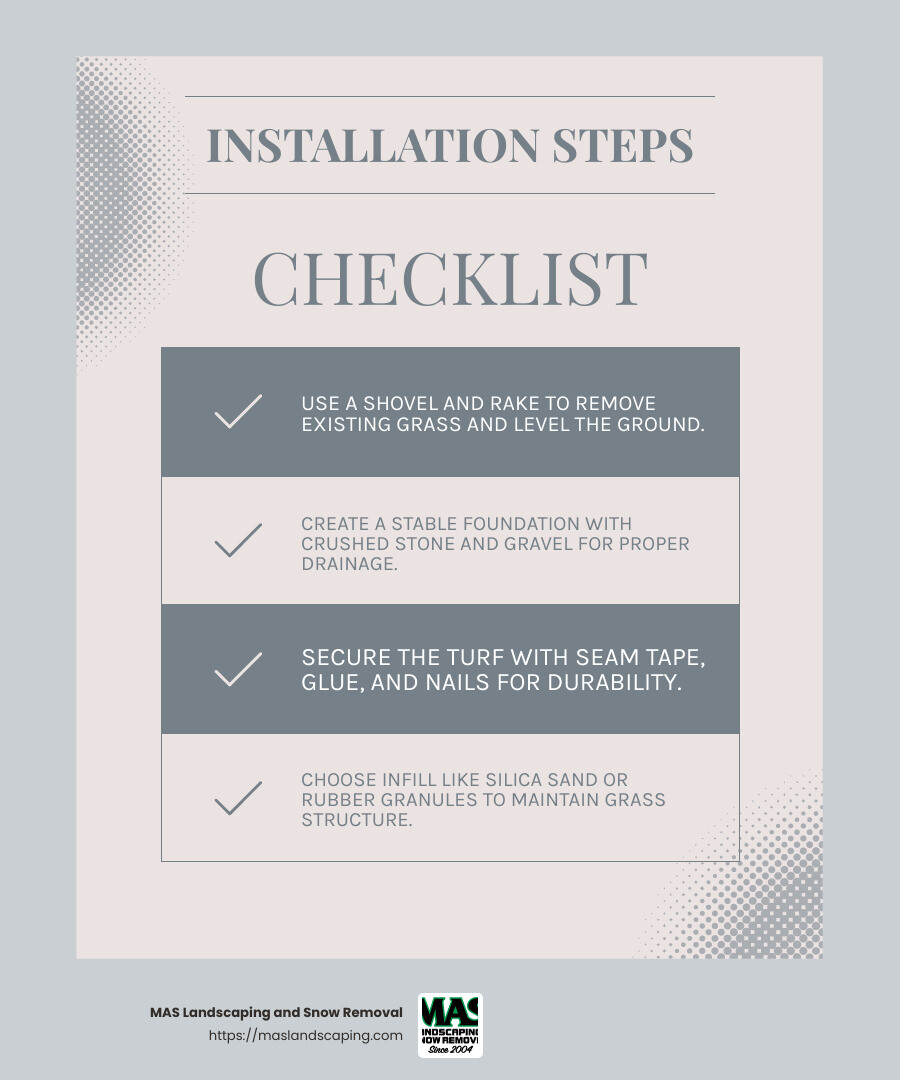
- Shovel and Rake: For removing existing grass and leveling the ground.
- Carpet Kicker: To help stretch the turf and eliminate wrinkles.
- Box Cutter or Utility Knife: For cutting the turf to fit your space.
- Hammer and Putty Knife: For securing the edges with nails and applying glue.
Materials
- Base Material: Use a mix of crushed stone and gravel. This creates a solid foundation and ensures proper drainage.
- Infill: Typically made of sand or rubber granules. Infill helps keep the grass blades upright and provides cushioning.
- Seam Tape and Glue: These are crucial for joining sections of turf together seamlessly.
- Nails: Use galvanized nails to secure the turf. They should be placed every 4 to 6 inches along the edges.
Base Preparation
Before you start laying the turf, it’s important to prepare the base properly. This involves spreading and compacting the crushed stone and gravel to create a stable surface. A well-prepared base prevents shifting and ensures longevity.
Infill Options
Infill is not just for looks. It plays a key role in maintaining the structure and feel of your artificial grass. Different types of infill are available, depending on your needs:
- Silica Sand: Affordable and effective for most applications.
- Rubber Granules: Provides more cushioning, ideal for play areas.
With the right tools and materials, putting artificial grass becomes a manageable DIY project. Whether you’re installing a small patch or covering a large area, having these essentials on hand will make the process smooth and efficient.
Prepping the Ground for Artificial Turf
Before you can enjoy your new artificial grass, it’s crucial to prep the ground properly. This ensures that your turf will look great and last a long time. Let’s explore the key steps involved.
Remove Grass and Debris
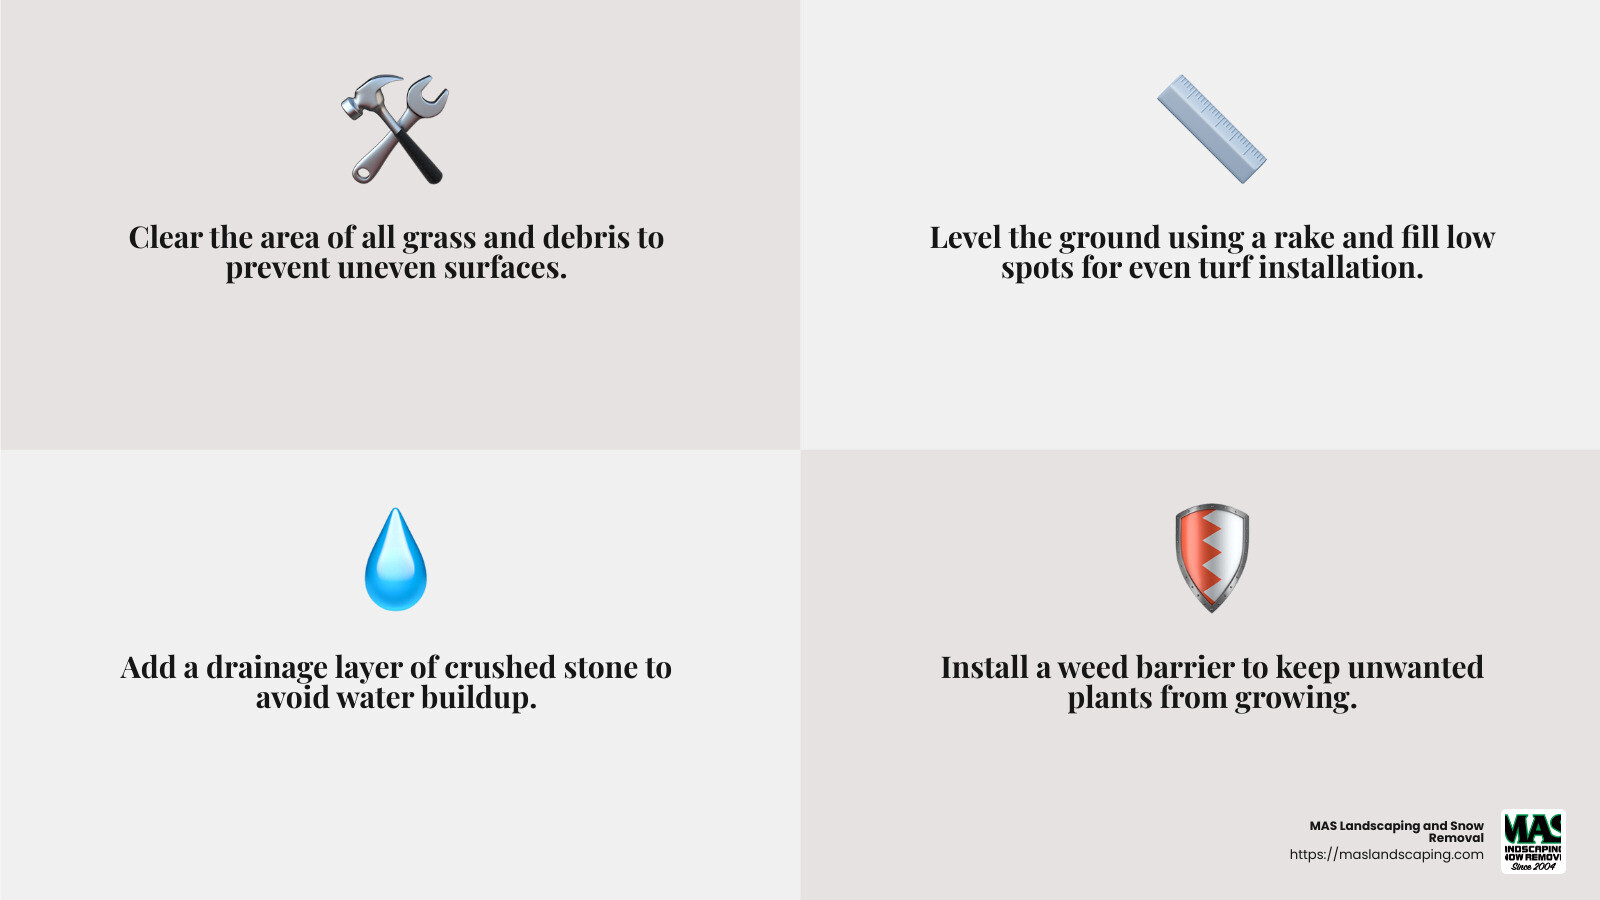
Start by clearing the area of any existing grass, weeds, and debris. Use a shovel and rake to get rid of everything down to the soil. This step is essential because any leftover organic material can decompose and cause the turf to become uneven over time.
Level the Ground
Once the ground is clear, it’s time to level it. Use a rake to smooth out any bumps or holes. A flat surface will help your artificial grass lay evenly. If needed, fill in low spots with a bit of soil and compact it with a tamper.
Install a Drainage Layer
Good drainage is crucial for preventing water buildup under your turf. Spread a layer of crushed stone or gravel over the area. Aim for about 3 inches of this material. This layer will help water flow away from the turf and keep it dry.
Add a Weed Barrier
To stop weeds from growing through your turf, lay down a weed barrier fabric. This is a simple, effective way to keep unwanted plants at bay. Make sure to overlap the edges of the fabric by a few inches to ensure full coverage.
By following these steps, you’ll create a solid foundation for your artificial turf. This groundwork is vital for maintaining the beauty and durability of your new green space.
Next, we’ll cover how to properly install the base material to ensure your artificial grass stays put and looks fantastic.
Installing Artificial Turf on Soil
Now that the ground is ready, let’s move on to installing the base for your artificial turf. A solid base is crucial for stability and longevity. Let’s break down the steps.
Base Preparation
The first step in installing your turf is setting up the base. This involves creating a stable surface that will support the turf and help with drainage. You’ll need crushed stone and gravel to do this.
Crushed Stone and Gravel
Start by spreading a layer of crushed stone over the area. The stones should be about 3 inches deep. This layer acts as a foundation and helps with water drainage. On top of the crushed stone, add a layer of gravel. Gravel provides extra support and further improves drainage. Together, these materials create a sturdy base for your turf.
Compacting
Once your crushed stone and gravel are in place, it’s time to compact them. Use a vibrating plate compactor or a hand tamper to press down the materials. This step is important because it prevents the base from shifting over time. A compacted base ensures that your turf will remain smooth and even.
Gopher Wire
If you have issues with burrowing animals like gophers, consider adding a layer of gopher wire before laying the turf. This wire acts as a barrier to prevent animals from digging through the surface and damaging your artificial grass. Simply roll out the wire over the compacted gravel and secure it in place.
By following these steps, you’ll create a solid, well-drained base for your artificial turf. This foundation is key to ensuring your turf remains beautiful and functional for years to come.
Next up, we’ll guide you through the process of laying out the turf itself.
Laying the Artificial Turf
Now that you have a sturdy base, it’s time to lay the artificial turf. This step is where your yard starts to transform into a lush green space. Here’s how to do it right.
Roll Out the Turf
Begin by unrolling your artificial turf over the prepared base. Give it some time to settle and expand, ideally under the sun. This helps the material relax and makes it easier to work with. Letting the turf sit for a few hours can prevent wrinkles and creases.
Align the Blades
Once the turf has relaxed, check the alignment of the blades. Make sure they all face the same direction for a uniform look. This step is crucial for achieving a natural appearance. Take your time to adjust the turf so the blades are consistent across the entire area.
Use a Carpet Kicker
To ensure the turf is snug against the base, use a carpet kicker. This tool helps stretch the turf and remove any slack. Start from one end and work your way across, kicking the turf into place. A tight fit prevents wrinkles and helps the turf lay flat.
Trim with a Box Cutter
After the turf is laid out and aligned, it’s time to trim the edges. Use a sharp box cutter to cut away any excess turf. Be precise and cut along the edges of your installation area. This will give your turf a clean, finished look. Always cut a little at a time to avoid removing too much.
By following these steps, you’ll lay your artificial turf neatly and efficiently. Next, we’ll cover how to secure the turf to keep it in place.
Securing the Turf
After laying out your artificial turf, the next crucial step is securing it properly. This ensures your new lawn stays put and looks great for years to come. Let’s explore the tools and techniques you’ll need: seam tape, glue, nails, a putty knife, and a hammer.
Seam Tape and Glue
Seam tape and glue are essential for joining pieces of turf together. They create a seamless look and prevent the pieces from shifting. To start, roll out the seam tape along the edges where two pieces of turf meet. Apply the glue evenly on the tape, using a putty knife to spread it out. Press the turf edges firmly onto the tape, ensuring a tight bond.
Pro Tip: Let the glue set for a few hours before walking on the seams. This ensures a strong hold.
Nails
Nails are used to secure the edges of the turf to the ground. Use 40d nails, spaced every 4 to 6 inches along the perimeter. Hammer them in about three-quarters of the way down. This prevents the turf from pulling and creating dimples on the surface. Make sure to separate the grass blades as you hammer, so they don’t get caught under the nail heads.
Using a Putty Knife
A putty knife is handy for smoothing out glue and ensuring clean edges. Use it to press the turf down along the seams and edges, making sure everything is flat and secure. This tool helps achieve a polished finish without damaging the turf.
Hammer
A hammer is your go-to tool for driving nails into the ground. Use a light touch to avoid damaging the turf. If you’re working on a larger area, consider using a rubber mallet to prevent any accidental dings or dents.
By following these steps, you’ll have a securely installed artificial turf that stays in place and looks fantastic. Next, we’ll discuss adding infill and the final touches to complete your installation.
Adding Infill and Final Touches
Now that your artificial turf is securely in place, it’s time to add the finishing touches. This involves choosing the right infill types, brushing the turf, and rinsing it for optimal maintenance.
Infill Types
Infill is a crucial component for keeping your turf looking lush and natural. It helps the grass blades stand upright and provides stability. Here are the most common types:
- Durafill Sand: Known for being anti-bacterial and safe for pets and kids. It’s a popular choice for families.
- Envirofill: This type is great for its long-lasting performance and is often used in high-traffic areas.
- Crumb Rubber: Made from recycled tires, it offers excellent shock absorption but can get hot in sunny areas.
Spread the infill evenly using a seed or fertilizer spreader. Aim for a consistent layer across the turf.
Brushing the Turf
After adding infill, the next step is brushing the turf. Use a power brush or a heavy bristled broom to brush against the grain of the grass. This helps the blades stand up and distributes the infill evenly.
Did You Know? Regular brushing can prevent matting and keep your artificial grass looking fresh.
Rinsing
A gentle rinse with water helps settle the infill and removes any dust or debris. Use a garden hose to lightly spray the turf. This step is especially important if you’ve used crumb rubber, as it can sometimes leave a residue.
Maintenance Tips
Keeping your artificial turf in top shape is simple with a few maintenance tips:
- Regular Brushing: Brush the turf periodically, especially in high-traffic areas, to maintain the upright position of the blades.
- Clean Spills Promptly: Use a mild detergent and water for cleaning up spills. Rinse thoroughly to avoid soap residue.
- Control Odors: For pet areas, sprinkle baking soda to neutralize odors and rinse well.
- Avoid Harsh Chemicals: Steer clear of bleach or acidic cleaners to prevent damage to the turf fibers.
By following these steps, your artificial turf will not only look great but also last for many years. Next, let’s explore the popular uses for artificial turf in various outdoor spaces.
Popular Uses for Artificial Turf
Artificial turf isn’t just for sports fields anymore. It’s become a versatile solution for various outdoor spaces, offering a blend of beauty and practicality. Let’s explore some of the most popular uses for putting artificial grass in your backyard and beyond.
Patios
Transform your patio into a lush, green oasis with artificial turf. It’s an easy way to add a splash of color and comfort to an otherwise hard surface. Plus, it requires minimal maintenance and stays green all year round, making it a perfect choice for those who love a vibrant outdoor space without the hassle of gardening.
Walkways
For a seamless and natural look, consider lining your walkways with artificial turf. It provides a soft, cushioned surface that feels great underfoot. Unlike gravel or stone paths, turf doesn’t shift or scatter, keeping your walkways neat and tidy. And with no need for watering or mowing, it’s a low-maintenance option that saves time and effort.
Porches
Bring the feel of a garden to your porch with artificial grass. It’s a great way to create a cozy, inviting space for relaxing or entertaining guests. The soft texture of the turf adds warmth and comfort, making your porch a favorite spot for family gatherings or quiet afternoons with a book.
Play Areas
Artificial turf is an excellent choice for kids’ play areas. It’s soft and cushioned, reducing the risk of injuries from falls. Plus, it’s durable enough to withstand the rough-and-tumble play of active children. Parents will appreciate the easy cleanup after spills or muddy shoes, and the fact that the turf stays green and vibrant without any maintenance.
Pets
Pet owners love artificial turf for its durability and easy maintenance. It’s resistant to digging and doesn’t get muddy, making it a clean and pet-friendly surface. When your furry friend makes a mess, simply scoop, rinse, and it’s good as new. For odor control, a sprinkle of baking soda does the trick, ensuring a fresh-smelling yard.
Putting Greens
For golf enthusiasts, installing a backyard putting green with artificial turf is a game-changer. It offers a convenient and cost-effective way to practice your swing at home. The turf provides a smooth and consistent surface, mimicking the feel of a professional course. Plus, it’s easy to install and maintain, so you can focus on improving your game instead of lawn care.
Artificial turf offers a range of benefits for various outdoor applications, making it a popular choice for homeowners looking to improve their spaces with minimal effort. Next, we’ll dive into the specifics of putting artificial grass for backyard putting greens and how it can transform your practice routine.
Putting Artificial Grass for Backyard Putting Greens
Imagine stepping out into your backyard and having a personal golf course right at your feet. Putting artificial grass for backyard putting greens is not only a golfer’s dream but also a practical and cost-effective way to improve your outdoor space.
Practice at Home
Having a backyard putting green means you can practice your golf swing anytime you want without the hassle of heading to a golf course. This convenience is invaluable for golfers looking to improve their game. Whether it’s a quick session before work or a leisurely practice on the weekend, your personal green is always ready.
Cost-Effective
While installing a backyard putting green may seem like a luxury, it’s actually a smart investment. Artificial turf requires no watering, mowing, or fertilizing, saving you money on maintenance over time. Plus, it eliminates greens fees at golf courses, making it a cost-effective solution for avid golfers.
Convenience
The convenience of having a putting green at home extends beyond just practice. It becomes a fun and engaging space for family and friends to enjoy. Host mini-tournaments or simply relax and putt around with loved ones. Your backyard becomes a hub of activity and enjoyment.
Installation Tips
When installing artificial grass for your putting green, start with a solid base. Use crushed stone or gravel to ensure proper drainage and stability. Compact the base layer well to prevent shifting. Once the base is ready, roll out the turf and let it settle. Align the blades for a natural look, and secure the edges with seam tape and glue to keep everything in place. Finally, add infill to help the blades stand upright and provide a true roll.
By following these tips, you’ll create a putting green that not only looks professional but also performs like one. Whether you’re a seasoned golfer or just starting out, a backyard putting green with artificial grass offers endless opportunities to refine your skills and enjoy the game you love.
In the next section, we’ll explore how to care for and maintain your artificial turf to keep it looking pristine and ready for play.
Care and Maintenance of Artificial Turf
Keeping your artificial turf in top shape is easier than you might think. With just a little regular care, you can ensure it stays looking great and lasts for years.
Cleaning Spills
Accidents happen. When they do, clean spills as soon as you see them. Use a mild soap mixed with warm water to tackle common stains like ketchup or juice. Rinse thoroughly with cold water to remove any soap residue. Always blot, don’t rub, to prevent damaging the fibers.
Brushing
To keep your turf looking lush, regular brushing is key. High-traffic areas can flatten over time, so use a stiff brush to fluff up the fibers. Cross-brushing against the grain helps maintain the turf’s natural appearance.
Pet Waste
Pets love artificial grass too! When they leave a mess, let it dry before scooping it up. Rinse the area with a hose to remove any residue. For urine odors, sprinkle baking soda, let it sit for 20 minutes, and rinse well. This neutralizes odors without harsh chemicals.
Odor Control
Baking soda is your friend for controlling odors. It’s gentle and effective. Simply sprinkle it on the affected area, let it sit, and rinse. This keeps your turf smelling fresh without using harmful substances.
Avoiding Harsh Chemicals
Speaking of chemicals, steer clear of anything too harsh. Bleach and acidic cleaners can damage your turf. Always check labels and stick to products designed for artificial grass. This keeps your turf safe and looking its best.
By following these simple steps, your artificial turf will remain a beautiful part of your home. Whether it’s for play, relaxation, or practice, a well-maintained turf is always ready for use.
Next, we’ll tackle some frequently asked questions about putting artificial grass, helping you address common concerns and make informed decisions.
Frequently Asked Questions about Putting Artificial Grass
When it comes to putting artificial grass, there are a few common questions that pop up. Let’s explore them.
What do you put under artificial grass?
To ensure your artificial grass stays in place and drains properly, you’ll need a solid base. Start with a layer of crushed stone or gravel. This helps with stability and drainage. A good rule of thumb is to lay about 3-4 inches of this base material. It prevents water from pooling and keeps your turf looking even.
How do you prepare the ground for artificial grass?
Before laying your turf, you’ll need to prep the ground. First, remove any existing grass and debris. This clears the way for a smooth installation. Next, level the ground to prevent lumps and bumps. Once the area is clear and level, add a weed barrier. This stops pesky plants from sneaking through your turf. Finally, spread your crushed stone or gravel base for stability and drainage.
Can I just lay artificial grass on soil?
While it might be tempting to lay artificial grass directly on soil, it’s not a good idea. Doing so can lead to uneven surfaces and poor drainage. Instead, focus on base preparation. This includes laying crushed stone or gravel, which adds stability and prevents damage. By taking these steps, you ensure a long-lasting and beautiful turf installation.
Understanding these basics will help you make informed decisions when installing artificial grass. Next, we’ll explore some popular uses for artificial turf around the home.
Conclusion
At MAS Landscaping and Snow Removal, we understand that changing your outdoor space is more than just a project—it’s about creating a functional and beautiful environment that suits your lifestyle. Our expertise in putting artificial grass ensures that your installation is seamless and custom to your needs.
Professional Installation
When it comes to installing artificial turf, our team of professionals is second to none. We handle every detail, from preparing the ground to laying the turf, ensuring that your artificial grass is installed correctly and looks fantastic. Our skilled installers use the best practices and tools to deliver a perfect finish every time. This means you can enjoy your new green space without any worries about uneven surfaces or drainage issues.
Local Expertise
Being based in Saugus, MA, we have a deep understanding of the local climate and soil conditions. This local knowledge allows us to choose the right materials and techniques that work best for your environment. Whether you’re in Everett, Lynnfield, Malden, or surrounding areas, our expertise ensures that your artificial turf installation is built to withstand local weather conditions and last for years to come.
Personalized Service
At MAS Landscaping and Snow Removal, we pride ourselves on offering personalized service. We take the time to listen to your ideas and preferences, ensuring that the final result is exactly what you envisioned. From start to finish, we work closely with you, providing guidance and support every step of the way. Our commitment to customer satisfaction means that we’re not happy until you’re thrilled with your new outdoor space.
Ready to transform your yard with artificial grass? Let us help you create the perfect outdoor area. Visit our Full Service Landscape Installation page to learn more about how we can assist you with your landscaping needs. With our professional installation, local expertise, and personalized service, you can trust us to bring your vision to life.
