



Laying Sod on New Construction: Ultimate 5-Step Guide
Why New Construction Needs Special Care for Sod Installation
Laying sod on new construction is the fastest way to get a beautiful, lush lawn. However, newly built homes present unique challenges that can cause high-quality sod to fail if not addressed properly. The good news is that with the right preparation, you can achieve a thriving lawn that lasts for years.
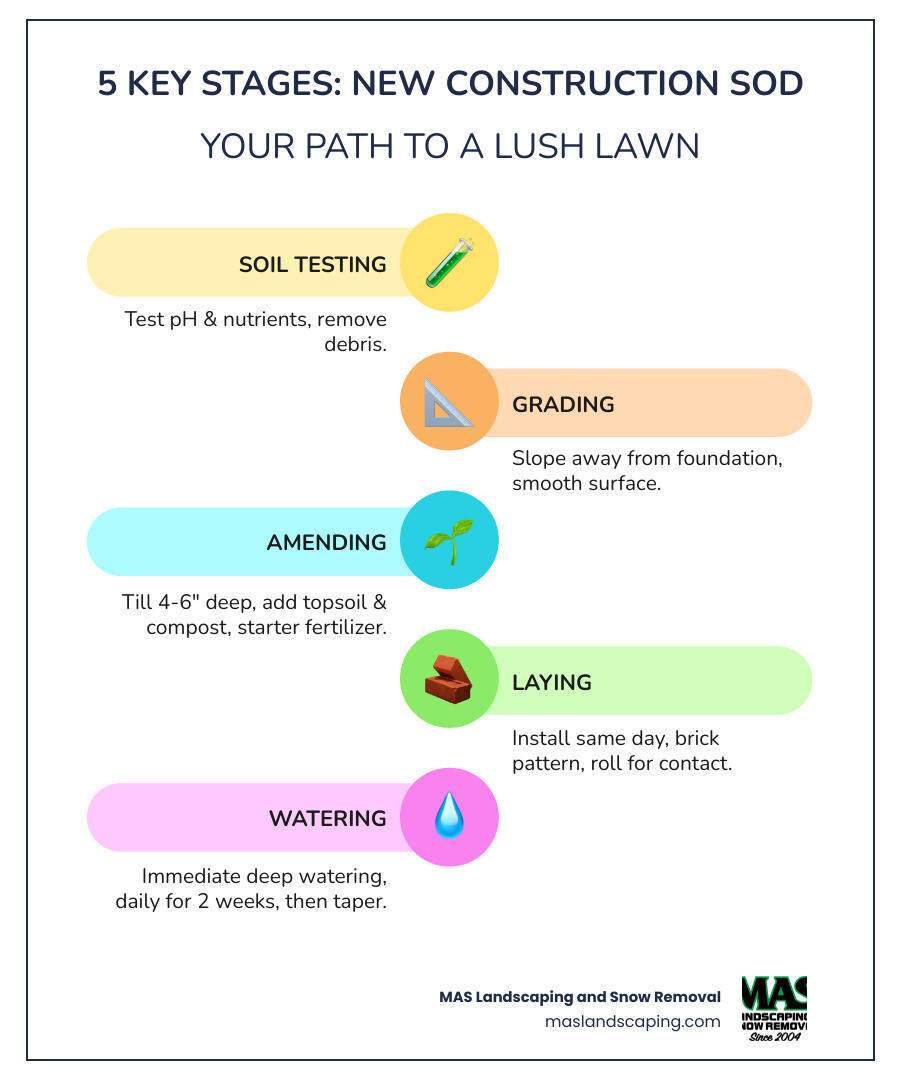
Key Steps for Success:
- Test and amend the soil – New construction soil is often compacted and lacks nutrients.
- Grade properly – Ensure water drains away from your foundation.
- Add topsoil – Spread 4-6 inches of quality topsoil over compacted subsoil.
- Lay sod correctly – Install in a brick pattern with tight seams and no gaps.
- Water immediately – Begin watering within 30 minutes and maintain daily for two weeks.
Proper soil preparation is the most important part of a successful planting. Construction removes valuable topsoil, compacts the ground with heavy machinery, and disrupts the natural soil structure grass roots need. Even the highest-quality sod won’t grow on bad soil. Your new home’s yard likely has subsoil (B horizon) exposed, which is heavy in clay and lacks the organic matter grass needs. This is very different from an established lawn.
Timing also matters. Installing sod during the growing season—typically spring or early fall—gives your grass moderate temperatures and adequate rainfall to develop strong roots before summer heat or winter cold.
Laying sod on new construction terms to learn:
The Unique Challenge: Why New Construction Soil is Different
The bare dirt surrounding your new build is likely the worst possible soil for growing grass. Understanding why is crucial when laying sod on new construction.
During construction, heavy machinery like bulldozers and cement trucks severely compacts the ground, eliminating the air pockets grass roots need to breathe and spread. It’s like asking your lawn to grow in concrete.
Construction crews also typically scrape away or bury the topsoil—the dark, nutrient-rich layer. What’s left is the subsoil (B horizon), which is heavy with clay, starved of nutrients, and lacks the beneficial microbes and organic matter grass needs to thrive. Your new sod is expected to flourish on this nutrient-deficient foundation.
Established lawns have a massive advantage, with years of natural soil improvement. When laying sod on new construction, our job is to quickly rebuild what nature took centuries to create.
Another hidden challenge is construction debris. Buried rocks, wood scraps, and other materials create obstacles for root growth and cause drainage problems, damaging your new sod before it can establish.
Once you understand these challenges, you can address them head-on. Proper preparation transforms problematic construction soil into a welcoming home for your new lawn.
For a deeper dive into site preparation techniques, check out our comprehensive guide on How to Prepare Ground for Sod.
Pre-Installation Blueprint: Preparing Your Site for Success
The journey from a construction site to a lush lawn begins with meticulous preparation. Proper soil prep is 80% of the job, especially for laying sod on new construction. Think of it like building a house—you need a solid foundation. This preparation is the difference between a lawn that thrives and one that struggles, as even the best sod won’t grow on bad soil.
For a comprehensive checklist, see Preparing to Install Sod.
Step 1: Soil Testing and Debris Removal
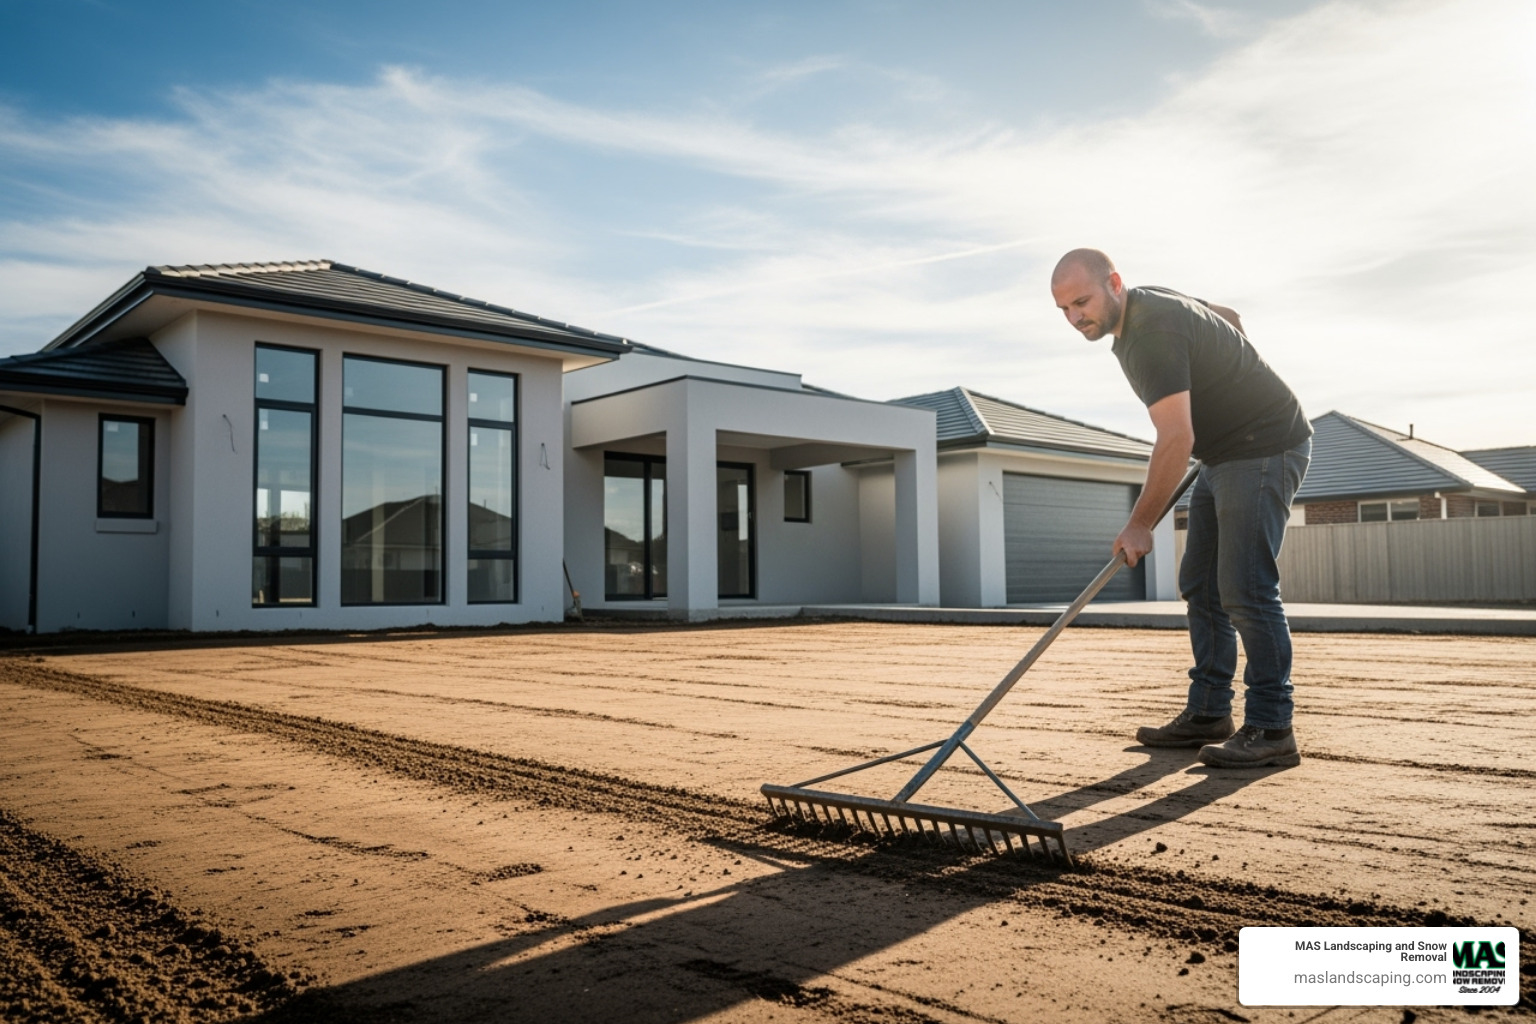
Before moving dirt, you must understand it. Soil testing is paramount for new construction. This simple step reveals your soil’s pH levels and nutrient analysis, showing what’s lacking. It also measures organic matter content, which is usually very low. With this data, you can choose the right amendments without guessing.
While waiting for test results, clear the site of all rocks, roots, and construction waste. These items can create air pockets under the sod and impede root growth, leading to dead patches.
Step 2: Grading and Ensuring Proper Drainage
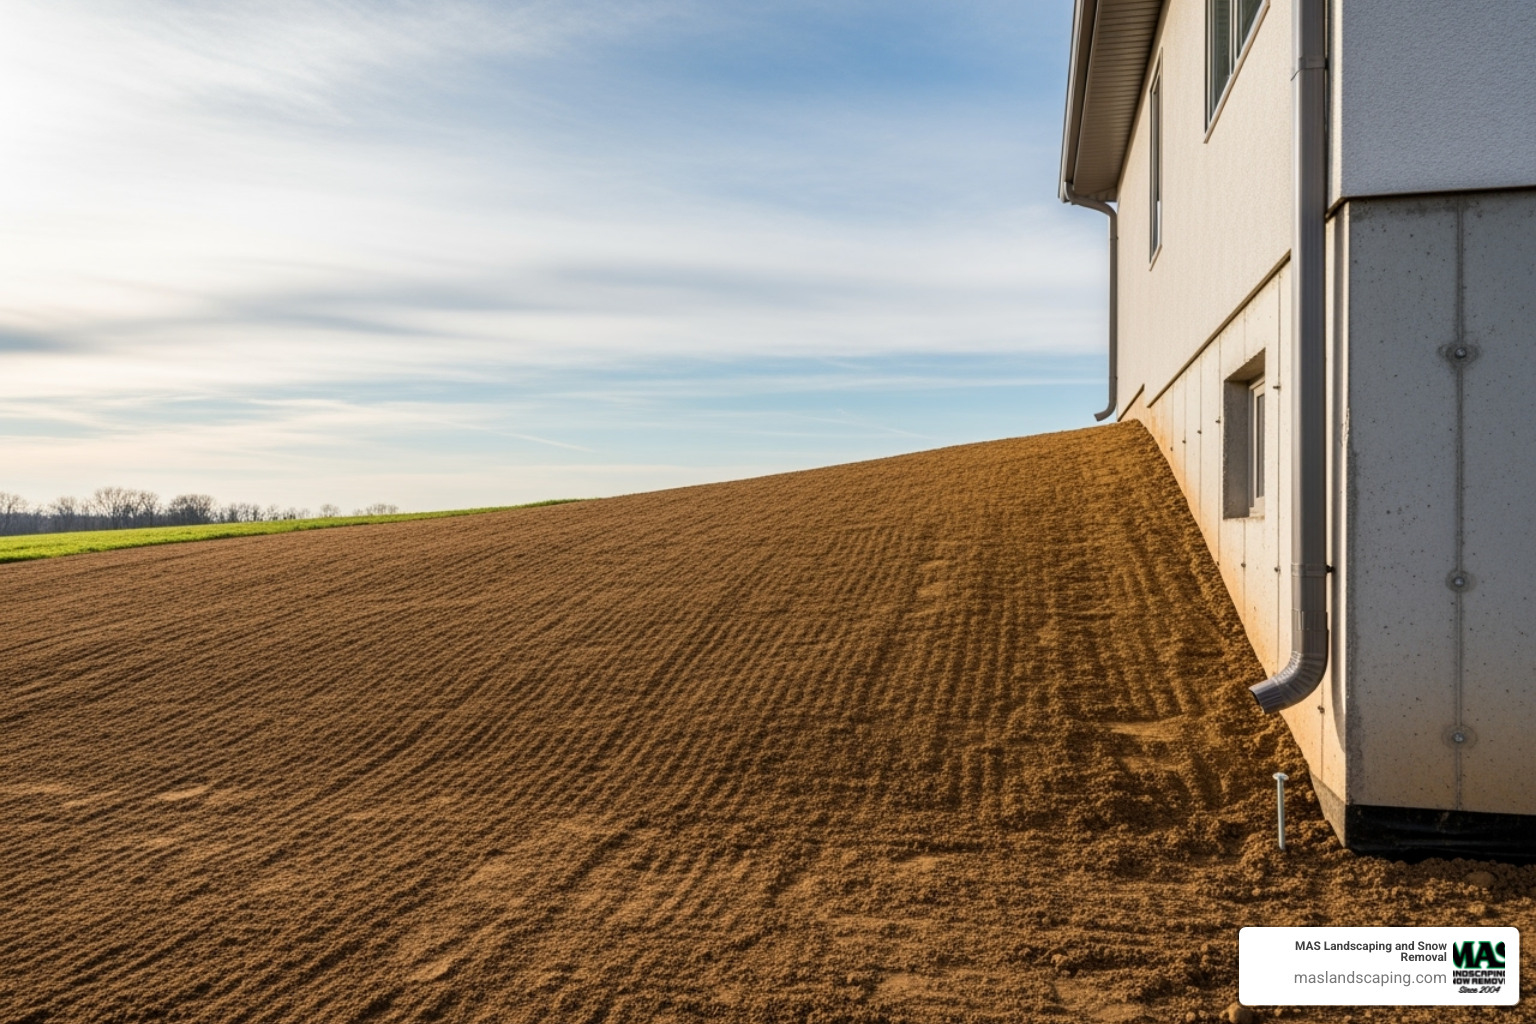
Proper grading is non-negotiable. It ensures water flows away from your foundation, preventing costly damage. Rough grading creates a gentle slope away from the house—typically a 6-inch drop over the first 10 feet. Final grading refines the surface, making it smooth and eliminating dips where water could collect. The final grade should sit about 1 inch below hard surfaces like sidewalks. For tips on achieving a perfect surface, forums like the DIY Chatroom can be helpful. In areas with drainage issues, consider installing French drains during this stage.
Step 3: Amending the Soil for Laying Sod on New Construction
This is where you fix the problems with construction soil. It needs to be loose, nutrient-rich, and able to retain moisture. First, loosen the soil with a tiller to a depth of at least 4 to 6 inches to break up compaction.
Next, spread a layer of high-quality topsoil, 4 to 6 inches thick. Based on your soil test, incorporate amendments like compost to improve structure and add beneficial microbes. Finally, apply a starter fertilizer rich in phosphorus to encourage root growth. For more tips, see our guide on the Best Fertilizer for New Sod.
Once amended, lightly water and roll the soil with a lawn roller (one-third full) to create a firm, stable base for your sod.
Step 4: Choosing Your Sod and the Best Time to Install
Choosing the right sod is crucial. For our Massachusetts climate, serving areas like Everett and Lynnfield, consider sun exposure, foot traffic, and maintenance.
| Sod Type | Sun Exposure | Drought Tolerance | Maintenance |
|---|---|---|---|
| Kentucky Bluegrass | Full sun to light shade | Moderate | High |
| Tall Fescue | Full sun to partial shade | Good | Moderate |
| Perennial Ryegrass | Full sun | Moderate | Moderate |
| Fine Fescue | Partial shade to full shade | Good | Low |
For laying sod on new construction, robust varieties like Tall Fescue are often recommended. The best time to lay sod is spring or early fall. These seasons offer moderate temperatures ideal for root development. Avoid summer heat, which stresses new sod and increases water needs. For more on the process, see our guides to Lawn Installation and How to Prepare Ground for Sod.
The Main Event: A Step-by-Step Guide to Laying Sod on New Construction
With the preparation behind us, it’s time for the exciting part: laying sod on new construction! The key is working efficiently to ensure every piece of sod thrives.
Step 1: The Art of Laying the Sod
Sod is a living product, so order it for same-day installation only after site prep is complete. Once it arrives, you’re racing the clock, as rolled sod can overheat and die.
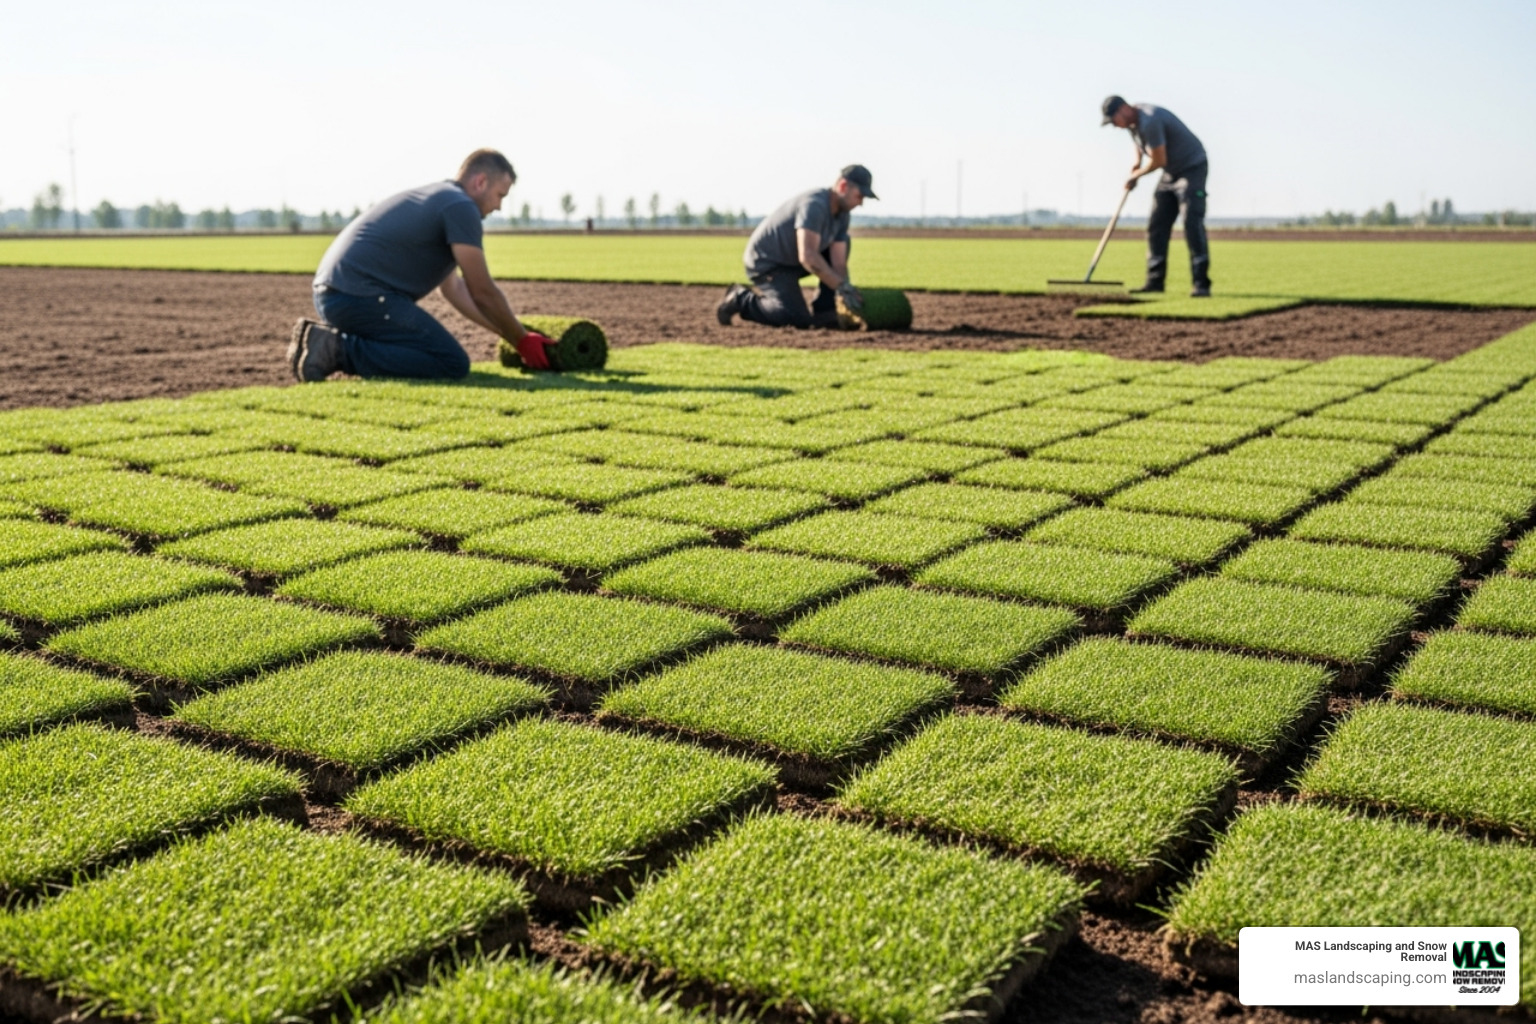
Start along a straight edge like a driveway. Lay the sod in a brick pattern, staggering the seams to prevent weak spots. Ensure snug edges with no gaps or overlaps. Use a utility knife to trim sod neatly around curves or sprinkler heads.
A crucial step is rolling for sod-to-soil contact. After laying a section, gently roll it with a lawn roller (one-third full of water). This eliminates air pockets and ensures roots can reach the soil. For more detailed instructions, refer to our guide on How to Lay Sod.
Step 2: The Critical First 30 Days: Post-Installation Care
The first few weeks are make-or-break for your new lawn. Watering immediately is non-negotiable—within 30 minutes of installation, water deeply enough to moisten the soil 4-6 inches down.
For the first two weeks, follow a daily watering schedule to keep the soil consistently moist but not soggy. Starting in week three, begin tapering off watering to encourage deeper root growth. Always check for moisture by lifting a corner of sod.
The first mowing can happen 13-15 days after installation, once the grass is about 3.5 inches tall. Set your mowing height to 2.5-3 inches and use sharp blades.
Limiting foot traffic is essential for at least one month. Keep people and pets off the new sod. Finally, avoid harsh fertilizers or weed killers for the first six months. For a comprehensive guide, visit How to Care for New Sod.
Frequently Asked Questions about New Construction Sod
We understand you’ll have questions when laying sod on new construction. After years of serving clients in Everett, Lynnfield, Malden, and Melrose, we’ve heard them all. Here are the most common ones:
How much does laying sod on new construction cost?
The cost varies dramatically. Factors include yard size, soil compaction, grading needs, site accessibility, sod type, and whether it’s a DIY or professional project.
Based on internet data (not MAS Landscaping’s actual pricing), complete sod installation can range from a few thousand dollars for small projects to well over ten thousand for larger areas needing significant site preparation. Complex projects with extensive grading or drainage can cost even more. These are average costs based on internet data and not actual costs for MAS Landscaping.
The only way to know your project’s true cost is to get a detailed, personalized quote. For more on what influences costs, visit our page on New Lawn Installation Cost.
How long until my new sod is fully established?
Your sod will begin rooting within the first 2 to 3 weeks. You can check by gently tugging a corner; resistance means the roots are taking hold.
However, a robust lawn that can handle foot traffic and stress typically takes a full growing season to develop. This requires several months of consistent care. Root establishment comes first, so a consistent watering and mowing routine is crucial.
What are the most common mistakes to avoid?
These common, preventable mistakes can ruin a new lawn:
- Skimping on soil preparation: This is the number one mistake. Laying sod on compacted, unamended subsoil is a recipe for failure.
- Improper watering: Too little water kills the sod before it can root. Too much water causes rot and fungal diseases. Stick to a proper schedule.
- Gaps between sod pieces: Gaps invite weeds and create a patchy look. Lay sod snugly in a brick pattern.
- Mowing too soon or too short: This stresses young grass. Wait 13-15 days, then mow high (2.5-3 inches).
- Walking on new sod: Foot traffic disrupts new roots. Keep people and pets off the lawn for at least a month.
The common thread is impatience. Give your lawn the time and care it needs to thrive.
Conclusion: Enjoying Your Beautiful New Lawn
Changing the bare earth around your new home into a thriving lawn is incredibly satisfying. We’ve covered every critical step, from understanding soil challenges to preparation, installation, and care. The key takeaway is that preparation is paramount for long-term success.
When you invest the time to test, grade, till, and amend the soil, you’re not just laying sod on new construction; you’re building a living foundation. This effort is the difference between a struggling lawn and one that flourishes.
While a DIY approach is tempting, the complexities of new construction sites—severe compaction, missing topsoil, and critical grading—often benefit from professional expertise. A team that understands the soil and climate challenges of our Massachusetts region adds real value.
At MAS Landscaping, we create beautiful outdoor spaces throughout Everett, Lynnfield, Malden, Melrose, and surrounding communities. We bring local knowledge and professional equipment to ensure your new lawn gets the strong start it deserves.
Your new home is a fresh start, and your lawn should reflect that. Following these steps will set you on the path to success. Ready to transform your property? We’d love to help you create the outdoor space you’ve been envisioning.
Learn more about our Full Service Landscape Installation services and let’s start planning your beautiful new lawn together.