

Why Paver Patio Cleaning Is Essential for Your Outdoor Space
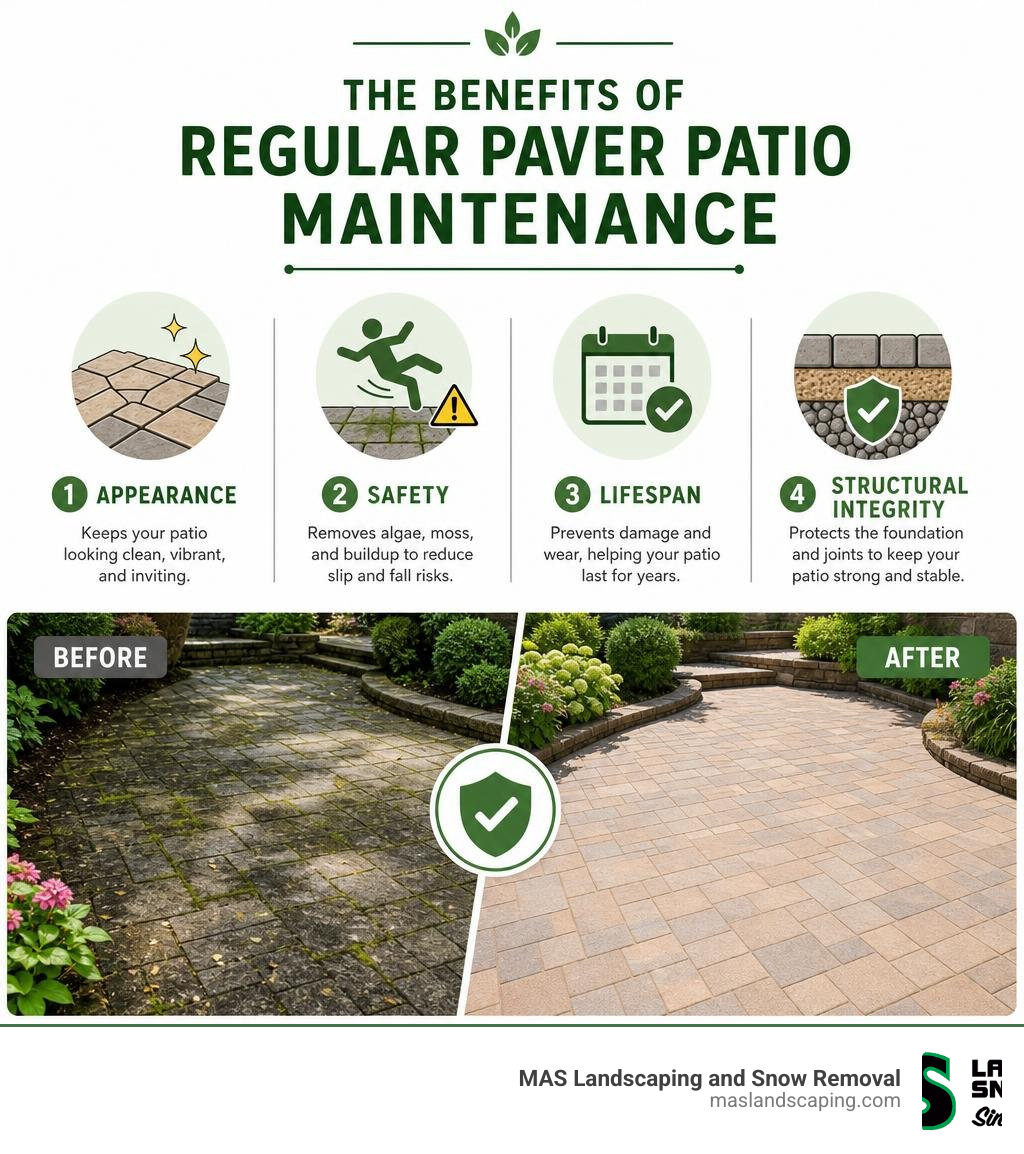
Paver patio cleaning is the process of removing dirt, algae, moss, oil stains, and organic buildup from paved outdoor surfaces to restore their appearance and protect their structure. Here’s a quick overview of what it involves:
- Clear and sweep the patio to remove loose debris and weeds
- Pre-wet the surface with a garden hose
- Apply a cleaning solution suited to your stain type (dish soap, oxygen bleach, or a paver-safe cleaner)
- Scrub with a stiff-bristle brush or use a pressure washer at 1,200–1,800 PSI with a 25–40 degree fan tip nozzle
- Rinse thoroughly and allow to dry
- Re-sand the joints with polymeric sand and optionally apply a sealer
Your patio takes a beating year-round. Rain, foot traffic, spills, and New England’s freeze-thaw cycles all chip away at its appearance — and its structure.
What starts as a little moss or a dull surface can quietly turn into a bigger problem. Trapped moisture causes pavers to crack and heave. Organic growth creates slippery, hazardous surfaces. And once staining works its way deep into the material, it becomes much harder — and more expensive — to fix.
The good news? Most of this is preventable. Regular cleaning keeps your patio looking sharp and extends the life of your investment significantly. Industry guidelines recommend cleaning pavers every 1–2 years, and sealing them every 2–5 years for maximum protection.
This guide walks you through everything — from identifying your paver material to pressure washing safely to preventing weeds from coming back.
Quick paver patio cleaning definitions:
Concrete vs. Porcelain: Understanding Your Paver Material
Before you grab a bucket of soapy water or fire up a pressure washer, you need to know exactly what kind of pavers you are dealing with. Treating a delicate natural stone or high-end porcelain patio the exact same way you treat rugged concrete is a recipe for a very expensive headache.
In our local service areas, from the historic properties in Andover and Georgetown to the modern backyards of Lynnfield and Saugus, we typically see three main types of paving materials.
Concrete Pavers
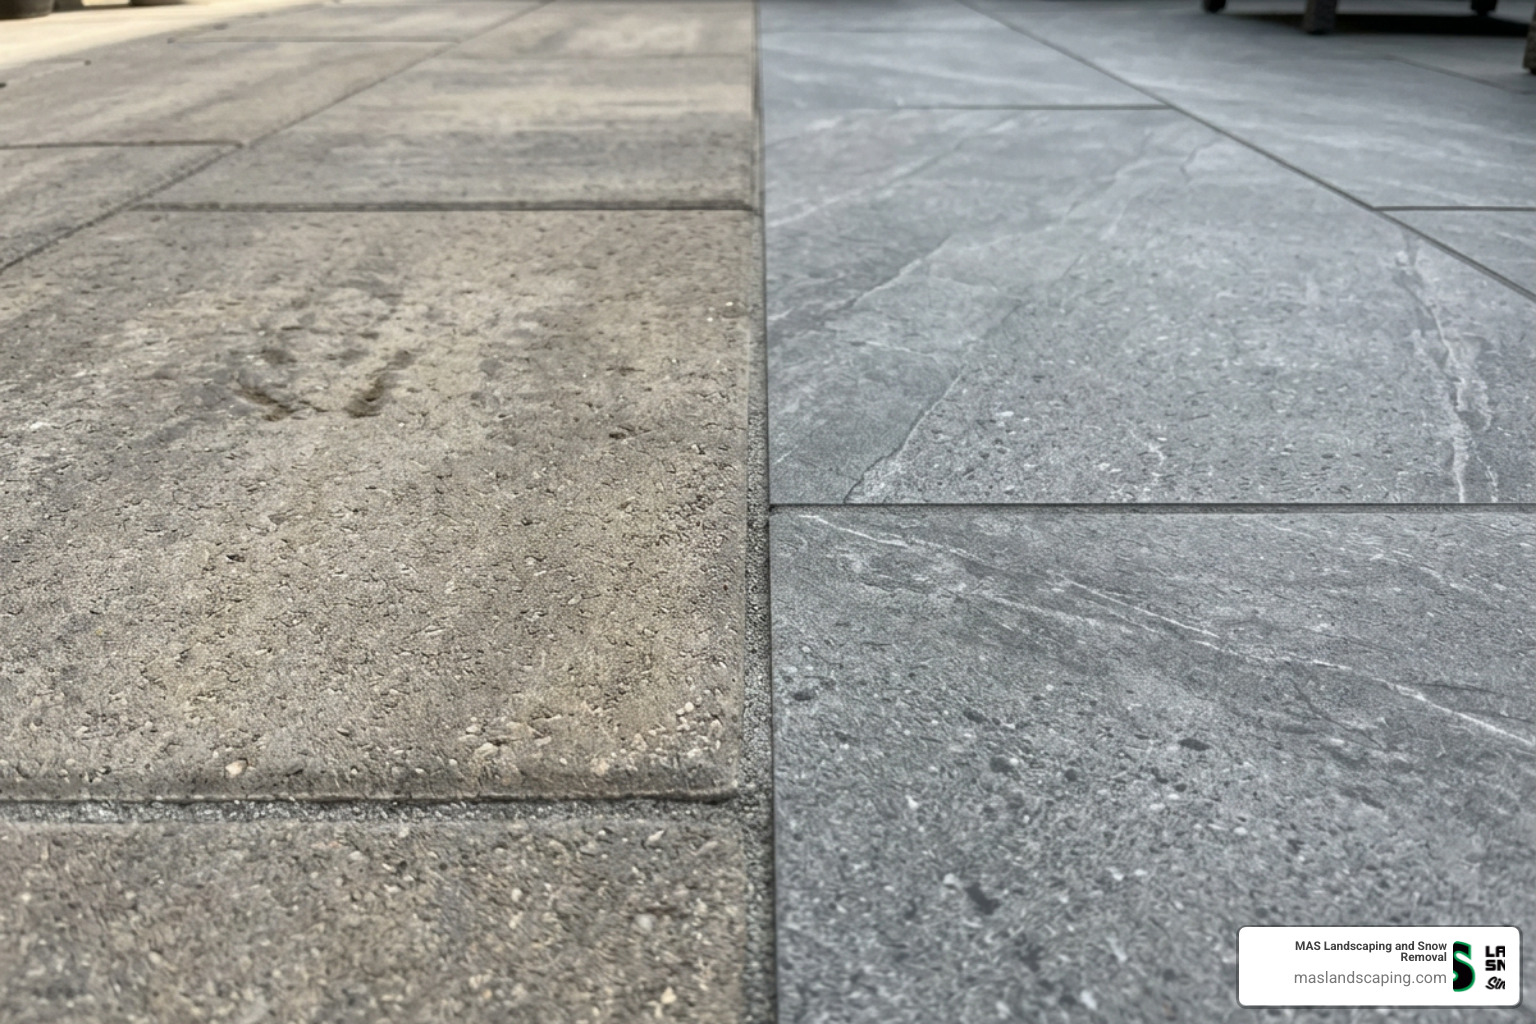
Concrete pavers are incredibly popular because they are durable, versatile, and look fantastic. However, concrete is highly porous. This means it acts like a giant hardscape sponge, readily absorbing water, oil, grease, and organic matter. Because of this high porosity, concrete pavers are highly susceptible to deep staining and organic growth like mold, mildew, and moss. They are also sensitive to highly acidic cleaners (such as muriatic acid), which can etch the surface and strip away the beautiful pigments. If you have concrete pavers, you can learn more about local options from Concrete Pavers in Georgetown Massachusetts.
Porcelain Pavers
Porcelain pavers are the modern darlings of hardscaping. They are virtually non-porous, which means they do not absorb moisture, resist stains naturally, and are highly resistant to moss and algae growth. Because they don’t lock in dirt, they are incredibly easy to clean — usually requiring nothing more than mild soap, water, and a light scrub. However, because they are non-porous, you must never use film-forming sealers on them, as the sealer cannot penetrate the surface and will leave a peeling, cloudy mess.
Natural Stone Pavers
Whether it is granite, limestone, bluestone, or travertine, natural stone brings unmatched elegance to Middlesex and Essex County backyards. However, natural stone requires the gentlest touch. Some stones, like limestone, are chemically sensitive and will dissolve or discolor if they come into contact with acidic cleaners. They are also softer than concrete, meaning a high-PSI pressure washer can easily gouge or pit their surfaces.
To help you visualize the differences, here is a quick reference table:
| Paver Material | Porosity Level | Chemical Sensitivity | Recommended Cleaning Approach |
|---|---|---|---|
| Concrete | High | Sensitive to strong acids | Mild detergents, oxygen bleach, low-to-medium pressure |
| Porcelain | Extremely Low | Highly resistant | Warm soapy water, soft scrubbing, no heavy pressure needed |
| Natural Stone | Medium to High | Highly sensitive to acids | Specialized stone cleaners, very soft brushes, low-pressure rinse |
Step-by-Step Guide to Safe Paver Patio Cleaning
Taking a weekend to refresh your outdoor living space is a highly rewarding DIY project. To get professional-grade results without damaging your hardscape, you just need to follow a structured, safe methodology.
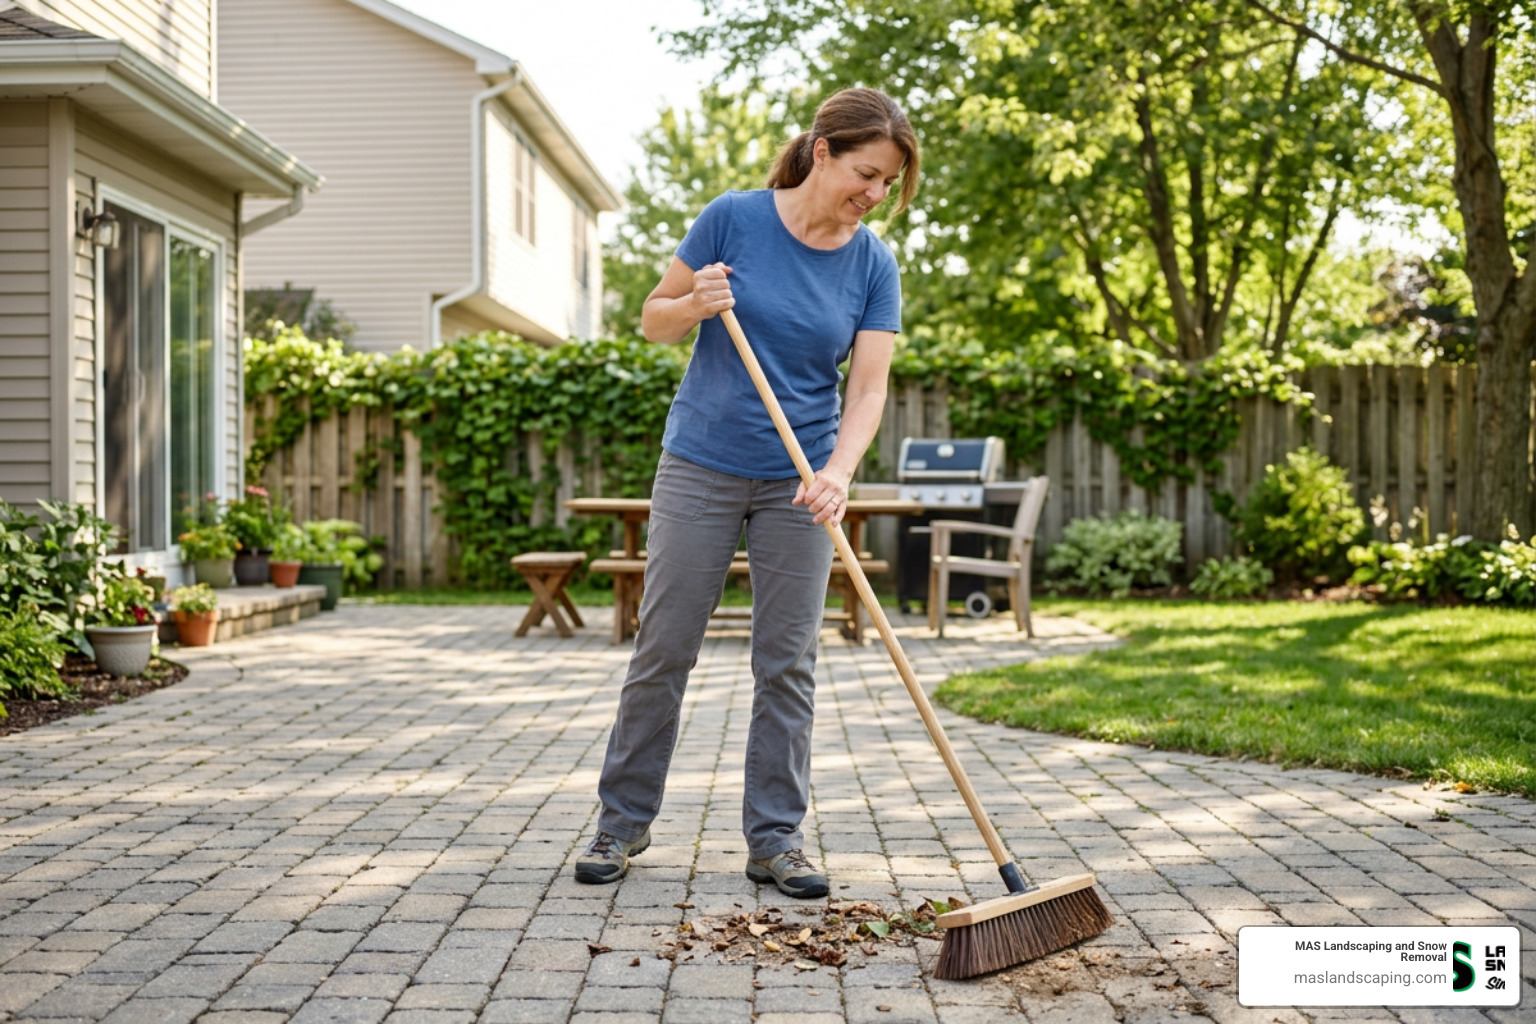
Here is our step-by-step method for manual scrubbing and deep cleaning, which is often the safest and most effective approach for homeowners. If you want to dive deeper into the chemistry of choosing your cleaning products, check out our guide on How to Choose the Best Driveway Paver Cleaner.
Preparing Your Patio for Cleaning
The key to a flawless clean is thorough preparation. Do not skip these initial steps:
- Clear the Space: Remove all patio furniture, grills, planters, toys, and decorative items.
- Sweep Thoroughly: Use a stiff-bristled broom (avoid wire or steel-bristled brushes, which can scratch the stones and leave metal fragments that rust) to sweep away loose dirt, leaves, twigs, and surface debris. This prevents you from turning dry dirt into mud once you wet the patio.
- Pull the Weeds: Remove any visible weeds and moss growing in the joints. While cleaning will wash some away, manually removing the roots now ensures they do not grow right back.
- Pre-Wet the Surface: Before applying any cleaning solution, saturate the entire patio with a garden hose. Pre-wetting is crucial because it prevents the dry, porous pavers from drinking in your cleaning chemicals too quickly, ensuring the soap stays on the surface to break down the grime. For more on manual prep, check out How to Clean Patio Pavers Without a Pressure Washer | Family Handyman.
Choosing the Right Cleaning Solutions for Tough Stains
Different stains require different chemical battle plans. Here is how to handle the most common patio eyesores:
- General Dirt and Grime: A simple mixture of warm water and mild dish soap (like Dawn) works wonders for routine cleanings.
- Organic Stains, Mold, and Mildew: For stubborn green algae or dark mold, oxygen bleach is your best friend. It is highly effective, safer for surrounding plants than chlorine bleach, and does not discolor colored concrete pavers. Alternatively, you can use a diluted household bleach solution (1 part bleach to 10 parts water) or a specialized biological cleaner.
- Oil and Grease: If a backyard barbecue left grease drips on your concrete, do not spray water on it immediately — that will only spread the oil. Instead, blot the excess oil with paper towels. Apply a specialized paver degreaser or create a thick paste of liquid dish soap and baking soda. Let it sit for 15 minutes to draw out the oil, scrub vigorously with a nylon brush, and rinse with hot water.
- Rust Stains: Metal patio furniture, tools, or fertilizer overspray can leave ugly orange rust marks. Treat these with a commercial, acid-free rust remover designed specifically for pavers. If you must use a mild acid like lemon juice or white vinegar, dilute it 50:50 with water, test it on a hidden corner first, and rinse it off thoroughly within 5 minutes to prevent etching.
- Efflorescence: Have you noticed a white, powdery residue on your concrete pavers? That is efflorescence — a natural occurrence where salts migrate to the surface of the concrete. Do not scrub this with heavy acids. Often, it will wash away naturally with rain over time, but you can also use specialized, mild efflorescence cleaners to dissolve it safely. You can read more about dealing with stubborn environmental grime in How to Clean Patio Pavers: The Complete Guide to Restoring Your Outdoor Space – Thedenmeditation.
Once your solution is applied, let it dwell on the surface for 10 to 15 minutes to loosen the dirt (do not let it dry out!). Scrub the pavers in overlapping, circular motions with a stiff nylon push broom, then rinse thoroughly with clean water until the runoff is completely clear. For more professional tips on chemical applications, refer to How to clean pavers – Kärcher.
Safe Pressure Washing Techniques and Precautions
While manual scrubbing is the safest route, many homeowners love the speed of a pressure washer. However, a pressure washer is a powerful tool that can easily destroy your patio if used incorrectly. High-pressure streams can etch concrete, pit natural stone, and blast out the essential joint sand that keeps your patio stable.
If you choose to use a pressure washer, follow these strict safety rules:
- Keep the PSI Low: Keep your settings between 1,200 and 1,800 PSI (never exceed 2,000 PSI). For delicate natural stone, drop the pressure down to 500–1,000 PSI.
- Use the Right Nozzle: Never use a zero-degree (red) nozzle, which acts like a laser beam and will gouge your stones. Instead, use a 25-degree (green) or 40-degree (white) fan tip nozzle, or better yet, a rotating surface cleaner attachment that distributes the pressure evenly.
- Maintain Distance and Angle: Hold the spray wand at least 12 inches away from the surface of the pavers. Spray at a 45-degree angle rather than pointing the wand straight down, which helps protect the joint sand from being completely evacuated. For professional power washing insights in our northern service areas, see North Andover Power Washing Services.
Post-Cleaning Care: Re-Sanding and Sealing
Once your pavers are clean and dry, the job is only half done. Cleaning — especially if you used a pressure washer — inevitably washes away some of the sand between the joints.
Failing to replace this sand is one of the biggest mistakes you can make, as it leaves your patio vulnerable to shifting, weed growth, and water pooling.
Re-Sanding the Joints
Wait for the patio to dry completely (usually 24 to 48 hours). Once dry, pour polymeric sand across the surface. Use a dry push broom to sweep the sand into the joints, working in multiple directions to fill them completely.
Once the joints are filled to about 1/8-inch below the paver surface, use a leaf blower on its lowest setting to blow away all excess sand dust from the top of the pavers. This is crucial because any polymeric sand left on top of the pavers will permanently bond to the surface once wet, leaving ugly white hazes. Finally, lightly mist the patio with a garden hose to activate the polymers in the sand, allowing it to harden and lock the pavers in place. For a detailed guide on this process, read How to Seal Patio Pavers in 5 Easy Steps.
Sealing Your Pavers
Applying a high-quality sealer is the ultimate way to protect your hard work. Sealing shields your pavers from UV fading, prevents oil and grease from soaking in, stops water from penetrating (which prevents freeze-thaw damage in cold Massachusetts winters), and keeps weeds from taking root.
You should wait at least 48 hours after cleaning and re-sanding before applying sealer to ensure there is absolutely no moisture trapped in the stones. To explore whether sealing is right for your specific setup, check out Should You Seal Your Paver Patio? A Complete Guide to Protection and Longevity. You can also read more about professional sealing standards at Patio and Paver Cleaning & Sealing.
Preventing Weeds, Moss, and Algae Growth
To keep your patio looking pristine between major cleanings, follow these preventative maintenance tips:
- Improve Drainage: Ensure your patio has a slight slope (at least 1/8-inch per foot) so water runs off instead of pooling. Standing water is an open invitation for moss and algae.
- Trim Surrounding Foliage: Trim back overhanging tree branches and shrubs to allow sunlight to reach the patio. Sunlight dries out moisture quickly, preventing the damp, shaded conditions that moss thrives in.
- Apply Moss Inhibitors: If you live in a particularly damp, wooded area in towns like Boxford or Middleton, consider applying an eco-friendly moss inhibitor or baking soda to joint areas in the spring to discourage early spore growth.
Frequently Asked Questions About Patio Maintenance
How often should I perform paver patio cleaning?
For most homes in the Middlesex and Essex County areas, a thorough paver patio cleaning should be performed once or twice a year, typically in the spring to wash away winter grime and salt, or in the fall to clean up after summer barbecues. Patios in heavy shade, under dense tree canopies, or near wet areas may require more frequent attention to keep algae and moss at bay. For a complete look at routine care, see our Hardscape Maintenance Service details.
Can I use a pressure washer for DIY paver patio cleaning?
Yes, but only if you exercise extreme caution. Keep the pressure between 1,200 and 1,800 PSI, use a wide 25- to 40-degree fan nozzle, and keep the wand at least 12 inches away from the surface. If you have older, fragile pavers, natural stone, or are worried about stripping out your joint sand, it is always safer to stick to manual scrubbing or hire a professional.
When should I hire a professional for paver restoration?
If your patio has severe oil or rust stains, significant shifting or sunken pavers, widespread weed infestations, or if the old sealer has turned white and cloudy, it is time to call in the pros. Restoring a damaged patio requires heavy-duty hot-water steam equipment, professional-grade rotary surface cleaners, and specialized chemical knowledge that DIY methods simply cannot replicate.
If you are wondering about the investment, the average cost to hire a professional for paver cleaning, sanding, and sealing typically averages around $1.50 to $2.50 per square foot, but can range widely from $1.00 to $8.00 per square foot (with high-end restoration services reaching at least 3x the average rate), with a $1,000 to $3,500 minimum depending on the size and condition of the space. Please note that these are average costs based on internet data and do not represent actual pricing for MAS Landscaping. To learn more about what a professional restoration entails, read our Paver Restoration Near Me Guide.
Conclusion
A beautiful paver patio is the heart of your outdoor living space. It is where you host summer barbecues, enjoy quiet morning coffees, and make memories with family and friends. By investing a little time into proper, material-safe cleaning, re-sanding, and sealing, you can protect your hardscape investment and keep it looking brand-new for decades.
If your patio is looking tired, stained, or overgrown, and you would rather spend your weekend relaxing than scrubbing, we are here to help. At MAS Landscaping and Snow Removal, we bring years of local expertise, professional-grade hot-water extraction equipment, and a deep commitment to quality to every home we service in Saugus, Lynnfield, Everett, Malden, and the surrounding North Shore communities.
Let us handle the hard work so you can simply enjoy your beautiful outdoor oasis. Contact us today to discuss your next project, or explore our MAS Landscaping Patio Installation Services to see how we can transform your backyard!